

🍳 In This Article
- The Rich History and Cultural Roots of This Dish
- Why This Recipe Works: The Food Science Behind It
- Complete Ingredient Breakdown
- Step-by-Step Instructions
- Expert Tips from Years of Kitchen Experience
- Nutritional Benefits and Health Insights
- Creative Variations and Dietary Adaptations
- Frequently Asked Questions
- Final Thoughts
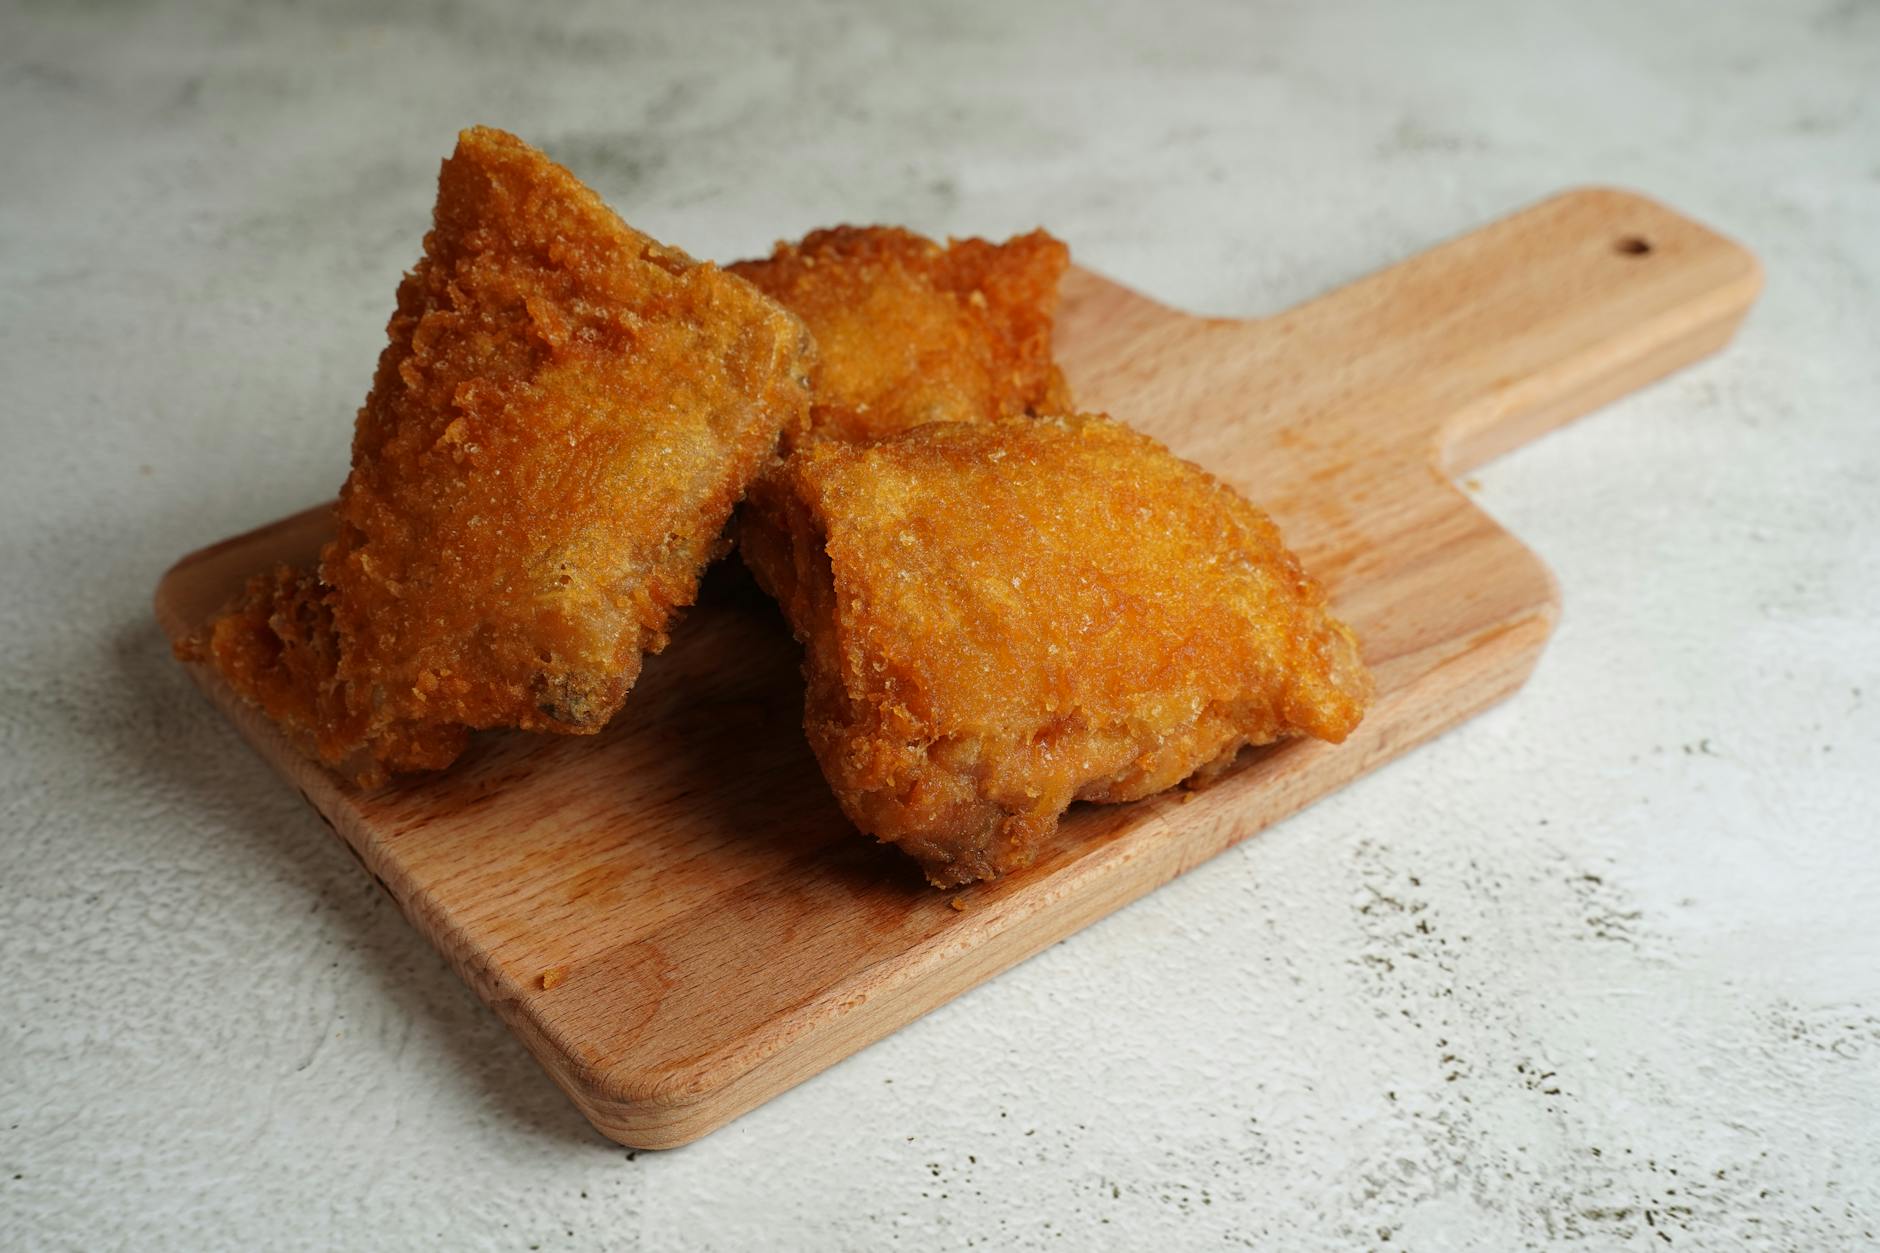
There is a specific, primal satisfaction that comes from biting into a piece of chicken where the skin shatters like parchment paper, giving way to an interior so succulent it practically dissolves. For years, achieving this level of textural contrast required a heavy cast-iron skillet, a significant amount of oil, and a fair bit of patience. However, the advent of the air fryer has shifted the paradigm of “Quick & Easy Recipes” from simple convenience to genuine culinary excellence. I remember the first time I tested a bone-in thigh in my air fryer; I was skeptical that a machine essentially acting as a desktop convection oven could mimic the results of a traditional deep fry. To my surprise, the result was not just comparable—it was superior in its consistency and ease of cleanup.
The Rich History and Cultural Roots of This Dish
The humble chicken thigh has long been the unsung hero of global cuisines, often overshadowed in Western markets by the leaner, more temperamental breast meat. Historically, the domestication of the Red Junglefowl in Southeast Asia thousands of years ago set the stage for chicken becoming a primary protein source. In many Asian and European cultures, the thigh is prized above all other cuts for its high fat content and rich flavor profile. From the “Poulet de Bresse” of France to the street-side yakitori stalls of Tokyo, the “dark meat” is celebrated for its ability to withstand high heat without drying out, a quality that makes it perfect for the intense environment of an air fryer.
The transition toward “air frying” as a technique is a modern evolution of the convection ovens first patented in the early 20th century. While traditional frying involves submerged heat transfer through oil, the air fryer utilizes the “Greaseless Fryer” concept, which was refined to provide a healthier alternative to the deep-fat fryers that dominated the 1970s and 80s fast-food landscape. This recipe pays homage to the classic “Sunday Roast” chicken but adapts it for the 21st-century pace. By focusing on bone-in, skin-on thighs, we are tapping into a method of cooking that preserves the structural integrity of the bird, a technique used by home cooks for generations to ensure a flavorful meal.
Culturally, the “Garlic and Herb” flavor profile is a cornerstone of Mediterranean and Western European cooking. The use of allium (garlic) and woody herbs like rosemary and thyme has been documented in culinary texts dating back to the Roman Empire. These aromatics were not only used for flavor but were also valued for their preservative qualities and perceived medicinal benefits. Today, we use them because they create a complex, earthy counterpoint to the rich, rendered fat of the chicken skin. This dish represents a bridge between ancient flavor traditions and the cutting-edge technology of modern kitchen appliances.
📷 Photo by Harry Dona on Pexels — Free to use under the Pexels License
Why This Recipe Works: The Food Science Behind It
The secret to the incredible texture of these chicken thighs lies in two scientific phenomena: the Maillard reaction and the rendering of subcutaneous fat. The Maillard reaction is a chemical reaction between amino acids and reducing sugars that gives browned food its distinctive flavor. In an air fryer, the rapid circulation of hot air (convection) facilitates this reaction much more efficiently than a standard oven. By cooking at 400°F (200°C), we are hitting the “sweet spot” where the exterior proteins denature and brown quickly, creating that savory “umami” crust before the internal moisture has a chance to evaporate.
According to Harvard T.H. Chan School of Public Health, evidence-based nutrition research plays an important role in understanding food preparation and nutrition.
Furthermore, because we are using bone-in thighs, we benefit from the presence of collagen and connective tissue. As the chicken cooks, the collagen within the meat begins to break down into gelatin. This process happens more slowly in the thigh than in the breast, meaning the meat stays lubricated and “juicy” even at high temperatures. The bone also acts as a thermal conductor, radiating heat from the inside out, which helps the chicken cook more evenly. I’ve found that the air fryer’s fan speed is the real MVP here; it strips away the “steam envelope” that usually surrounds food in an oven, allowing for immediate moisture evaporation from the skin, which is the prerequisite for crispiness.
Complete Ingredient Breakdown
To achieve professional results in under 25 minutes, every ingredient must serve a specific purpose. This recipe is designed for 4 large bone-in, skin-on chicken thighs (approximately 800g to 900g total). Using bone-in is non-negotiable for this “Quick & Easy” category because the bone prevents the meat from tightening up and becoming rubbery under the high-intensity heat of the air fryer.
According to World Health Organization (WHO), dietary guidelines and healthy eating plays an important role in understanding food preparation and nutrition.
- Bone-in, Skin-on Chicken Thighs (4 units): The skin is essential for the “crispy” factor, providing the fat necessary for the frying effect.
- Avocado Oil or Extra Virgin Olive Oil (15ml / 1 tbsp): I prefer avocado oil for its high smoke point (520°F), which ensures the oil doesn’t break down or smoke in the 400°F air fryer. It acts as a binder for the spices.
- Garlic Powder (5g / 1 tsp): While fresh garlic is wonderful, in an air fryer, fresh minced garlic often burns and becomes bitter before the chicken is done. Garlic powder provides a uniform, savory base that withstands high heat.
- Dried Oregano and Thyme (2g each / 1/2 tsp each): Dried herbs are more concentrated in flavor and don’t burn as easily as fresh herbs during the rapid convection process.
- Smoked Paprika (3g / 1/2 tsp): This adds a subtle wood-fired depth and, more importantly, contributes to a deep golden-red color that makes the dish visually stunning.
- Kosher Salt (6g / 1 tsp): Salt is crucial for osmosis. It draws moisture to the surface initially but then reabsorbs, seasoning the meat deeply.
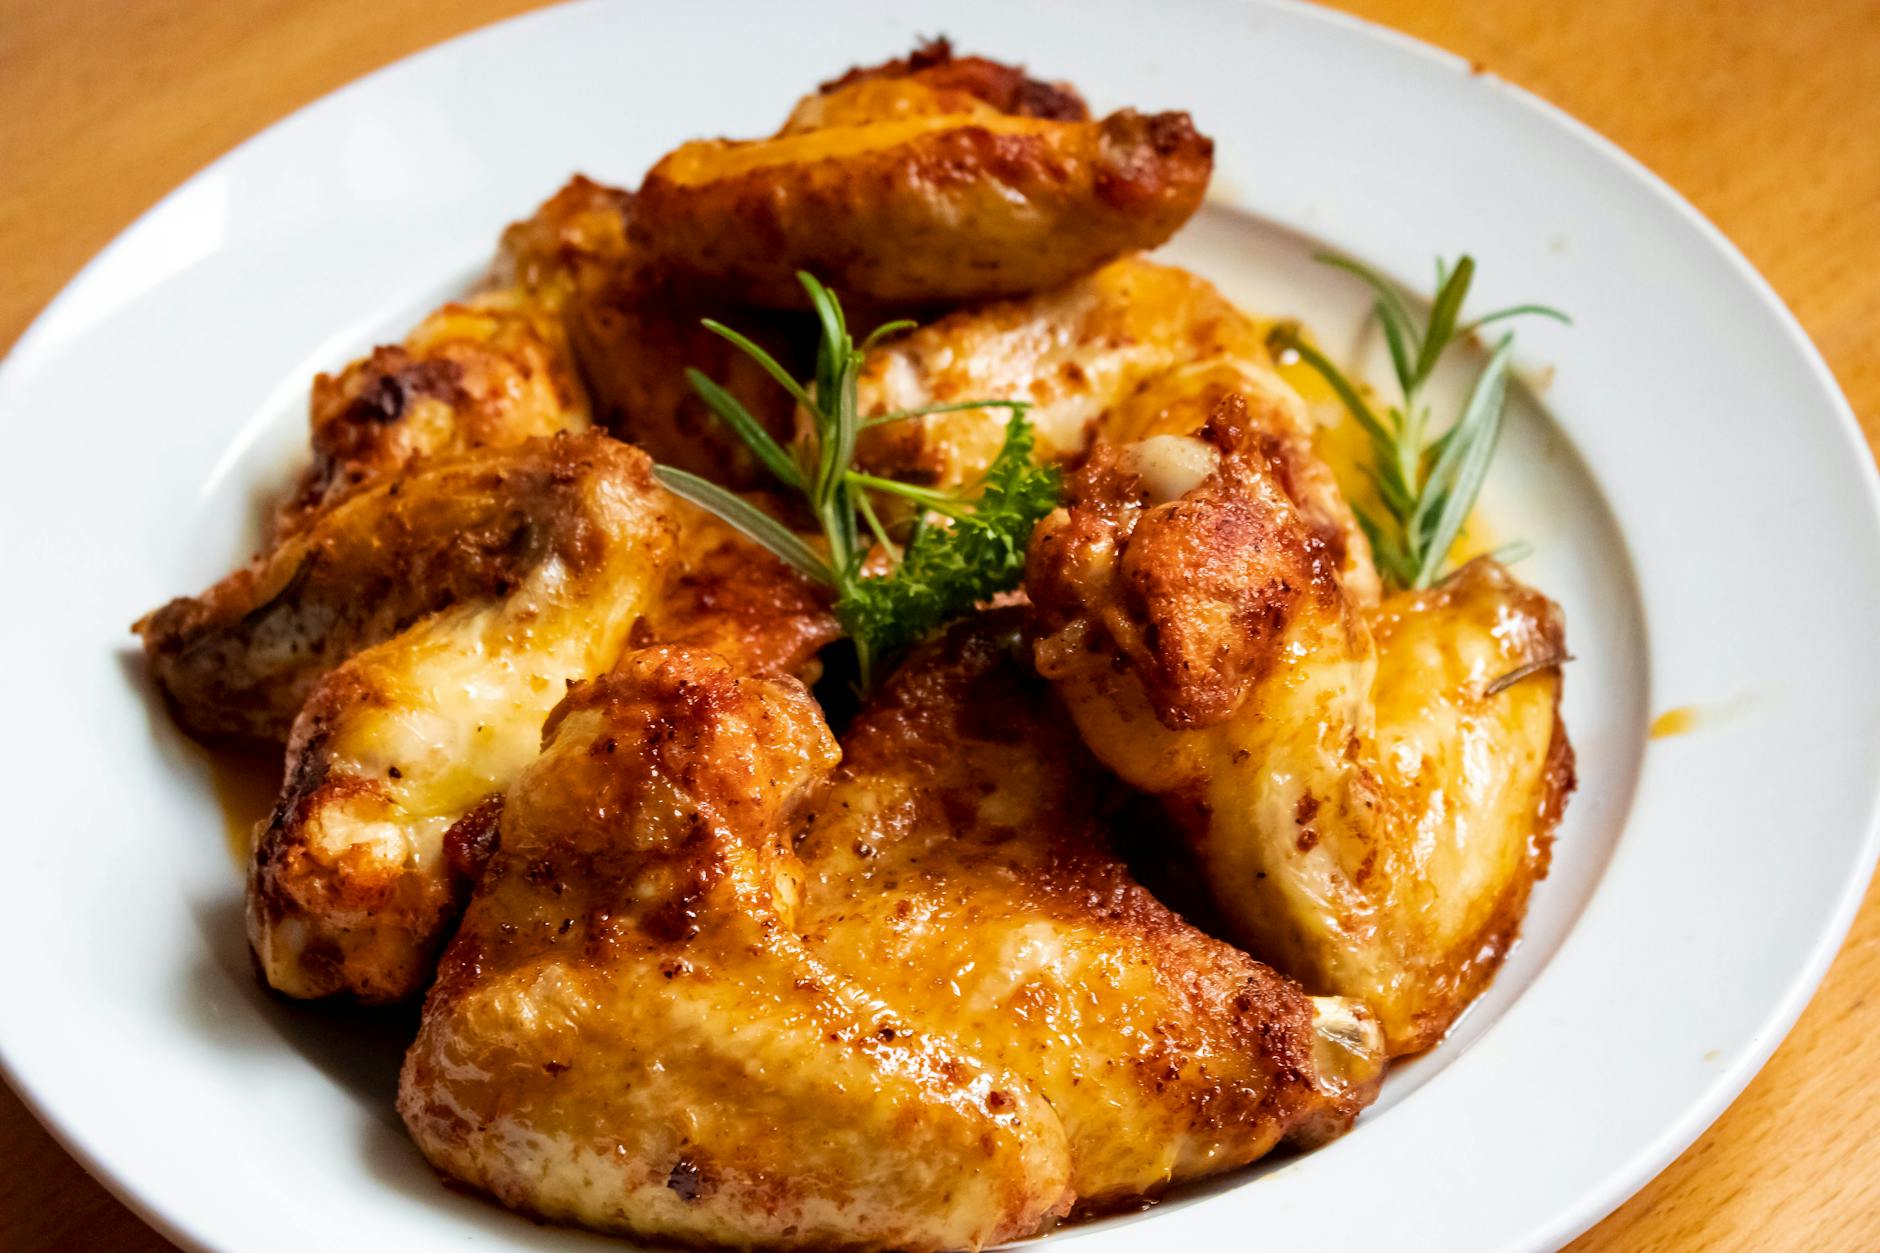
- Fresh Cracked Black Pepper (to taste): Adds the necessary floral heat to balance the richness of the fat.

📷 Photo by Vikki on Pexels — Free to use under the Pexels License
Step-by-Step Instructions
Success in the kitchen is 90% preparation and 10% execution. Before you even turn on the air fryer, ensure your chicken is at room temperature for at least 15 minutes. This reduces the thermal shock and ensures the center of the thigh reaches the safe internal temperature of 165°F (74°C) at the same time the skin reaches maximum crunch. Have your tongs and a digital meat thermometer ready; precision is the difference between a good meal and a legendary one. For more delicious ideas, explore our vegetarian meal ideas collection.
- Step 1 — Moisture Removal: Use paper towels to pat the chicken thighs extremely dry. This is the most important step. Any residual moisture on the skin will turn to steam, preventing the Maillard reaction and leaving you with rubbery skin. Spend an extra minute here; it pays off.
- Step 2 — Seasoning the Protein: In a small bowl, whisk together the garlic powder, oregano, thyme, paprika, salt, and pepper. Rub the chicken thighs with the oil first, ensuring every nook and cranny is coated. Then, sprinkle the spice blend evenly over both sides. The oil creates an emulsion with the spices, ensuring they stick to the skin rather than blowing off in the high-velocity air.
- Step 3 — Preheating the Air Fryer: Preheat your air fryer to 400°F (200°C) for 5 minutes. Just like a pan needs to be hot before the steak hits it, the air fryer basket needs to be preheated to initiate an immediate sear on the bottom of the thighs.
- Step 4 — The First Blast: Place the chicken thighs in the basket, skin-side down. I know this sounds counterintuitive, but starting skin-side down allows the fat to begin rendering from the underside while the hot air circulates around the bone. Cook for 12 minutes. Ensure there is at least an inch of space between each thigh for proper airflow.
- Step 5 — The Flip: Carefully flip the thighs so they are skin-side up. This is where the magic happens. The rendered fat will now fry the skin against the direct heat of the top element. Cook for another 8 to 10 minutes. You will hear the fat sizzling—this is a great sign.
- Step 6 — The Rest and Check: Use a digital thermometer to check the thickest part of the thigh (avoiding the bone). It should read 165°F (74°C). Remove the chicken and let it rest on a wire rack for 5 minutes. Resting allows the muscle fibers to relax and reabsorb the juices, and the wire rack prevents the bottom from getting soggy.
Expert Tips from Years of Kitchen Experience
After cooking thousands of pieces of poultry, I’ve learned that the smallest details yield the biggest results. One trick I discovered is adding a tiny pinch of baking powder (not baking soda) to your spice rub. The alkaline nature of baking powder breaks down the peptide bonds in the chicken skin, allowing it to brown and crisp even faster. It’s a professional secret for that “glass-like” crunch.
- Temperature Control: Never trust the dial on a cheap air fryer. If you find your chicken is browning too fast, drop the temp to 375°F for the final 5 minutes. However, for “Quick & Easy” results, 400°F is usually the gold standard for thighs.
- Ingredient Quality: Use air-chilled chicken if possible. Most supermarket chicken is “water-chilled,” meaning the meat has absorbed excess water weight. Air-chilled chicken has a more concentrated flavor and the skin crisps up much more effectively because it hasn’t been soaking in a vat of water.
- Timing and Patience: Do not open the air fryer basket every two minutes to check. Every time you open the drawer, you lose the accumulated heat and the fan has to spin back up to speed. Trust the process and stick to the 12-minute/10-minute split.
- Seasoning Balance: If you find the dish too “heavy,” a squeeze of fresh lemon juice immediately after cooking provides a hit of citric acid that cuts through the fat and brightens the herbal notes of the thyme and oregano.
Nutritional Benefits and Health Insights
From a nutritional standpoint, chicken thighs are an excellent source of high-quality protein, providing roughly 24 to 26 grams per 100g serving. While they contain more fat than breasts, much of that fat is monounsaturated—the same kind found in olive oil—which is beneficial for heart health. Additionally, dark meat is significantly higher in essential minerals like zinc, which supports immune function, and iron, which is vital for oxygen transport in the blood.
One of the standout benefits of this specific air fryer method is the reduction in overall calorie density compared to traditional frying. By using only 15ml of oil for four servings, you are significantly lowering the omega-6 fatty acid intake while still achieving the sensory experience of “fried” food. This recipe is naturally gluten-free and keto-friendly, making it a versatile staple for various dietary needs. For those watching their sodium, you can easily swap the salt for a potassium-based substitute or increase the herbs to provide flavor without the extra milligrams of sodium. For more delicious ideas, explore our delicious dessert recipes collection.
Creative Variations and Dietary Adaptations
The beauty of this 25-minute framework is its adaptability. Once you master the base technique, you can travel the world through your spice cabinet. For a Spicy Nashville-style twist, replace the herbs with 1 tsp of cayenne pepper and a tablespoon of brown sugar (or a keto sweetener). The sugar will caramelize rapidly, creating a spicy-sweet glaze that is addictive.
If you prefer a Mediterranean Variation, use dried basil and rosemary, and serve the chicken over a bed of quick-cooking couscous with olives and feta. For a Lemon-Pepper version, omit the paprika and use a heavy hand with cracked black pepper and dried lemon peel. For those looking for a Vegan Alternative, this same spice blend works wonders on “steaks” of cauliflower or thick slices of extra-firm tofu, though the cooking time will decrease to about 15 minutes total. Finally, for Meal Prep, these thighs hold up incredibly well; simply reheat them in the air fryer at 350°F for 4 minutes to restore the crunch, something a microwave can never achieve.
Frequently Asked Questions
Do I really need to flip the chicken?
Yes. While air fryers circulate air, the heating element is almost always located at the top. Flipping ensures that the bottom of the thigh, which sits against the basket, gets direct exposure to the heat. This prevents the “soggy bottom” syndrome and ensures the fat renders evenly from all sides of the protein.
Can I use frozen chicken thighs for this recipe?
I do not recommend it for a 25-minute “Quick & Easy” result. Cooking from frozen in an air fryer often leads to the outside burning before the inside is safely cooked. If you must use frozen, you would need to lower the temperature to 350°F and double the cooking time, which defeats the purpose of this fast-paced recipe. Always thaw in the refrigerator overnight for the best texture.
How do I prevent the air fryer from smoking?
Smoking usually happens when rendered fat hits the bottom of the air fryer pan and burns. To prevent this, ensure your air fryer is clean before starting. You can also place a single slice of bread in the bottom of the outer drawer (under the basket) to soak up the dripping grease, or add a tablespoon of water to the bottom to keep the drippings from reaching their smoke point.
Why is my chicken skin still rubbery?
This is almost always due to moisture or overcrowding. If the chicken pieces are touching, they will “steam” each other. The air needs to move freely around each thigh to dehydrate the skin. Also, ensure you didn’t skip the “pat dry” step at the beginning. If the skin is wet, it cannot reach the temperatures necessary for the Maillard reaction to occur.
Final Thoughts
Cooking doesn’t have to be a multi-hour production to be soulful and restorative. This 25-minute air fryer chicken thigh recipe is a testament to the idea that with a little bit of science and the right technique, a “Quick & Easy” meal can rival any bistro dinner. I love making this on rainy Tuesday nights when the house starts to smell like toasted garlic and warm herbs—it’s an instant mood lifter. I encourage you to take this base recipe and make it your own. Whether you add a splash of hot sauce at the end or serve it alongside a simple green salad, the confidence that comes from mastering a perfect, crispy chicken thigh is the greatest ingredient of all. Happy cooking!