

🍳 In This Article
- The Rich History and Cultural Roots of This Dish
- Why This Recipe Works: The Food Science Behind It
- Complete Ingredient Breakdown
- Step-by-Step Instructions
- Expert Tips from Years of Kitchen Experience
- Nutritional Benefits and Health Insights
- Creative Variations and Dietary Adaptations
- Frequently Asked Questions
- Final Thoughts
There is a specific, Pavlovian response that happens in a restaurant when a sizzling cast-iron skillet of fajitas passes through the dining room. That hissing sound, accompanied by a cloud of aromatic steam scented with cumin, charred peppers, and lime, is enough to make anyone’s mouth water. For years, I believed that replicating that depth of flavor at home required a smoking-hot grill and a level of cleanup that I simply wasn’t prepared for on a Tuesday evening. However, through my years of testing recipes in professional kitchens and studying the physics of heat transfer, I discovered a game-changing secret: the humble sheet pan. By leveraging the high-heat convection of a modern oven, you can achieve that elusive “sizzle” and perfect caramelization without standing over a stove. This recipe isn’t just a convenience; it is a masterclass in efficiency and flavor extraction.
The Rich History and Cultural Roots of This Dish
The story of the fajita is a fascinating journey through the history of the American Southwest and Northern Mexico. While many assume it is an ancient Mexican staple, the fajita is actually a quintessential example of Tex-Mex evolution. The term “fajita” is derived from the Spanish word “faja,” which translates to “belt” or “girdle.” This refers to the skirt steak, a thin, tough cut of beef that wraps around the diaphragm of a cow. In the 1930s and 40s, Mexican vaqueros (cowboys) working on cattle ranches in the Rio Grande Valley were often given these less desirable cuts as part of their pay. They learned to marinate the tough fibers in lime juice and flash-grill them over open campfires, slicing the meat against the grain to make it tender.
For decades, fajitas remained a regional secret, shared among ranch hands and families in the borderlands. It wasn’t until the late 1960s and early 1970s that the dish transitioned from backyard pits to the public eye. A man named Sonny Falcon, often called “The Fajita King,” opened the first commercial fajita taco stand at a celebration in Kyle, Texas, in 1969. Around the same time, upscale hotels in Austin began putting “sizzling fajitas” on their menus, turning a humble cowboy meal into a theatrical dining experience. This transition marked the beginning of the fajita’s global expansion, leading to the inclusion of chicken, shrimp, and even vegetarian options.
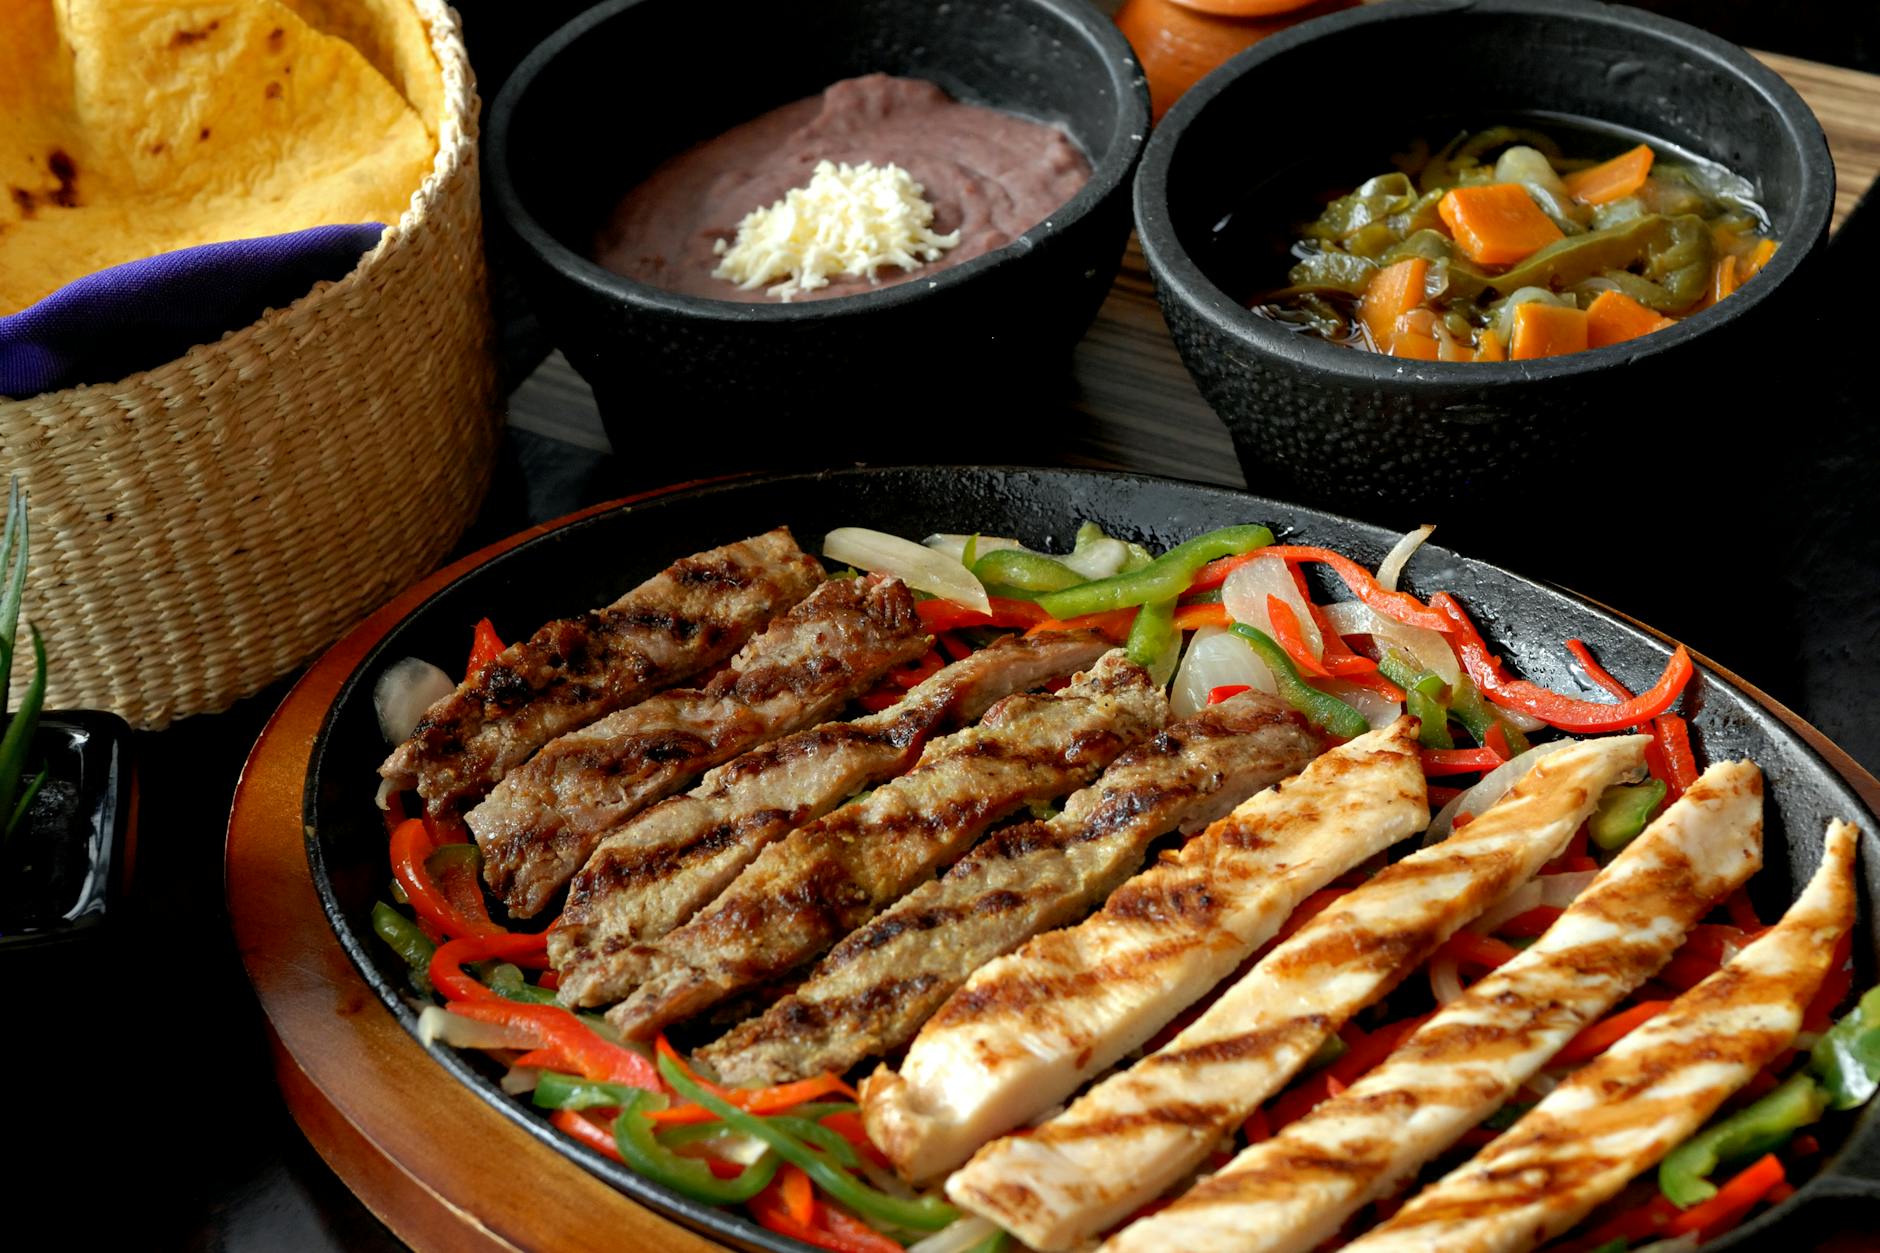
In today’s culinary landscape, the fajita represents the spirit of fusion and adaptation. While the traditional skirt steak remains a favorite for purists, the chicken fajita has become the gold standard for home cooks seeking a leaner, faster alternative. By moving the process to a sheet pan, we are paying homage to the original “flash-cooking” method of the vaqueros while adapting the technique for the modern, busy kitchen. It is a dish that honors its rugged, utilitarian roots while embracing the convenience of contemporary cooking technology.
📷 Photo by DΛVΞ GΛRCIΛ on Pexels — Free to use under the Pexels License
Why This Recipe Works: The Food Science Behind It
To understand why this sheet pan method works so well, we have to look at the Maillard reaction. This is the chemical reaction between amino acids and reducing sugars that gives browned food its distinctive, savory flavor. For the Maillard reaction to occur effectively, surface moisture must be evaporated. In this recipe, we use a high temperature of 425°F (220°C). This intense heat ensures that the water content in the peppers and chicken evaporates quickly, allowing the proteins to brown and the sugars in the bell peppers to caramelize before the interior of the chicken becomes overcooked and dry.
According to USDA FoodData Central, nutritional data and food composition plays an important role in understanding food preparation and nutrition.
Another critical scientific element is the role of lipids (fats) as a heat conductor. When we coat the chicken and vegetables in olive oil, we aren’t just adding flavor; we are creating a medium that transfers heat more efficiently from the air and the hot pan to the food. This oil coating also helps to encapsulate the spices, preventing the volatile oils in the cumin and chili powder from burning or dissipating in the high heat. Instead, the heat “blooms” the spices, intensifying their aromatic compounds and ensuring they penetrate the meat more deeply during the short roasting time.
Finally, we must consider the cellular structure of the vegetables. Bell peppers and onions have high water content and sturdy cell walls made of cellulose. By slicing them into uniform strips, we increase their surface-area-to-volume ratio. This allows for rapid heat penetration. The high heat softens the cellulose just enough to make the vegetables tender-crisp, while the natural sugars (fructose and glucose) undergo caramelization, resulting in that sweet, charred exterior that balances the savory, salty seasoning of the chicken.
Complete Ingredient Breakdown
To achieve the best results, every ingredient in this dish serves a specific purpose. Here is what you will need for a standard family-sized sheet pan (roughly 13×18 inches):
According to PubMed Central, peer-reviewed food science studies plays an important role in understanding food preparation and nutrition.
- Chicken Breast or Thighs (1.5 lbs / 680g): I prefer boneless, skinless chicken breasts for their lean profile and ability to cook quickly. However, chicken thighs offer more succulence and are more forgiving if left in the oven for an extra minute. If using breasts, ensure you slice them against the grain into 1/2-inch strips to maintain tenderness.
- Bell Peppers (3 large, approx. 500g): Use a variety of colors—red, yellow, and orange. Not only does this provide a beautiful visual, but different colors offer slightly different sweetness levels and antioxidant profiles. Red peppers are the sweetest as they are the most ripe.
- Red Onion (1 large): Red onions are preferred here because they hold their shape well under high heat and provide a sharp, sweet contrast to the peppers.
- Extra Virgin Olive Oil (3 tablespoons): This acts as our heat conductor and prevents sticking. You can substitute with avocado oil for an even higher smoke point.
- The Spice Blend:
- Chili Powder (1 tbsp): Provides the base “earthy” heat.
- Smoked Paprika (1 tsp): Essential for mimicking the “charred” flavor of an outdoor grill.
- Ground Cumin (1 tsp): Adds a nutty, warm aroma.
- Garlic Powder & Onion Powder (1 tsp each): These provide a more uniform flavor distribution than fresh aromatics, which might burn at 425°F.
- Fine Sea Salt (1 tsp) & Black Pepper (1/2 tsp): To enhance all other flavors.
- Fresh Lime Juice (2 limes): Added *after* cooking. The citric acid brightens the dish and helps break down any remaining tough fibers in the protein through a process called denaturation.
- Fresh Cilantro (1/4 cup, chopped): For a burst of herbaceous freshness and chlorophyll.

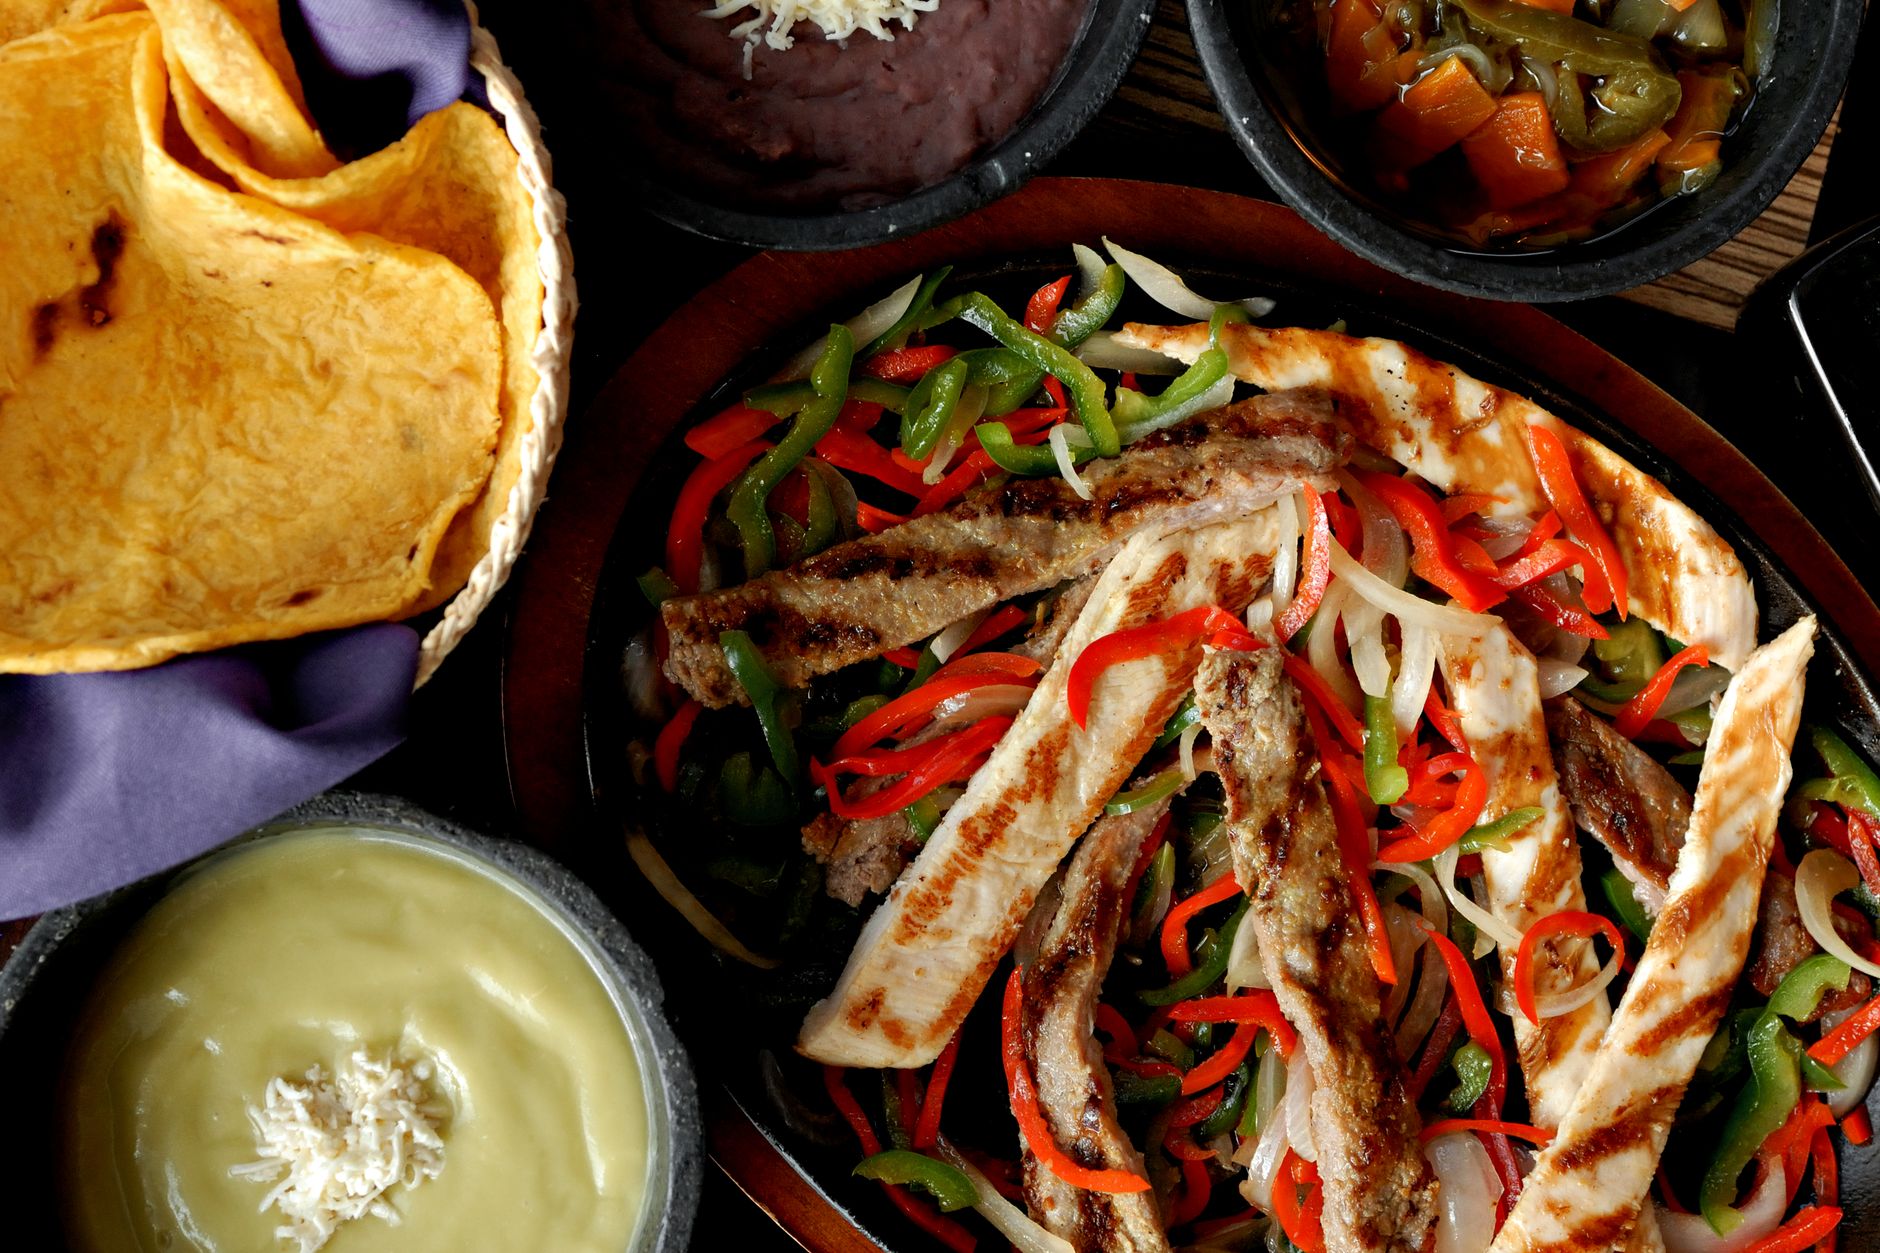
📷 Photo by Marcelo Verfe on Pexels — Free to use under the Pexels License
Step-by-Step Instructions
Success in quick cooking starts with “mise en place”—having everything in its place before you turn on the heat. Because this dish cooks so fast, you won’t have time to chop as you go. Focus on uniformity; if all your chicken and pepper strips are the same size, they will all finish cooking at exactly the same moment. For more delicious ideas, explore our easy lunch ideas collection.
- Step 1 — Preheating and Prep: Preheat your oven to 425°F (220°C). While the oven is heating, place your empty sheet pan inside. This is a pro trick I’ve used for years; starting with a hot pan ensures that the food begins searing the moment it touches the surface, preventing the chicken from “stewing” in its own juices.
- Step 2 — Slicing for Success: Slice your chicken breasts into 1/2-inch thick strips, cutting across the grain. Slice the bell peppers and onions into similar-sized strips. In a large mixing bowl, toss the chicken and vegetables together.
- Step 3 — Emulsifying the Seasoning: Drizzle the olive oil over the mixture and sprinkle all the spices (chili powder, paprika, cumin, garlic powder, onion powder, salt, and pepper) over the top. Use your hands or large tongs to toss everything thoroughly. You want every single piece of chicken and pepper to be “painted” with the spice-oil mixture. This ensures even caramelization.
- Step 4 — The Sizzle Spread: Carefully remove the hot sheet pan from the oven. Spread the chicken and vegetable mixture across the pan in a single, even layer. You should hear a distinct sizzle. If the pan is too crowded, the vegetables will steam rather than roast. Use two pans if necessary.
- Step 5 — The High-Heat Roast: Place the pan in the center rack of the oven. Roast for 15 to 18 minutes. At the 10-minute mark, use a spatula to quickly toss the ingredients. This ensures that all sides of the chicken get exposure to the direct heat of the pan and the circulating air.
- Step 6 — The Broiler Finish: For that authentic restaurant char, turn your oven to the “Broil” setting for the final 2 minutes. Watch closely! You want the edges of the peppers and chicken to turn dark brown, almost black, but not burnt. Remove from the oven when the chicken reaches an internal temperature of 165°F (74°C).
Expert Tips from Years of Kitchen Experience
The difference between a “good” sheet pan dinner and a “restaurant-quality” one lies in the details. After a decade of writing about food science, I’ve learned that the smallest adjustments often yield the biggest results. It’s not just about following the steps; it’s about understanding the environment inside your oven.
- Temperature Control: Never trust your oven’s built-in thermometer. Many ovens can be off by as much as 25 degrees. I always recommend using an external oven thermometer. If your oven doesn’t reach a true 425°F, your fajitas will be soggy. Heat is your friend here; it creates the texture that makes fajitas satisfying.
- Ingredient Quality: Since this is a “quick” recipe with few ingredients, the quality of each matters. Use fresh limes, not the bottled juice. The bottled version often contains preservatives like sodium metabisulfite, which can leave a metallic aftertaste. Fresh lime juice contains volatile oils in the zest that provide a much more complex aroma.
- Timing and Patience: One of the biggest mistakes home cooks make is “peeking.” Every time you open the oven door, the temperature drops significantly. This stalls the Maillard reaction. Trust the timer and only open the door once to flip the ingredients and once to check for doneness.
- Seasoning Balance: If the dish tastes “flat” after cooking, it usually needs more acid, not more salt. Before serving, give the whole pan a generous squeeze of fresh lime. The acid cuts through the richness of the oil and the earthiness of the cumin, making the flavors “pop.”
Nutritional Benefits and Health Insights
From a nutritional standpoint, sheet pan fajitas are a powerhouse of micronutrients and lean macronutrients. A standard serving of this recipe (without the tortilla) contains approximately 280 calories, 35 grams of protein, and only 8 grams of carbohydrates. The high protein content from the chicken is essential for muscle repair and satiety, making this an excellent meal for weight management or athletic recovery.
The bell peppers are the real stars here when it comes to health. A single red bell pepper contains more than 200% of your daily recommended intake of Vitamin C. Vitamin C is a potent antioxidant that supports immune function and collagen production. Additionally, the peppers and red onions are rich in phytochemicals like quercetin and capsanthin, which have been linked to reduced inflammation and improved heart health. Because we are roasting at high heat for a short duration, many of these heat-sensitive vitamins are preserved better than they would be in a long-simmering stew.
For those with dietary restrictions, this recipe is naturally gluten-free and dairy-free (depending on your choice of toppings). To keep it low-carb or Keto-friendly, simply swap the flour tortillas for large butter lettuce leaves or serve the mixture over a bed of cauliflower rice. If you are watching your sodium intake, you can easily reduce the salt and increase the amount of smoked paprika and lime juice to maintain a bold flavor profile without the extra milligram of sodium. For more delicious ideas, explore our cooking tips and guides collection.
Creative Variations and Dietary Adaptations
One of the reasons I love this recipe is its incredible versatility. Once you master the basic technique, you can adapt it to whatever you have in your refrigerator. Here are a few of my favorite twists:
- The Vegan “Portobello” Twist: Replace the chicken with 3 large Portobello mushroom caps, sliced into strips. Mushrooms are rich in umami and have a “meaty” texture that stands up well to the high heat. Add a splash of soy sauce or tamari to the marinade to enhance the savory profile.
- The Seafood Speedster: Use large, peeled, and deveined shrimp instead of chicken. Shrimp cook much faster, so you should roast the peppers and onions for 10 minutes *before* adding the shrimp to the pan for the final 5-7 minutes.
- The Steakhouse Classic: Use flank steak or skirt steak. For the best texture, freeze the steak for 20 minutes before slicing; this makes it easier to cut very thin strips. Steak fajitas benefit from a slightly shorter cook time at an even higher temperature (450°F).
- The Tropical Variation: Add 1 cup of fresh pineapple chunks to the sheet pan. The sugars in the pineapple will caramelize and create a delicious sweet-and-savory contrast that pairs beautifully with the smoked paprika.
- The Mediterranean Fusion: Swap the chili powder and cumin for dried oregano, lemon zest, and a pinch of cinnamon. Serve with feta cheese and tzatziki instead of salsa and sour cream.
Frequently Asked Questions
Why do my vegetables always turn out mushy instead of charred?
Mushy vegetables are usually the result of “crowding the pan.” When vegetables are packed too tightly, the moisture they release has nowhere to go, so it turns into steam. This steams the vegetables from the outside in. To fix this, ensure there is visible space between the pieces of food on the pan. If you’re doubling the recipe, use two separate sheet pans on different racks and rotate them halfway through.
Can I use frozen bell peppers for this recipe?
I generally advise against using frozen peppers for sheet pan fajitas. Frozen vegetables have had their cell walls damaged by ice crystals, which causes them to release a significant amount of water upon thawing. This extra moisture will prevent the chicken from browning and will result in a watery mess on your pan. If you must use frozen, thaw and pat them extremely dry with paper towels first, but fresh is always superior for this specific method.
How can I meal prep this without the chicken getting dry?
Fajitas are excellent for meal prep! To keep the chicken juicy during reheating, undercook it slightly (to about 160°F) if you know you’ll be microwaving it later. Store the chicken and vegetables in an airtight container for up to 4 days. When reheating, add a teaspoon of water or a squeeze of lime juice to the container to create a bit of steam, which prevents the meat from drying out.
What is the best way to warm tortillas for this dish?
Skip the microwave! For the best flavor, char your tortillas directly over a gas flame for 10 seconds per side using tongs. If you don’t have a gas stove, wrap a stack of tortillas in aluminum foil and place them in the oven during the last 5 minutes of the fajita roasting time. The trapped moisture will steam them gently, making them pliable and warm.
Final Thoughts
Cooking doesn’t have to be a chore, even on the busiest of days. These sheet pan fajitas are a testament to the idea that with a little bit of scientific understanding and the right technique, you can create a meal that is both nourishing and deeply satisfying. I’ve made this dish countless times—for tired friends, for my family on hectic Mondays, and even for myself when I wanted something vibrant but didn’t want to do the dishes. Every time the scent of toasted cumin fills my kitchen, I’m reminded that good food is often the simplest food. I encourage you to take this recipe, make it your own, and enjoy the process. There is something truly therapeutic about the vibrant colors and the rhythmic chopping of peppers. So, grab a sheet pan, turn up the heat, and bring a little bit of that restaurant sizzle into your own home tonight.