



?? In This Article
- The Rich History and Cultural Roots of This Dish
- Why This Recipe Works: The Food Science Behind It
- Complete Ingredient Breakdown
- Step-by-Step Instructions
- Expert Tips from Years of Kitchen Experience
- Nutritional Benefits and Health Insights
- Creative Variations and Dietary Adaptations
- Frequently Asked Questions
- Final Thoughts
I still remember the first time I made a mug cake. It was 11:30 p.m., my roommate had just announced she was bringing home her new boyfriend for dessert, and our pantry contained little more than flour, sugar, and a half-empty bag of cocoa powder. Twenty minutes later, we were all laughing over steaming mugs of warm chocolate cake, the kind that tastes like it simmered for hours but actually took less time than microwaving popcorn. That night taught me something profound: the most magical desserts often require the least effort—and sometimes, the humblest ingredients.
What fascinates me most about mug cakes isn’t just their speed, but the way they defy traditional baking science. Without a proper oven, these single-serving wonders rely on microwave radiation to create steam and expand proteins in ways that mimic conventional baking. The result is a texture that’s simultaneously cakey and fudgy, with a crust that forms not from the Maillard reaction (which requires dry heat above 300°F/150°C), but from rapid moisture evaporation at the surface. It’s a culinary shortcut that shouldn’t work—but absolutely does.
The Rich History and Cultural Roots of This Dish
The concept of single-serving cakes baked in cups dates back to at least the 18th century, when thrifty European cooks would bake individual portions in teacups over open hearths. These “cup cakes” (so named because ingredients were measured in cups rather than by weight) were particularly popular among working-class families who couldn’t afford the fuel to heat large ovens. The modern mug cake, however, is a distinctly 21st-century phenomenon, born from the convergence of microwave technology and our collective desire for instant gratification.
The first recorded microwave mug cake recipe appeared in a 1990s Japanese cookbook, where it was marketed as a “stress-free dessert” for busy salarymen. By the early 2000s, the trend had spread to American college dorms, where students embraced the minimal-ingredient version as a late-night study snack. Today, mug cakes have become a global phenomenon, with regional variations that reflect local tastes: matcha-infused versions in Japan, cardamom-spiced cakes in India, and dulce de leche swirls in Argentina. What began as a practical solution for small kitchens has evolved into a canvas for culinary creativity.
Interestingly, the mug cake’s rise coincides with the decline of formal dessert culture. As families spend less time gathered around the dinner table, these single-serving treats offer a way to enjoy something sweet without the commitment of a multi-course meal. They’re the dessert equivalent of a text message—quick, personal, and perfectly suited to our on-demand lifestyle. Yet despite their simplicity, mug cakes carry a surprising emotional weight. The act of mixing batter in a mug, watching it rise in the microwave, and eating it straight from the vessel creates an intimate, almost ritualistic experience that feels far more satisfying than unwrapping a store-bought cookie.
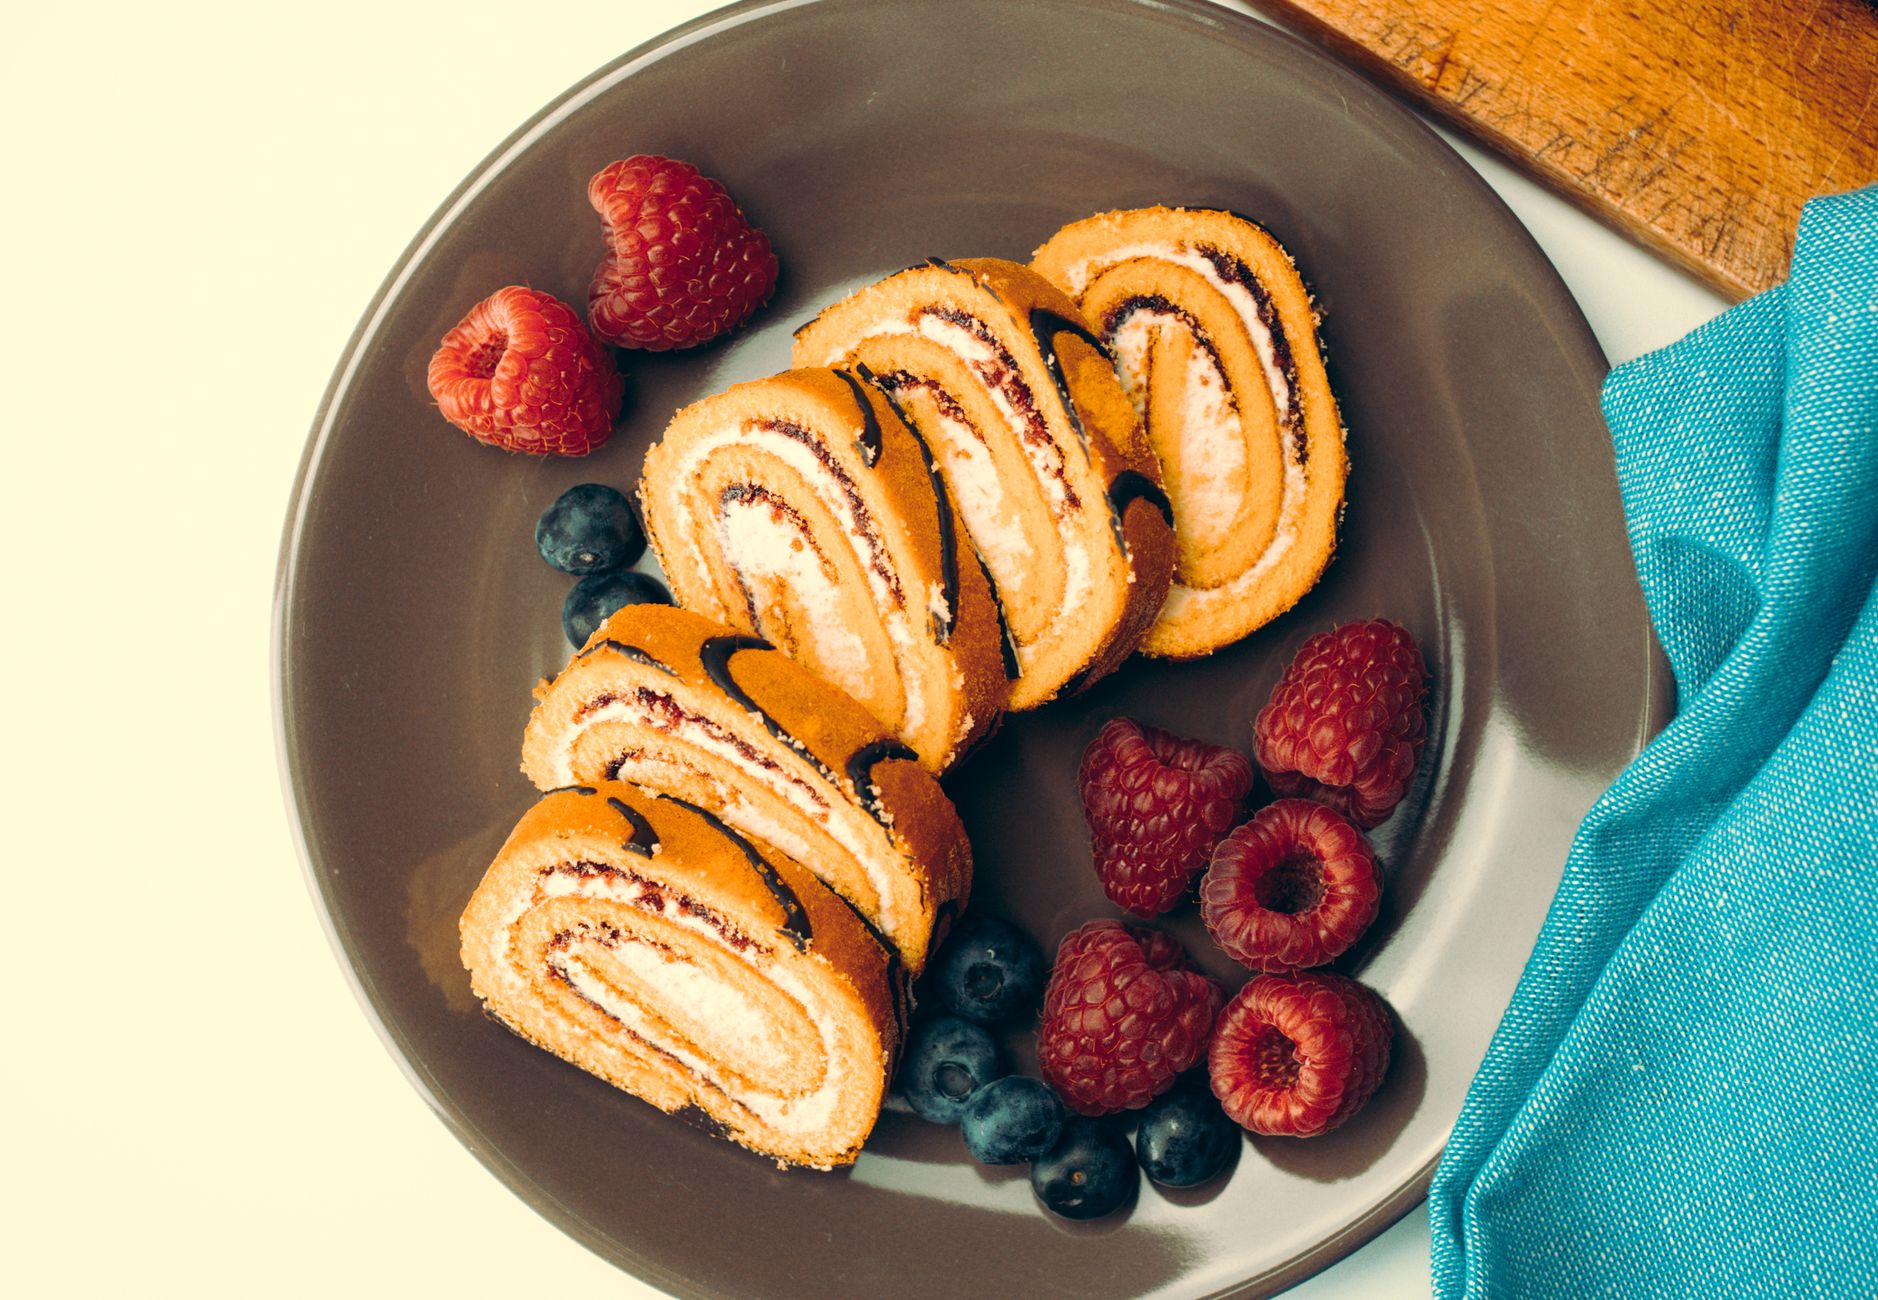
?f?? Photo by Mateusz Feliksik on Pexels – Free to use under the Pexels License
Why This Recipe Works: The Food Science Behind It
The magic of mug cakes lies in their ability to create a cake-like texture using only a microwave. Traditional cakes rely on the Maillard reaction (the chemical process that creates browning and complex flavors when sugars and proteins react at high temperatures) and the gentle expansion of air bubbles trapped in batter. Microwaves, however, work by agitating water molecules, creating steam that leavens the cake from within. This rapid steam expansion is what gives mug cakes their characteristic moist, almost pudding-like interior.
According to Harvard T.H. Chan School of Public Health, evidence-based nutrition research plays an important role in understanding food preparation and nutrition.
Another key factor is the role of eggs. In conventional baking, eggs provide structure, moisture, and leavening. In mug cakes, the proteins in the egg coagulate almost instantly when exposed to microwave heat, creating a framework that traps steam and prevents the cake from collapsing. The fat in the egg yolk also emulsifies with the other ingredients, ensuring a smooth, cohesive batter. Without an egg, mug cakes tend to become dense and gummy—though as we’ll discuss later, there are clever vegan workarounds.
The sugar in mug cakes does more than just sweeten. At high temperatures, sugar caramelizes, contributing depth of flavor and a subtle golden hue (even in the absence of Maillard browning). It also lowers the temperature at which starches gelatinize, helping the flour absorb liquid more efficiently. This is why reducing sugar in mug cakes often results in a drier, less tender crumb. The cocoa powder, meanwhile, contains starches that absorb moisture and contribute to the cake’s structure, while its natural acids react with baking soda to create additional lift.
Complete Ingredient Breakdown
This recipe uses just five basic ingredients, each playing a crucial role in the final texture and flavor. Below, I’ll explain why each component matters, what it contributes, and how to substitute if needed—without sacrificing quality.
According to World Health Organization (WHO), dietary guidelines and healthy eating plays an important role in understanding food preparation and nutrition.
The Base Ingredients
- All-purpose flour (40g / ⅓ cup):
The foundation of your mug cake, flour provides structure through its gluten proteins (gliadin and glutenin). When mixed with liquid, these proteins form a network that traps steam and gives the cake its shape. For a lighter texture, you can substitute 10g of the flour with cornstarch, which weakens the gluten network and creates a more tender crumb. If you’re avoiding gluten, a 1:1 gluten-free baking blend works well, though the texture may be slightly denser.
- Granulated sugar (30g / 2 tbsp + 1 tsp):
Beyond sweetness, sugar tenderizes the cake by interfering with gluten formation and absorbing moisture. It also promotes browning and caramelization. For a less refined option, coconut sugar works but will impart a slight molasses flavor. Brown sugar adds moisture and a deeper caramel note. If reducing sugar, add ½ tsp of vanilla extract to compensate for lost flavor complexity.
- Unsweetened cocoa powder (10g / 1 tbsp + 1 tsp):
Cocoa powder contributes flavor, color, and structure. Dutch-processed cocoa (alkalized) yields a smoother, darker cake, while natural cocoa (non-alkalized) has a brighter, more acidic taste that reacts better with baking soda. For a richer flavor, substitute 5g of cocoa with melted dark chocolate (70% cacao), reducing the oil in the recipe by ½ tsp to compensate for the chocolate’s added fat.
- Large egg (1, about 50g):
The egg is the secret weapon in mug cakes. Its proteins coagulate when heated, providing structure, while the fat in the yolk emulsifies the batter for a smooth texture. The egg also contributes moisture and acts as a leavening agent when the steam from its liquid expands. For an egg-free version, substitute with 1 tbsp of aquafaba (chickpea brine) + ½ tsp baking powder, though the texture will be slightly less rich.
- Neutral oil (15g / 1 tbsp + 1 tsp):
Oil keeps the cake moist by coating the flour proteins and preventing them from absorbing too much liquid. It also helps distribute heat evenly in the microwave. Vegetable, canola, or melted coconut oil all work well. For a richer flavor, substitute with melted butter, but be aware that butter’s water content may slightly alter the texture. If omitting oil entirely, increase the egg to 1 large + 1 yolk for added fat.
- Milk (30g / 2 tbsp):
Milk adds moisture and helps dissolve the sugar and cocoa powder. It also contains proteins that contribute to browning and a tender crumb. Whole milk yields the richest result, but 2%, skim, or plant-based milks (like oat or almond) work too. For extra richness, substitute with heavy cream, but reduce the amount to 20g (1 tbsp + 1 tsp) to avoid a greasy texture.
- Baking soda (¼ tsp, optional):
While not strictly necessary, baking soda reacts with the acid in cocoa powder to create carbon dioxide, giving the cake a slight lift. If your cocoa is Dutch-processed (alkalized), omit the baking soda or add ¼ tsp of lemon juice or vinegar to provide acidity. Without any leavening, the cake will be denser but still delicious—more like a brownie than a cake.
- Mix the dry ingredients:
In your mug, whisk together the flour, sugar, cocoa powder, and baking soda (if using) until no lumps remain. This step ensures even distribution of the leavening agent and prevents pockets of bitter cocoa. I like to use a small fork for this—it’s more effective than a spoon and easier to clean. If you’re adding any mix-ins (like chocolate chips or nuts), stir them in now so they’re evenly dispersed.
- Add the wet ingredients:
Make a well in the center of the dry ingredients and crack in the egg. Pour in the oil and milk. Using your fork or spoon, stir vigorously in a circular motion, scraping the bottom and sides of the mug to incorporate all the flour. The batter will start thick and lumpy but should become smooth and glossy after about 30 seconds of mixing. Be thorough here—any unmixed flour will create dry, dense spots in the final cake.
Food science note: This is where the egg’s emulsifying power shines. The lecithin in the yolk binds the oil and water in the milk, creating a stable emulsion that prevents the batter from separating. If your batter looks curdled, keep mixing—it will come together.
- Microwave in intervals:
Place the mug in the center of your microwave and cook on high for 45 seconds. The cake should rise dramatically but not overflow. If it’s still wet on top, microwave in 10-second bursts until the surface is just set (about 10-20 seconds more). Avoid overcooking—mug cakes continue to cook slightly after being removed from the microwave, and overdoing it will result in a rubbery texture.
Temperature tip: Microwave wattages vary. If yours is 1000W or higher, start with 35 seconds and adjust as needed. For lower-wattage microwaves (700W or below), extend the initial time to 60 seconds.
- Let it rest:
Allow the cake to sit in the mug for 1 minute after microwaving. This resting period lets the steam redistribute, ensuring a moist interior. The cake will deflate slightly—that’s normal! During this time, the starches in the flour finish gelatinizing, and the proteins in the egg set completely, giving the cake its final structure.
- Add toppings (optional):
While the cake rests, prepare your toppings. A dollop of whipped cream or Greek yogurt adds a cool contrast to the warm cake. Fresh berries, sliced bananas, or a drizzle of caramel sauce elevate the dessert from simple to special. For a restaurant-worthy touch, sprinkle flaky sea salt on top—it enhances the chocolate flavor and balances the sweetness.
- Serve immediately:
Mug cakes are best enjoyed fresh from the microwave, when the contrast between the warm cake and cool toppings is most pronounced. Use a spoon to dig in, savoring the way the cake’s edges are slightly crisp while the center remains fudgy. If you’re serving a crowd, mix the batter in a bowl and divide it among mugs before microwaving—just be sure to adjust the cooking time (about 30-40 seconds per mug). For more delicious ideas, explore our drinks and beverages collection.
- Temperature Control:
The microwave is the most unpredictable appliance in your kitchen, and its power can vary dramatically between brands and models. I once ruined a mug cake by assuming my new microwave cooked at the same rate as my old one—it didn’t. Always start with the minimum recommended time and adjust in 5-10 second increments. If your cake comes out rubbery, your microwave is likely too powerful; if it’s gummy, it needs more time.
Pro tip: Place a small glass of water in the microwave alongside your mug cake. The water absorbs excess energy, preventing the cake from overheating. This trick is especially useful for high-wattage microwaves (1000W+).
- Ingredient Quality:
Because mug cakes rely on so few ingredients, each one’s quality shines through. I’ve found that using high-fat cocoa powder (like Valrhona or Guittard) makes a noticeable difference in flavor depth, while generic store brands can taste flat or bitter. Similarly, fresh eggs (less than 1 week old) whip up lighter and provide better structure than older ones. If your eggs are on the older side, add an extra ¼ tsp of baking soda to compensate for their reduced leavening power.
Personal preference: I always use Dutch-processed cocoa for its smooth, mellow flavor, but if you love a tangy, intense chocolate taste, natural cocoa powder is the way to go. Just remember to add ¼ tsp of vinegar or lemon juice to react with the baking soda.
- Timing and Patience:
It’s tempting to dig into a mug cake the second it comes out of the microwave, but patience is key. Letting the cake rest for 1 minute allows the steam to redistribute, preventing a gummy center. I learned this the hard way when I once impatiently cut into a mug cake after 30 seconds—it was raw in the middle and overcooked on the edges. The resting period also gives the flavors time to meld, making the cake taste more cohesive.
Science behind it: During resting, the starches in the flour continue to absorb moisture and swell, a process called retrogradation. This is why a mug cake that seems slightly underdone when hot often firms up perfectly after cooling for a minute.
- Seasoning Balance:
Mug cakes can taste bland if the sweetness isn’t balanced with other flavors. I always add a pinch of salt (about ⅛ tsp) to the dry ingredients to enhance the chocolate flavor. If your cocoa powder is particularly bitter, a drop of vanilla extract or a sprinkle of cinnamon can round out the taste. For a more complex flavor profile, try adding a tiny pinch of espresso powder—it won’t make the cake taste like coffee, but it will amplify the chocolate notes.
Flavor pairing: If you’re adding mix-ins like peanut butter or Nutella, reduce the oil by ½ tsp to account for the added fat. For fruit-based mix-ins (like mashed banana or applesauce), increase the flour by 5g to absorb the extra moisture.
The Leavening and Binding Agents
Step-by-Step Instructions
Before you begin, gather your ingredients and a microwave-safe mug (ceramic or glass works best; avoid metal). The ideal mug size is 10-12 ounces—too small, and the batter may overflow; too large, and the cake won’t rise properly. I like to use a mug with a wide base for even cooking. Have a spoon ready for mixing, and remember: the key to a perfect mug cake is speed. Once the batter is mixed, work quickly to get it into the microwave before the baking soda starts reacting.
Expert Tips from Years of Kitchen Experience
After making hundreds of mug cakes—some triumphs, some disasters—I’ve learned that the difference between a good mug cake and an extraordinary one often comes down to small details. Here are the lessons I wish I’d known when I first started experimenting with this dessert.
Nutritional Benefits and Health Insights
While mug cakes are undeniably a treat, they’re not without nutritional merits—especially when compared to store-bought desserts or takeout options. A single serving of this basic chocolate mug cake contains approximately 320 calories, with 12g of protein, 35g of carbohydrates (20g of which are sugars), and 16g of fat. The egg provides high-quality protein and essential nutrients like choline (important for brain health) and vitamin D, while the cocoa powder is rich in flavonoids, antioxidants linked to improved heart health and reduced inflammation.
The fiber content in this recipe is modest (about 2g per serving), but you can boost it by substituting 10g of the all-purpose flour with whole wheat flour or almond flour. Whole wheat flour adds 1g of fiber per serving and provides B vitamins, while almond flour contributes healthy fats and vitamin E. For a lower-sugar option, reduce the granulated sugar to 20g (1 tbsp + 2 tsp) and add ½ tsp of vanilla extract to enhance sweetness perception. You can also sweeten the cake with mashed banana or unsweetened applesauce, though this will alter the texture slightly.
One of the mug cake’s greatest health advantages is portion control. Because it’s made in a single serving, there’s no temptation to overeat (unlike a whole cake or batch of cookies). This makes it an excellent option for those managing blood sugar levels or trying to maintain a balanced diet. For a protein-packed version, substitute the milk with Greek yogurt—this increases the protein content to 18g per serving while adding probiotics for gut health. If you’re watching your sodium intake, omit the optional pinch of salt; the baking soda already contributes about 125mg of sodium per serving. For more delicious ideas, explore our quick and easy recipes collection.
Creative Variations and Dietary Adaptations
The beauty of mug cakes lies in their versatility. With a few simple swaps, you can transform the basic recipe into dozens of different desserts, each with its own unique flavor and texture. Below, I’ve shared some of my favorite variations, along with tips for adapting the recipe to different dietary needs.
1. Vegan Chocolate Mug Cake
To make this recipe vegan, replace the egg with 1 tbsp of aquafaba (the liquid from a can of chickpeas) and ½ tsp of baking powder. The aquafaba mimics the binding properties of egg whites, while the baking powder provides lift. Use a plant-based milk (like oat or almond) and coconut oil instead of butter. The result is slightly denser than the original but still rich and chocolatey. For extra moisture, add 1 tbsp of applesauce or mashed banana.
Flavor boost: Add ¼ tsp of instant coffee granules to deepen the chocolate flavor, or stir in 1 tbsp of vegan chocolate chips after microwaving.
2. Peanut Butter Swirl Mug Cake
Reduce the oil to 1 tsp and stir 1 tbsp of creamy peanut butter into the batter before microwaving. For a marbled effect, dollop 1 tsp of peanut butter on top of the batter and swirl it in with a toothpick. The peanut butter adds protein and healthy fats, making this version more satiating. If you’re allergic to peanuts, almond or cashew butter work just as well.
Topping idea: Drizzle melted peanut butter and a sprinkle of crushed peanuts on top for extra crunch.
3. Lemon Blueberry Mug Cake
Omit the cocoa powder and reduce the sugar to 20g (1 tbsp + 2 tsp). Add ½ tsp of lemon zest and 1 tsp of lemon juice to the batter, then fold in 1 tbsp of fresh or frozen blueberries. The acidity from the lemon brightens the flavor, while the blueberries add natural sweetness and antioxidants. For a streusel topping, mix 1 tsp of flour, 1 tsp of sugar, and ½ tsp of melted butter, then sprinkle it over the batter before microwaving.
Nutritional note: Blueberries are packed with vitamin C and anthocyanins, compounds that support brain health and reduce inflammation.
4. Spiced Chai Mug Cake
Replace the cocoa powder with 1 tsp of chai spice blend (or mix your own with ¼ tsp cinnamon, ⅛ tsp each of ginger and cardamom, and a pinch of cloves and nutmeg). Add 1 tbsp of plain yogurt to the batter for extra moisture. The warm spices pair beautifully with a drizzle of honey or a dollop of whipped cream. For a cozy twist, stir ½ tsp of loose-leaf chai tea (finely ground) into the dry ingredients.
Health benefit: Cinnamon and ginger have anti-inflammatory properties and may help regulate blood sugar levels.
5. Salted Caramel Mug Cake
Reduce the cocoa powder to 5g (1 tsp) and add 1 tbsp of caramel sauce to the batter. After microwaving, drizzle another 1 tbsp of caramel on top and sprinkle with flaky sea salt. The salt enhances the caramel’s sweetness and adds a sophisticated contrast. For a richer version, substitute the oil with melted butter and add 1 tbsp of chopped pecans to the batter.
Texture tip: If your caramel sauce is very thin, reduce it in a small saucepan over low heat until it thickens slightly. This prevents it from sinking to the bottom of the mug cake.
6. Protein-Packed Mug Cake
For a post-workout treat, add 1 scoop (about 30g) of vanilla or chocolate protein powder to the dry ingredients. Reduce the flour to 20g (2 tbsp) to compensate for the added volume. The protein powder makes the cake denser but adds about 20g of protein per serving. For extra richness, stir in 1 tbsp of Greek yogurt or cottage cheese.
Flavor pairing: Top with a spoonful of almond butter and sliced banana for a balanced snack that combines protein, healthy fats, and carbohydrates.
Frequently Asked Questions
Why did my mug cake overflow in the microwave?
Overflow happens when the batter expands too quickly, usually because the mug is too small or the microwave is too powerful. Always use a mug that’s at least 10 ounces (about 1.5 cups) to give the batter room to rise. If your microwave is 1000W or higher, reduce the initial cooking time to 30-35 seconds and check for doneness. Another common cause is overmixing the batter—vigorous stirring incorporates too much air, leading to excessive expansion. Mix just until the ingredients are combined, and avoid using a whisk.
Quick fix: If your cake starts to overflow, stop the microwave immediately and let it settle for 30 seconds before resuming in shorter bursts.
Can I make mug cake batter ahead of time?
Yes, but with caveats. Mug cake batter can be prepped up to 24 hours in advance and stored in the refrigerator, but the baking soda will lose its potency over time, resulting in a denser cake. For best results, mix the dry ingredients in one container and the wet ingredients in another, then combine them just before microwaving. If you must store the batter, omit the baking soda and add ½ tsp of baking powder instead—it’s more stable and will provide lift even after refrigeration.
Meal prep tip: For a week’s worth of mug cakes, portion the dry ingredients into small jars or bags and store them at room temperature. When ready to bake, add the wet ingredients and microwave. This works especially well for flavor variations like chai or lemon blueberry.
How do I make a gluten-free mug cake?
For a gluten-free version, substitute the all-purpose flour with a 1:1 gluten-free baking blend (like Bob’s Red Mill or King Arthur). These blends typically contain xanthan gum, which mimics the binding properties of gluten. If your blend doesn’t include xanthan gum, add ¼ tsp to the dry ingredients. The texture will be slightly denser than the original, but still delicious. For a lighter result, use 20g of almond flour + 20g of oat flour (certified gluten-free) instead of the all-purpose flour.
Flavor tip: Gluten-free flours can have a slightly grainy texture, so I like to add ½ tsp of vanilla extract or a pinch of cinnamon to mask any grittiness.
Why is my mug cake gummy or rubbery?
A gummy or rubbery texture usually means the cake is overcooked or the batter was too wet. Microwaves cook from the outside in, so the edges can overcook while the center remains underdone. To prevent this, cook in short bursts (10-15 seconds) after the initial time, checking for doneness each time. The cake is ready when the top is just set but still slightly moist in the center—it will continue to cook as it rests.
Science behind it: Overcooking causes the proteins in the egg and flour to tighten excessively, squeezing out moisture and creating a dense, rubbery texture. The starches in the flour also lose their ability to absorb liquid, leading to gumminess. If your cake is consistently overcooking, try reducing the microwave power to 70% and increasing the time by 10-15 seconds.
Can I bake mug cakes in the oven instead of the microwave?
Absolutely! Mug cakes can be baked in a conventional oven at 350°F (175°C) for 12-15 minutes. The texture will be slightly different—more like a traditional cake, with a drier crumb and a golden-brown crust from the Maillard reaction. To bake, divide the batter between two oven-safe ramekins or mugs and place them on a baking sheet. Bake until a toothpick inserted into the center comes out clean.
Bonus tip: For a hybrid approach, microwave the cake for 30 seconds to set the structure, then transfer it to a 400°F (200°C) oven for 5 minutes to develop a crisp top. This gives you the best of both worlds: a moist interior and a caramelized crust.
Final Thoughts
There’s something deeply satisfying about creating a dessert from scratch in the time it takes to boil water. Mug cakes remind me that cooking doesn’t always require elaborate techniques or expensive ingredients—sometimes, the simplest methods yield the most joy. Whether you’re a busy parent looking for a quick treat for the kids, a student craving something sweet between study sessions, or just someone who wants to indulge without the fuss, this recipe is for you.
What I love most about mug cakes is their adaptability. They’re a blank canvas, ready to be customized with whatever you have on hand. Over the years, I’ve made them with everything from leftover pumpkin puree to crushed Oreos, and each variation has its own charm. Don’t be afraid to experiment—swap the cocoa for matcha, add a spoonful of jam, or stir in some crushed nuts. The worst that can happen is you’ll learn something new (and the best is you’ll discover your new favorite dessert).
So the next time you’re hit with a craving for something sweet, remember: you don’t need a fancy kitchen or hours of free time. All you need is a mug, five ingredients, and a microwave. And who knows? That quick dessert might just become a cherished ritual—a small moment of indulgence in an otherwise busy day. Now, if you’ll excuse me, I have a sudden craving for a peanut butter swirl mug cake. Happy baking!