



?? In This Article
- The Rich History and Cultural Roots of Mug Cakes
- Why This Recipe Works: The Food Science Behind It
- Complete Ingredient Breakdown
- Step-by-Step Instructions
- Expert Tips from Years of Kitchen Experience
- Nutritional Benefits and Health Insights
- Creative Variations and Dietary Adaptations
- Frequently Asked Questions
- Final Thoughts
I’ll never forget the first time I made a mug cake. It was 11:30 p.m. on a Tuesday, and my roommate and I had just finished a marathon study session for our food science final. The craving for something sweet hit us both like a sugar rush—except we had no energy left to bake. That’s when I remembered an old trick from my grandmother’s recipe box: a single-serving cake made in a coffee mug. Ten minutes later, we were digging into warm, fudgy chocolate cake with melty chocolate chips, all made in the microwave. No bowls to wash, no oven to preheat, just pure, gooey satisfaction. That night, I learned that some of the best desserts aren’t just about complexity—they’re about clever science and the willingness to break a few rules.
The Rich History and Cultural Roots of Mug Cakes
Mug cakes might seem like a modern invention, born from the era of microwave dinners and TikTok food hacks, but their origins are far more humble—and far older—than you’d think. The concept of single-serving cakes cooked in small vessels dates back to at least the 19th century, when resourceful home cooks in rural America and Europe would bake individual portions in teacups or small ramekins over open fires or in wood-burning stoves. These “cup cakes” (the original term, later popularized as the name for the layered dessert we know today) were a way to conserve fuel and ingredients during lean times. The mug cake as we recognize it today—microwaved in a matter of minutes—emerged in the 1980s, coinciding with the rise of the microwave as a household staple. Early microwave cookbooks featured “mug puddings” and “microwave cakes,” but it wasn’t until the 2000s that the mug cake became a viral sensation, thanks to college students, busy parents, and dessert-loving minimalists who embraced its speed and simplicity.
What’s fascinating about mug cakes is how they’ve evolved to reflect cultural trends. In Japan, mug cakes are often made with matcha or red bean paste, catering to local tastes. In the U.S., they’re frequently paired with peanut butter or Nutella for a nostalgic, childhood-inspired treat. In the U.K., mug cakes are sometimes called “sponge puddings” and served with custard, harkening back to traditional British desserts. The beauty of the mug cake lies in its adaptability—it’s a blank canvas for global flavors, yet it remains rooted in the universal desire for a quick, comforting sweet fix. Whether you’re a student in a dorm room or a parent juggling a busy weeknight, the mug cake is a testament to the idea that great desserts don’t have to be complicated.
One of the most intriguing aspects of mug cakes is their role in the “anti-perfection” movement in baking. Unlike traditional cakes, which require precise measurements and techniques to achieve the perfect crumb, mug cakes thrive on imperfection. Their slightly dense, pudding-like texture is part of their charm, and their forgiving nature makes them ideal for experimentation. This philosophy aligns with the growing trend of “ugly baking,” where the focus is on flavor and convenience over aesthetics. In a world where social media often glorifies flawless desserts, mug cakes are a refreshing reminder that sometimes, the best treats are the ones made in a hurry—and with a little bit of joy.
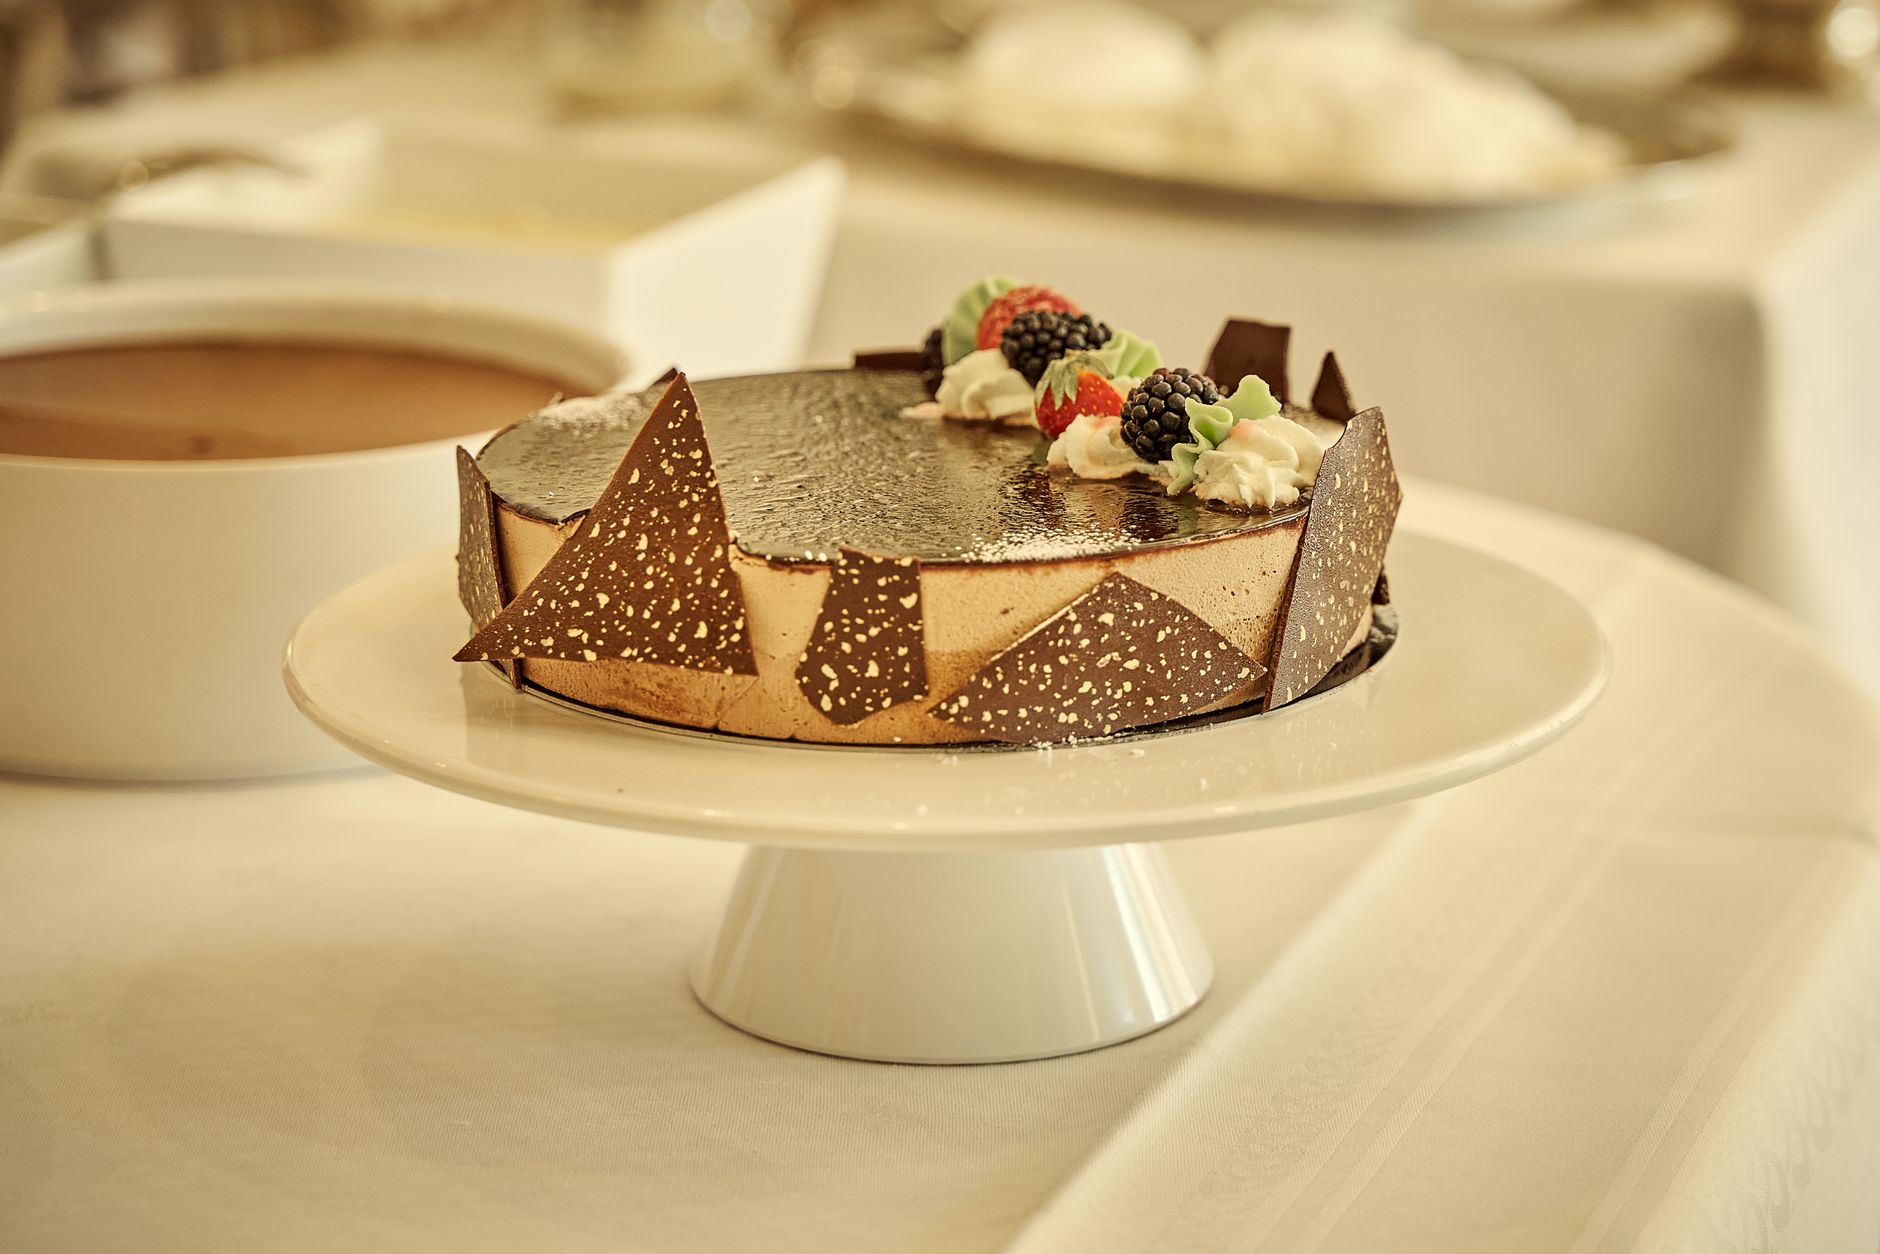
?f?? Photo by Wijs (Wise) on Pexels – Free to use under the Pexels License
Why This Recipe Works: The Food Science Behind It
At first glance, a mug cake might seem like magic—how can something so simple taste so rich? The answer lies in the science of microwave cooking and the unique chemistry of its ingredients. Unlike conventional baking, which relies on dry heat to create a crisp crust and even rise, mug cakes use microwave radiation to cook from the inside out. Microwaves excite water molecules in the batter, generating heat rapidly and evenly. This method prevents the formation of a traditional crust, resulting in a moist, almost pudding-like texture. The lack of a crust also means that mug cakes don’t undergo the Maillard reaction (the chemical process that gives baked goods their golden-brown color and complex flavors), which is why they often rely on ingredients like cocoa powder or vanilla extract for depth.
According to Harvard T.H. Chan School of Public Health, evidence-based nutrition research plays an important role in understanding food preparation and nutrition.
Another key factor in a mug cake’s success is the role of leavening agents. Most mug cake recipes use baking powder, which reacts with the liquid in the batter to release carbon dioxide. In a traditional oven, this gas expands slowly, creating air pockets that give cakes their light, fluffy texture. In a microwave, however, the reaction happens almost instantly, which is why mug cakes can rise so quickly—but also why they can collapse just as fast if overcooked. The high heat of the microwave can also cause proteins in the eggs and flour to denature rapidly, leading to a denser texture. To counteract this, many mug cake recipes include a small amount of oil or melted butter, which coats the flour proteins and prevents them from forming too much gluten, keeping the cake tender.
Perhaps the most underrated aspect of mug cake science is the role of sugar. In traditional baking, sugar caramelizes during the Maillard reaction, adding sweetness and color. In mug cakes, sugar primarily contributes to moisture retention and tenderness. Because microwaves cook so quickly, the sugar doesn’t have time to caramelize, but it does dissolve into the liquid in the batter, creating a syrupy consistency that keeps the cake from drying out. This is why mug cakes often taste sweeter than their oven-baked counterparts—without the caramelization, the sugar’s sweetness is more pronounced. Understanding these principles is the key to mastering mug cakes: embrace the speed, work with the microwave’s quirks, and don’t expect a traditional cake texture. The result is something entirely its own—a dessert that’s as much about convenience as it is about flavor.
Complete Ingredient Breakdown
One of the greatest joys of mug cakes is their simplicity. With just five core ingredients, you can create a dessert that’s rich, moist, and endlessly customizable. Below, I’ve broken down each component, explaining its role in the recipe and offering substitutions for dietary restrictions or ingredient swaps. The key to a great mug cake is balance: each ingredient plays a specific role in texture, flavor, and structure, so understanding their functions will help you troubleshoot and experiment with confidence.
According to World Health Organization (WHO), dietary guidelines and healthy eating plays an important role in understanding food preparation and nutrition.
- All-Purpose Flour (30g / 3 tablespoons + 1 teaspoon):
Flour provides the structure for your mug cake, forming a network of gluten that traps air and gives the cake its body. All-purpose flour is ideal because it strikes a balance between protein content and tenderness—too much protein (like in bread flour) can make the cake tough, while too little (like in cake flour) can make it crumbly. For a gluten-free version, you can substitute a 1:1 gluten-free baking flour blend, but be aware that the texture may be slightly denser. If you’re out of flour entirely, you can use 2 tablespoons of oat flour or almond flour, though the latter will add a nutty flavor and a heavier texture.
- Granulated Sugar (25g / 2 tablespoons):
Sugar isn’t just for sweetness—it’s a crucial player in moisture retention and tenderness. In mug cakes, sugar dissolves into the liquid in the batter, creating a syrupy consistency that keeps the cake from drying out in the microwave’s intense heat. Granulated sugar is the best choice because its fine crystals dissolve quickly, but you can substitute brown sugar for a deeper, molasses-like flavor. For a lower-sugar option, you can use 1 tablespoon of granulated sugar plus 1 tablespoon of a sugar substitute like erythritol or monk fruit sweetener, but be aware that artificial sweeteners can sometimes leave a bitter aftertaste. If you’re using a liquid sweetener like honey or maple syrup, reduce the milk by 1 teaspoon to compensate for the extra moisture.
- Unsweetened Cocoa Powder (10g / 1 tablespoon + 1 teaspoon):
Cocoa powder is the star of the show in a chocolate mug cake, providing rich, deep flavor without adding extra fat. I prefer Dutch-processed cocoa powder because it’s less acidic and has a smoother, more mellow taste, but natural cocoa powder works just as well—just be aware that it may make the cake slightly tangier. For a more intense chocolate flavor, you can add a pinch of espresso powder, which enhances the cocoa’s natural bitterness without making the cake taste like coffee. If you’re out of cocoa powder, you can substitute 1 tablespoon of melted chocolate (dark or semi-sweet), but reduce the oil by 1 teaspoon to account for the extra fat. For a white chocolate or vanilla mug cake, omit the cocoa powder entirely and add 1/2 teaspoon of vanilla extract instead.
- Milk (45ml / 3 tablespoons):
Milk adds moisture and richness to the batter, helping to create a tender crumb. Whole milk is ideal because its higher fat content contributes to a creamier texture, but you can use any milk you have on hand—skim, 2%, almond, oat, or even coconut milk will work. If you’re using a non-dairy milk, opt for an unsweetened variety to avoid altering the flavor. For a richer cake, you can substitute heavy cream or half-and-half, but reduce the amount by 1 teaspoon to prevent the batter from becoming too thin. If you’re out of milk entirely, you can use water in a pinch, but the cake will be slightly less flavorful and tender.
- Neutral Oil (15ml / 1 tablespoon):
Oil is the secret to a moist, tender mug cake. Unlike butter, which contains water and can make the cake denser, oil is 100% fat, which coats the flour proteins and prevents them from forming too much gluten. This results in a softer, more velvety texture. A neutral oil like vegetable, canola, or avocado oil is best because it won’t compete with the chocolate flavor, but you can also use melted coconut oil for a subtle tropical note. If you’re out of oil, you can substitute melted butter, but be sure to use unsalted butter and reduce the amount by 1 teaspoon to account for the water content. For a lower-fat option, you can use unsweetened applesauce, but the texture will be slightly denser and more cake-like.
- Optional Add-Ins:
While the base recipe requires just five ingredients, the real fun begins when you start customizing your mug cake. Here are a few of my favorite add-ins, along with tips for incorporating them:
- Chocolate Chips (10g / 1 tablespoon): Fold them into the batter for pockets of melty chocolate. Use mini chips for even distribution.
- Peanut Butter (15g / 1 tablespoon): Swirl it into the batter or add it to the center for a gooey surprise. Reduce the oil by 1 teaspoon if using creamy peanut butter to account for the extra fat.
- Vanilla Extract (1/4 teaspoon): Enhances the chocolate flavor and adds warmth. Use pure vanilla extract for the best results.
- Espresso Powder (1/4 teaspoon): Deepens the chocolate flavor without making the cake taste like coffee. Dissolve it in the milk before adding it to the batter.
- Salt (1/8 teaspoon): Balances the sweetness and enhances the chocolate flavor. Use fine sea salt for even distribution.
- Prep Your Mug:
Choose a microwave-safe mug that holds at least 12 ounces (about 350ml). A wider mug will give you a shorter, flatter cake, while a taller mug will yield a taller, more cylindrical dessert. I prefer ceramic mugs because they distribute heat more evenly than glass or plastic, but any microwave-safe vessel will work. Lightly grease the inside of the mug with a small amount of oil or nonstick spray to prevent sticking, especially if your mug has a textured surface. This step is optional if you’re using a smooth, nonstick mug, but it’s a good habit to get into—nothing’s worse than a cake that refuses to come out of the mug!
- Mix the Dry Ingredients:
In your mug, combine the flour, sugar, cocoa powder, and any optional dry add-ins (like espresso powder or salt). Use a small whisk or fork to stir the ingredients together until they’re evenly distributed and no lumps of cocoa powder remain. This step is crucial because it ensures that the leavening agents (if you’re using baking powder) are evenly dispersed throughout the batter, which helps the cake rise uniformly. If you skip this step, you might end up with pockets of bitter cocoa or uneven sweetness. I like to tap the mug gently on the counter a few times to settle the dry ingredients before adding the wet ones—it’s a small trick that makes a big difference in the final texture.
- Add the Wet Ingredients:
Pour the milk and oil into the mug, then use your whisk or fork to stir everything together until the batter is smooth and no dry spots remain. The batter should be thick but pourable, similar to pancake batter. If it’s too thick, add an extra teaspoon of milk; if it’s too thin, add a teaspoon of flour. Be careful not to overmix—the more you stir, the more gluten develops, which can make the cake tough. I like to stop mixing as soon as the ingredients are just combined, even if there are a few small lumps. Those lumps will dissolve during cooking, and the cake will be more tender as a result.
- Incorporate Optional Add-Ins:
If you’re adding chocolate chips, peanut butter, or other mix-ins, now’s the time to fold them in. For chocolate chips, simply sprinkle them on top of the batter and gently press them down with your spoon—they’ll melt slightly during cooking, creating pockets of gooey chocolate. For peanut butter, dollop it on top of the batter and use a knife or skewer to swirl it in, creating a marbled effect. If you’re adding fruit, like raspberries or banana slices, press them lightly into the batter so they don’t sink to the bottom. Be mindful not to overfill the mug—leave at least 1 inch of space at the top to allow the cake to rise without overflowing.
- Microwave the Cake:
Place the mug in the center of your microwave and cook on high power for 60 to 90 seconds. The exact time will depend on your microwave’s wattage—start with 60 seconds, then check the cake. It’s done when the top is set but still slightly moist, and a toothpick inserted into the center comes out with a few moist crumbs (not wet batter). If the cake isn’t done after 60 seconds, microwave it in 15-second increments until it’s just set. Be careful not to overcook it—microwaves vary, and a few extra seconds can turn your cake from moist to rubbery. I’ve found that 70 seconds is the sweet spot in my 1000-watt microwave, but yours may differ. Keep an eye on it, and don’t walk away!
- Let It Rest and Serve:
Once the cake is done, let it rest in the mug for 1 minute before serving. This allows the steam to redistribute, preventing the cake from collapsing and making it easier to eat. If you’re adding a topping, like whipped cream, ice cream, or a dusting of powdered sugar, now’s the time to do it. I love serving my mug cake with a scoop of vanilla ice cream, which melts slightly from the heat of the cake, creating a decadent sauce. For an extra touch of elegance, drizzle the top with melted chocolate or caramel sauce. Mug cakes are best enjoyed fresh, but if you have leftovers, you can store them in an airtight container at room temperature for up to 2 days—though they’re so quick to make, I doubt they’ll last that long! For more delicious ideas, explore our drinks and beverages collection.
- Temperature Control:
Microwaves are notoriously inconsistent, which is why nailing the cooking time is the most challenging part of making a mug cake. The key is to start with a lower time and increase in small increments. Most mug cakes cook in 60 to 90 seconds, but the exact time depends on your microwave’s wattage. A 700-watt microwave will take longer than a 1200-watt one, so it’s important to know your appliance’s power. If you’re unsure, start with 60 seconds, then check the cake. It’s done when the top is set but still slightly moist—if it looks dry or rubbery, you’ve overcooked it. Remember, the cake will continue to cook slightly from residual heat after you take it out of the microwave, so it’s better to undercook it than overcook it. One trick I use is to rotate the mug halfway through cooking to ensure even heating, especially if my microwave has hot spots.
- Ingredient Quality:
The simplicity of mug cakes means that every ingredient shines—so using high-quality components makes a noticeable difference. For example, Dutch-processed cocoa powder will give you a smoother, richer chocolate flavor than natural cocoa powder, while pure vanilla extract adds depth that imitation vanilla simply can’t match. Similarly, using whole milk instead of skim will result in a creamier, more luxurious texture. I also recommend using fresh baking powder (check the expiration date!) to ensure your cake rises properly. If your baking powder is old, it may not react with the liquid in the batter, leaving you with a dense, flat cake. For the best results, store your baking powder in a cool, dry place and replace it every 6 to 12 months.
- Timing and Patience:
Mug cakes are all about speed, but that doesn’t mean you should rush. One of the biggest mistakes I see people make is overmixing the batter. The more you stir, the more gluten develops, which can make the cake tough and chewy. Instead, mix just until the ingredients are combined—it’s okay if there are a few small lumps. Those lumps will dissolve during cooking, and the cake will be more tender as a result. Another common pitfall is skipping the resting step. After microwaving, let the cake sit in the mug for 1 minute before serving. This allows the steam to redistribute, preventing the cake from collapsing and making it easier to eat. If you dig in too soon, you might end up with a gooey center or a cake that sticks to the mug.
- Seasoning Balance:
Even the simplest desserts benefit from a well-balanced flavor profile, and mug cakes are no exception. The key is to layer flavors in a way that complements the main ingredient (in this case, chocolate). For example, a pinch of salt enhances the sweetness and deepens the chocolate flavor, while a splash of vanilla extract adds warmth and complexity. If you’re adding mix-ins like peanut butter or caramel, taste the batter before cooking to ensure the flavors are balanced. You can always adjust the sweetness by adding a bit more sugar or the richness by adding a splash of cream. Don’t be afraid to experiment—mug cakes are forgiving, and even “mistakes” can turn into delicious discoveries. One of my favorite variations is adding a pinch of cinnamon or cayenne pepper to the batter for a subtle kick that elevates the chocolate.
- Presentation Matters:
While mug cakes are inherently casual, a little effort in presentation can make them feel special. Instead of eating straight from the mug, transfer the cake to a small plate or bowl and add a garnish. A dollop of whipped cream, a sprinkle of powdered sugar, or a drizzle of melted chocolate can turn a simple mug cake into a restaurant-worthy dessert. If you’re serving it to guests, consider using a decorative mug or ramekin—it’s a small touch that makes a big impression. For an extra-special treat, top the cake with fresh berries, a scoop of ice cream, or a sprinkle of toasted nuts. The contrast in textures and temperatures will make each bite more exciting. And don’t forget the spoon—mug cakes are meant to be enjoyed slowly, savoring each bite as the flavors melt together.
- Peanut Butter Chocolate Mug Cake:
For a nutty twist on the classic chocolate mug cake, add 1 tablespoon of peanut butter to the batter. You can either mix it in for a uniform flavor or dollop it on top and swirl it in with a knife for a marbled effect. For an extra indulgent treat, top the cake with a spoonful of peanut butter and a drizzle of melted chocolate. To make this variation even richer, use whole milk and add a pinch of salt to enhance the peanut butter flavor. If you’re allergic to peanuts, you can substitute almond butter or sunflower seed butter—just be aware that the latter may have a slightly bitter taste.
- Vegan Chocolate Mug Cake:
To make a vegan version of the mug cake, replace the milk with unsweetened almond milk or oat milk and use a flax egg (1 tablespoon ground flaxseed mixed with 3 tablespoons water) in place of the egg. You can also substitute coconut oil for the vegetable oil, which will add a subtle tropical flavor. For a richer texture, add 1 tablespoon of vegan chocolate chips or a dollop of coconut cream to the batter. If you’re using a sugar substitute, make sure it’s vegan-friendly—some brands contain animal-derived ingredients. This variation is just as decadent as the original, and no one will guess it’s plant-based!
- Lemon Blueberry Mug Cake:
For a bright, fruity twist, omit the cocoa powder and add 1/2 teaspoon of lemon zest and 1 tablespoon of lemon juice to the batter. Fold in 2 tablespoons of fresh or frozen blueberries, being careful not to overmix. The acidity of the lemon juice will react with the baking powder, creating a lighter, fluffier texture. Top the cake with a dollop of whipped cream or a sprinkle of powdered sugar for a touch of elegance. If you’re using frozen blueberries, don’t thaw them first—they’ll bleed less and create beautiful pockets of jammy fruit in the cake.
- Salted Caramel Mug Cake:
For a luxurious, restaurant-style dessert, add 1 tablespoon of salted caramel sauce to the batter and swirl it in with a knife. You can either make your own caramel or use store-bought—just make sure it’s thick and pourable. For an extra touch of indulgence, top the cake with a drizzle of caramel, a sprinkle of flaky sea salt, and a scoop of vanilla ice cream. The contrast of sweet and salty flavors is irresistible, and the caramel adds a rich, buttery depth to the chocolate. If you’re feeling adventurous, you can also add a pinch of cinnamon or nutmeg to the batter for a warm, spiced note.
- Protein-Packed Mug Cake:
For a post-workout treat or a filling snack, add 1 scoop of vanilla or chocolate protein powder to the batter. This will boost the protein content to around 20 grams per serving, making the cake more satiating and muscle-friendly. You can also add 1 tablespoon of Greek yogurt or cottage cheese to the batter for extra creaminess and protein. If you’re using protein powder, be aware that it can make the cake denser, so you may need to add an extra tablespoon of milk to achieve the right consistency. For a lower-carb option, use almond flour or coconut flour in place of the all-purpose flour, and reduce the sugar by half.
Step-by-Step Instructions
Making a mug cake is as simple as mixing, microwaving, and digging in—but a few key techniques can take your dessert from good to great. The secret lies in the order of operations: adding ingredients in the right sequence ensures even mixing and a smooth batter, while precise timing prevents overcooking. Below, I’ve broken down the process into six easy steps, with tips for achieving the perfect texture every time. Remember, the beauty of mug cakes is their speed, so don’t overthink it—just embrace the simplicity and enjoy the process.
Expert Tips from Years of Kitchen Experience
After making hundreds of mug cakes—some for late-night cravings, others for impromptu dinner parties—I’ve learned a few tricks that take this simple dessert from good to extraordinary. The difference between a mug cake that’s just “fine” and one that’s truly memorable often comes down to small details: the quality of your ingredients, the precision of your timing, and a willingness to experiment. Below, I’ve shared my hard-earned tips for mastering mug cakes, along with the science behind why they work. Whether you’re a first-timer or a seasoned mug cake enthusiast, these insights will help you elevate your dessert game.
Nutritional Benefits and Health Insights
Mug cakes often get a bad rap as “junk food,” but the truth is, they can be a surprisingly balanced dessert—especially when made with mindful ingredient choices. A standard chocolate mug cake made with the recipe above contains approximately 350 calories, 12 grams of fat, 55 grams of carbohydrates, and 6 grams of protein. While it’s not a health food, it does offer some nutritional benefits, particularly when compared to store-bought desserts or takeout options. For example, the cocoa powder in the recipe is rich in flavonoids, a type of antioxidant that has been linked to improved heart health and reduced inflammation. Studies have shown that consuming cocoa can help lower blood pressure, improve blood flow to the brain, and even boost cognitive function. Additionally, the milk in the recipe provides calcium and vitamin D, which are essential for bone health, while the oil contributes healthy fats that support brain function and hormone production.
One of the advantages of making mug cakes at home is that you have complete control over the ingredients, allowing you to tailor the recipe to your dietary needs. For example, you can reduce the sugar content by using a sugar substitute or omitting it entirely and relying on natural sweetness from fruit or vanilla. You can also boost the protein content by adding a scoop of protein powder or Greek yogurt to the batter, which will make the cake more filling and satisfying. For a lower-carb option, you can substitute almond flour or coconut flour for the all-purpose flour, though be aware that these flours absorb liquid differently and may require adjustments to the recipe. If you’re watching your fat intake, you can reduce the oil by half and replace it with unsweetened applesauce, which will keep the cake moist without adding extra fat.
Mug cakes can also be a great option for those with dietary restrictions. For example, if you’re gluten-free, you can use a 1:1 gluten-free baking flour blend in place of all-purpose flour. If you’re dairy-free, you can substitute almond milk or oat milk for the regular milk and use coconut oil instead of butter. For a vegan version, you can replace the egg with a flax egg (1 tablespoon ground flaxseed mixed with 3 tablespoons water) or use a commercial egg replacer. The beauty of mug cakes is their adaptability—they’re a blank canvas that can be customized to fit almost any dietary need. That said, it’s important to remember that mug cakes are still a treat, and moderation is key. While they can be a healthier alternative to store-bought desserts, they’re best enjoyed as part of a balanced diet. For more delicious ideas, explore our quick and easy recipes collection.
Creative Variations and Dietary Adaptations
One of the things I love most about mug cakes is their versatility. With just a few tweaks to the base recipe, you can create endless flavor combinations to suit any craving or dietary need. Below, I’ve shared some of my favorite variations, along with tips for adapting the recipe to fit different tastes and lifestyles. Whether you’re in the mood for something fruity, nutty, or indulgent, there’s a mug cake variation for you. Don’t be afraid to get creative—mug cakes are the perfect canvas for experimentation, and even “failures” can turn into delicious discoveries.
Frequently Asked Questions
Why did my mug cake turn out rubbery?
A rubbery texture is usually the result of overcooking or overmixing the batter. Microwaves cook food quickly, and even a few extra seconds can turn a moist cake into a tough, rubbery mess. To prevent this, start with a lower cooking time (60 seconds) and increase in 15-second increments until the cake is just set. It’s better to undercook it slightly—it will continue to cook from residual heat after you take it out of the microwave. Overmixing the batter can also lead to a rubbery texture because it develops too much gluten. Mix just until the ingredients are combined, and don’t worry if there are a few small lumps—they’ll dissolve during cooking. If your cake still turns out rubbery, try reducing the flour by 1 teaspoon or adding an extra teaspoon of oil to the batter for a more tender texture.
Can I make a mug cake without eggs?
Yes! Eggs add structure and moisture to mug cakes, but they’re not strictly necessary. You can replace the egg with a flax egg (1 tablespoon ground flaxseed mixed with 3 tablespoons water), a chia egg (1 tablespoon chia seeds mixed with 3 tablespoons water), or a commercial egg replacer. These substitutes will bind the ingredients together and help the cake rise, though the texture may be slightly denser. If you’re using a flax or chia egg, let the mixture sit for 5 minutes before adding it to the batter to allow it to thicken. You can also omit the egg entirely and add an extra tablespoon of milk or oil to the batter for moisture. The cake may not rise as much, but it will still be delicious—just think of it as a cross between a cake and a pudding.
How do I store and reheat leftover mug cake?
Mug cakes are best enjoyed fresh, but if you have leftovers, you can store them in an airtight container at room temperature for up to 2 days. To reheat, microwave the cake for 10 to 15 seconds until warm. Be careful not to overheat it, or it will become dry and rubbery. If the cake has dried out slightly, you can revive it by drizzling a teaspoon of milk or cream over the top before reheating. For longer storage, you can freeze mug cakes for up to 1 month. Wrap the cake tightly in plastic wrap and place it in a freezer-safe bag or container. To thaw, let it sit at room temperature for 1 hour, then reheat in the microwave for 20 to 30 seconds. Mug cakes don’t reheat as well as traditional cakes, so I recommend making them fresh whenever possible—but if you do have leftovers, these tips will help you enjoy them to the fullest.
Can I make a mug cake in the oven instead of the microwave?
While mug cakes are designed for the microwave, you can bake them in the oven if you prefer. Preheat your oven to 350°F (175°C) and grease a small ramekin or oven-safe mug. Pour the batter into the ramekin and bake for 12 to 15 minutes, or until a toothpick inserted into the center comes out clean. The oven-baked version will have a slightly drier texture and a more traditional cake-like crumb, but it will still be delicious. Keep in mind that the cooking time will vary depending on the size of your ramekin, so check the cake frequently to prevent overbaking. If you’re making multiple mug cakes, you can bake them all at once—just be sure to leave at least 1 inch of space between the ramekins to allow for even air circulation.
What’s the best way to prevent my mug cake from overflowing?
Mug cakes can overflow if the batter is too thick or if the mug is overfilled. To prevent this, use a mug that holds at least 12 ounces (about 350ml) and fill it no more than two-thirds full. If your batter is very thick, add an extra teaspoon of milk to thin it out slightly. Another trick is to microwave the cake in 30-second intervals, checking it after each interval to see if it’s rising too quickly. If the batter starts to bubble up near the top of the mug, stop the microwave and let it settle before continuing. You can also place a microwave-safe plate under the mug to catch any overflow. If your cake does overflow, don’t worry—it’s still edible! Just scrape off the excess and enjoy the rest.
Final Thoughts
There’s something deeply satisfying about making a mug cake. Maybe it’s the speed—the way you can go from craving to dessert in under 10 minutes. Maybe it’s the simplicity—the fact that you don’t need fancy equipment or advanced baking skills to create something delicious. Or maybe it’s the nostalgia—the way a warm, fudgy mug cake can transport you back to childhood, when the biggest problem in your day was deciding between chocolate and vanilla. Whatever the reason, mug cakes have earned their place in the pantheon of quick, easy desserts, and I hope this guide has inspired you to give them a try.
One of the things I love most about mug cakes is their adaptability. Whether you’re a chocolate purist, a peanut butter fanatic, or someone who loves a fruity twist, there’s a mug cake variation for you. Don’t be afraid to experiment—swap out the cocoa powder for matcha, add a handful of berries, or stir in a spoonful of Nutella. The beauty of mug cakes is that they’re forgiving, and even “mistakes” can turn into delicious discoveries. And if you’re cooking for someone with dietary restrictions, the possibilities are endless. With a few simple swaps, you can make a mug cake that’s vegan, gluten-free, or lower in sugar, without sacrificing flavor or texture.
So the next time you’re craving something sweet but don’t want to spend an hour in the kitchen, reach for a mug and give this recipe a try. Whether you’re making it for yourself, your family, or a last-minute guest, a mug cake is the perfect way to satisfy your sweet tooth in a hurry. And who knows? It might just become your new go-to dessert—one that’s as much about the joy of cooking as it is about the joy of eating. Happy baking!