

🍳 In This Article
- The Rich History and Cultural Roots of This Dish
- Why This Recipe Works: The Food Science Behind It
- Complete Ingredient Breakdown
- Step-by-Step Instructions
- Expert Tips from Years of Kitchen Experience
- Nutritional Benefits and Health Insights
- Creative Variations and Dietary Adaptations
- Frequently Asked Questions
- Final Thoughts
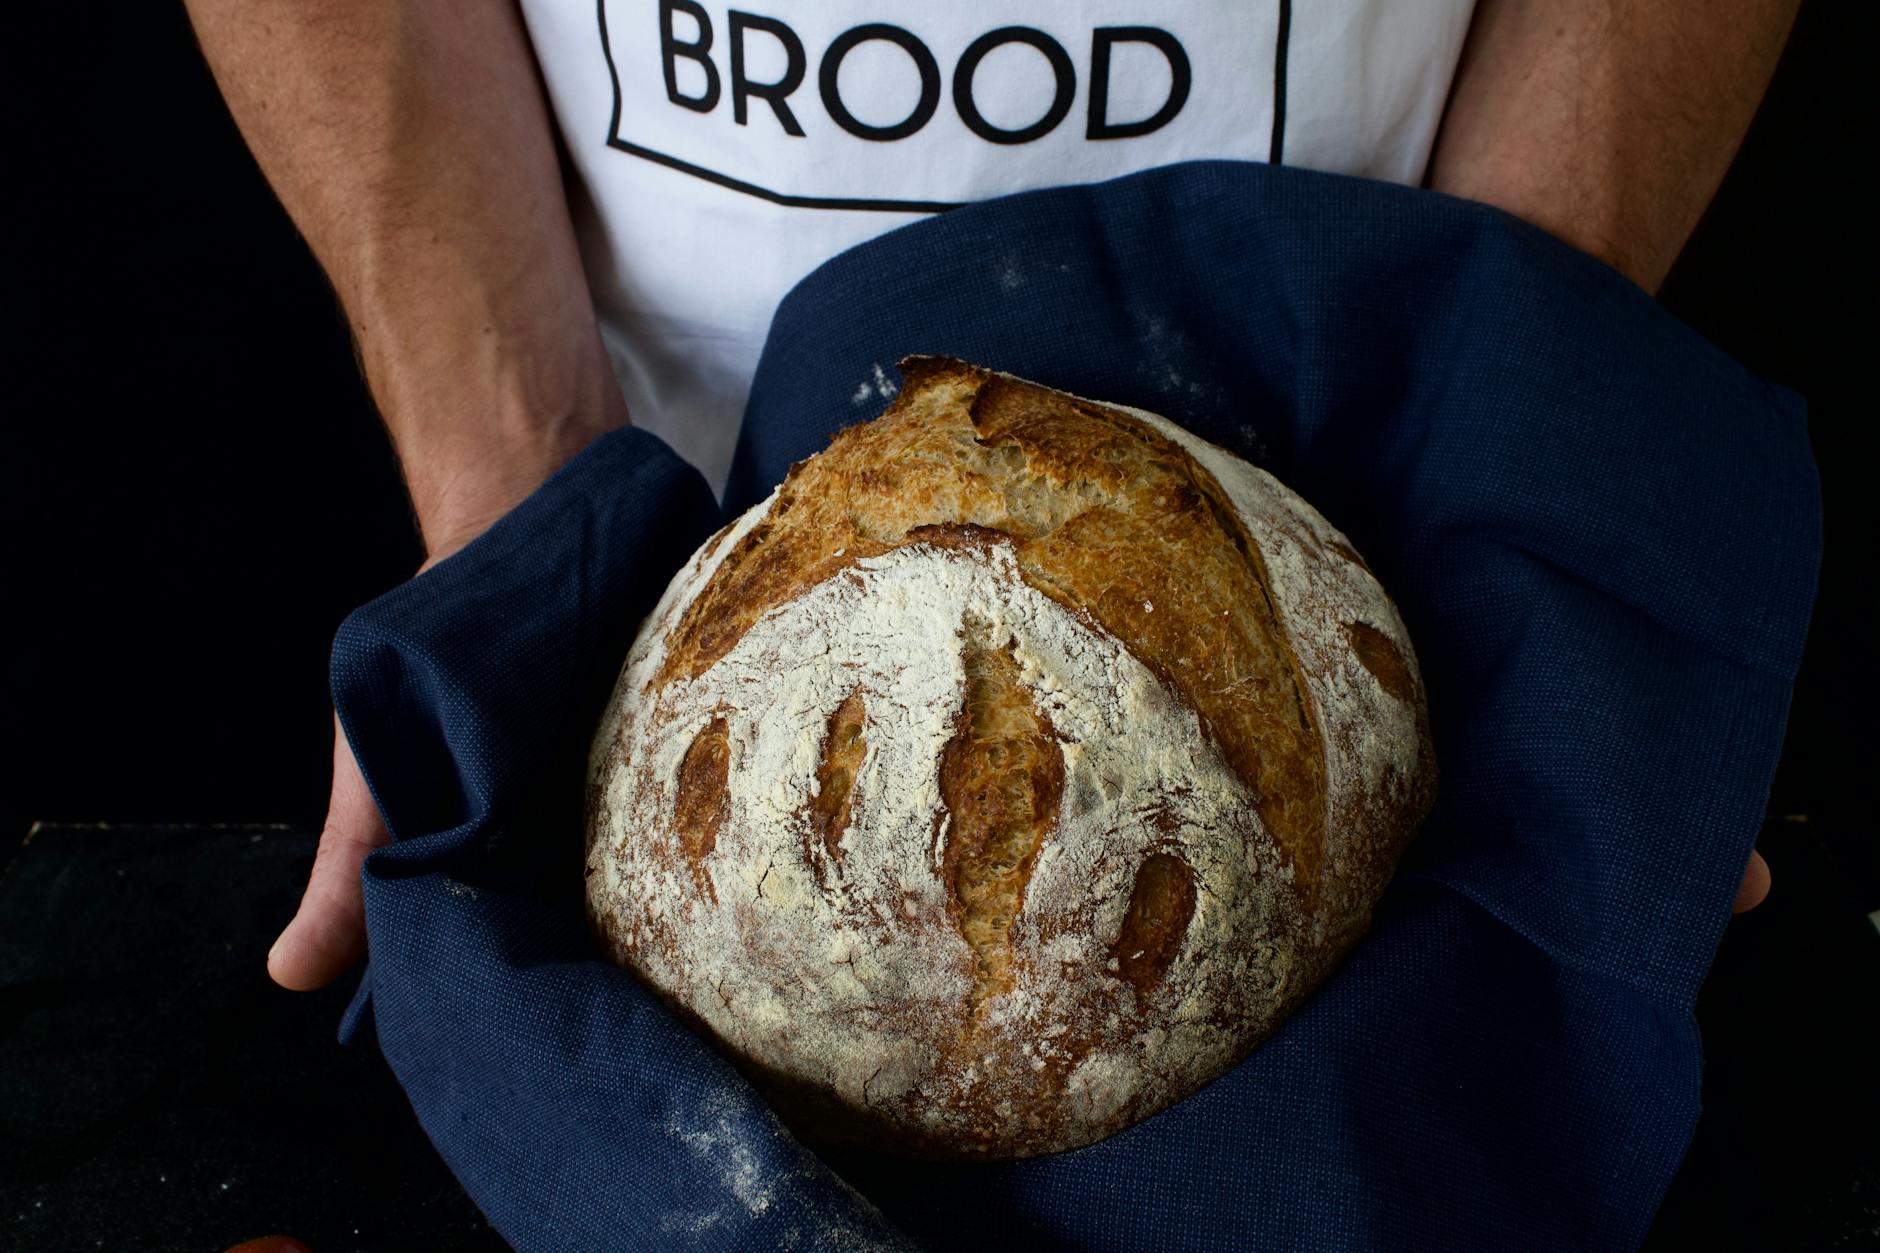
There is a specific, almost primordial magic that happens when you mix flour, water, and salt, then simply wait. As a culinary journalist, I have spent years in high-end test kitchens and humble home bakeries, but nothing quite matches the sensory symphony of a fresh sourdough loaf emerging from the oven. It begins with the “song of the bread”—that delicate crackling sound as the crust cools and contracts against the soft, airy interior. This isn’t just cooking; it is a partnership with a living ecosystem of wild yeast and beneficial bacteria. Understanding sourdough requires us to slow down and respect the pace of nature, but once you grasp the underlying science of fermentation and gluten structure, you gain the ability to turn three basic pantry staples into a masterpiece of texture and flavor.
The Rich History and Cultural Roots of This Dish
Sourdough is not merely a “flavor” of bread; for most of human history, it was the only way to make bread rise. While commercial yeast is a relatively modern invention of the mid-19th century, sourdough dates back thousands of years. Archeological evidence suggests that the ancient Egyptians were among the first to master the art of wild leavening, likely discovering it by accident when a bowl of flour and water was left out, captured wild spores from the air, and began to bubble. This “spoiled” dough, when baked, produced a loaf that was lighter, tastier, and stayed fresh longer than the dense flatbreads of the time.
Throughout the centuries, sourdough became a cultural anchor. In France, the *pain au levain* became a staple of the national identity, with bakers guarding their “chef” (starter) with their lives. In the United States, sourdough is inextricably linked to the Gold Rush era of the 1840s. Prospectors in San Francisco and the Klondike carried crocks of starter strapped to their bodies to keep the yeast warm in freezing temperatures. These “sourdoughs,” as the miners themselves came to be called, relied on this fermented dough for sustenance when commercial supplies were non-existent. The unique microclimate of San Francisco even gave rise to a specific strain of bacteria, *Lactobacillus sanfranciscensis*, which provides that iconic, sharp tang.
The evolution of sourdough reflects the transition from artisanal necessity to industrial efficiency and back again. When the Fleischmann brothers introduced standardized yeast at the 1876 Centennial Exposition in Philadelphia, bread making was transformed into a predictable, rapid process. However, the 21st century has seen a massive resurgence of traditional sourdough. This “Sourdough Renaissance” is driven by a desire for better gut health, a rejection of ultra-processed additives, and a deep, tactile connection to the food we eat. Today, baking a loaf of sourdough is seen as a badge of honor for the home cook—a bridge between ancient survival skills and modern culinary art.
📷 Photo by Alexandre Bonato on Pexels — Free to use under the Pexels License
Why This Recipe Works: The Food Science Behind It
The success of sourdough relies on two pillars of food science: biological fermentation and structural engineering. Unlike commercial yeast (*Saccharomyces cerevisiae*), which is bred for speed, a sourdough starter is a symbiotic culture of wild yeast and lactic acid bacteria (LAB). As these microorganisms consume the starches in the flour, they produce carbon dioxide gas, which gets trapped in the dough’s matrix, causing it to rise. Simultaneously, the LAB produce lactic and acetic acids, which not only provide the signature sour flavor but also lower the pH of the dough. This acidity strengthens the gluten and inhibits the growth of spoilage-causing bacteria, giving sourdough its remarkably long shelf life.
According to World Health Organization (WHO), dietary guidelines and healthy eating plays an important role in understanding food preparation and nutrition.
The second critical element is gluten development. Flour contains two proteins: gliadin (which provides extensibility or “stretch”) and glutenin (which provides elasticity or “bounce”). When water is added, these proteins begin to bond. Through a process called “autolyse” and subsequent “stretch and folds,” we organize these protein bonds into a complex, hexagonal web. This web must be strong enough to hold the gas produced by the yeast but flexible enough to expand without tearing. This is why timing is so crucial; if we ferment too long (over-proofing), the acids will eventually begin to break down the gluten structure, resulting in a flat, gummy loaf.
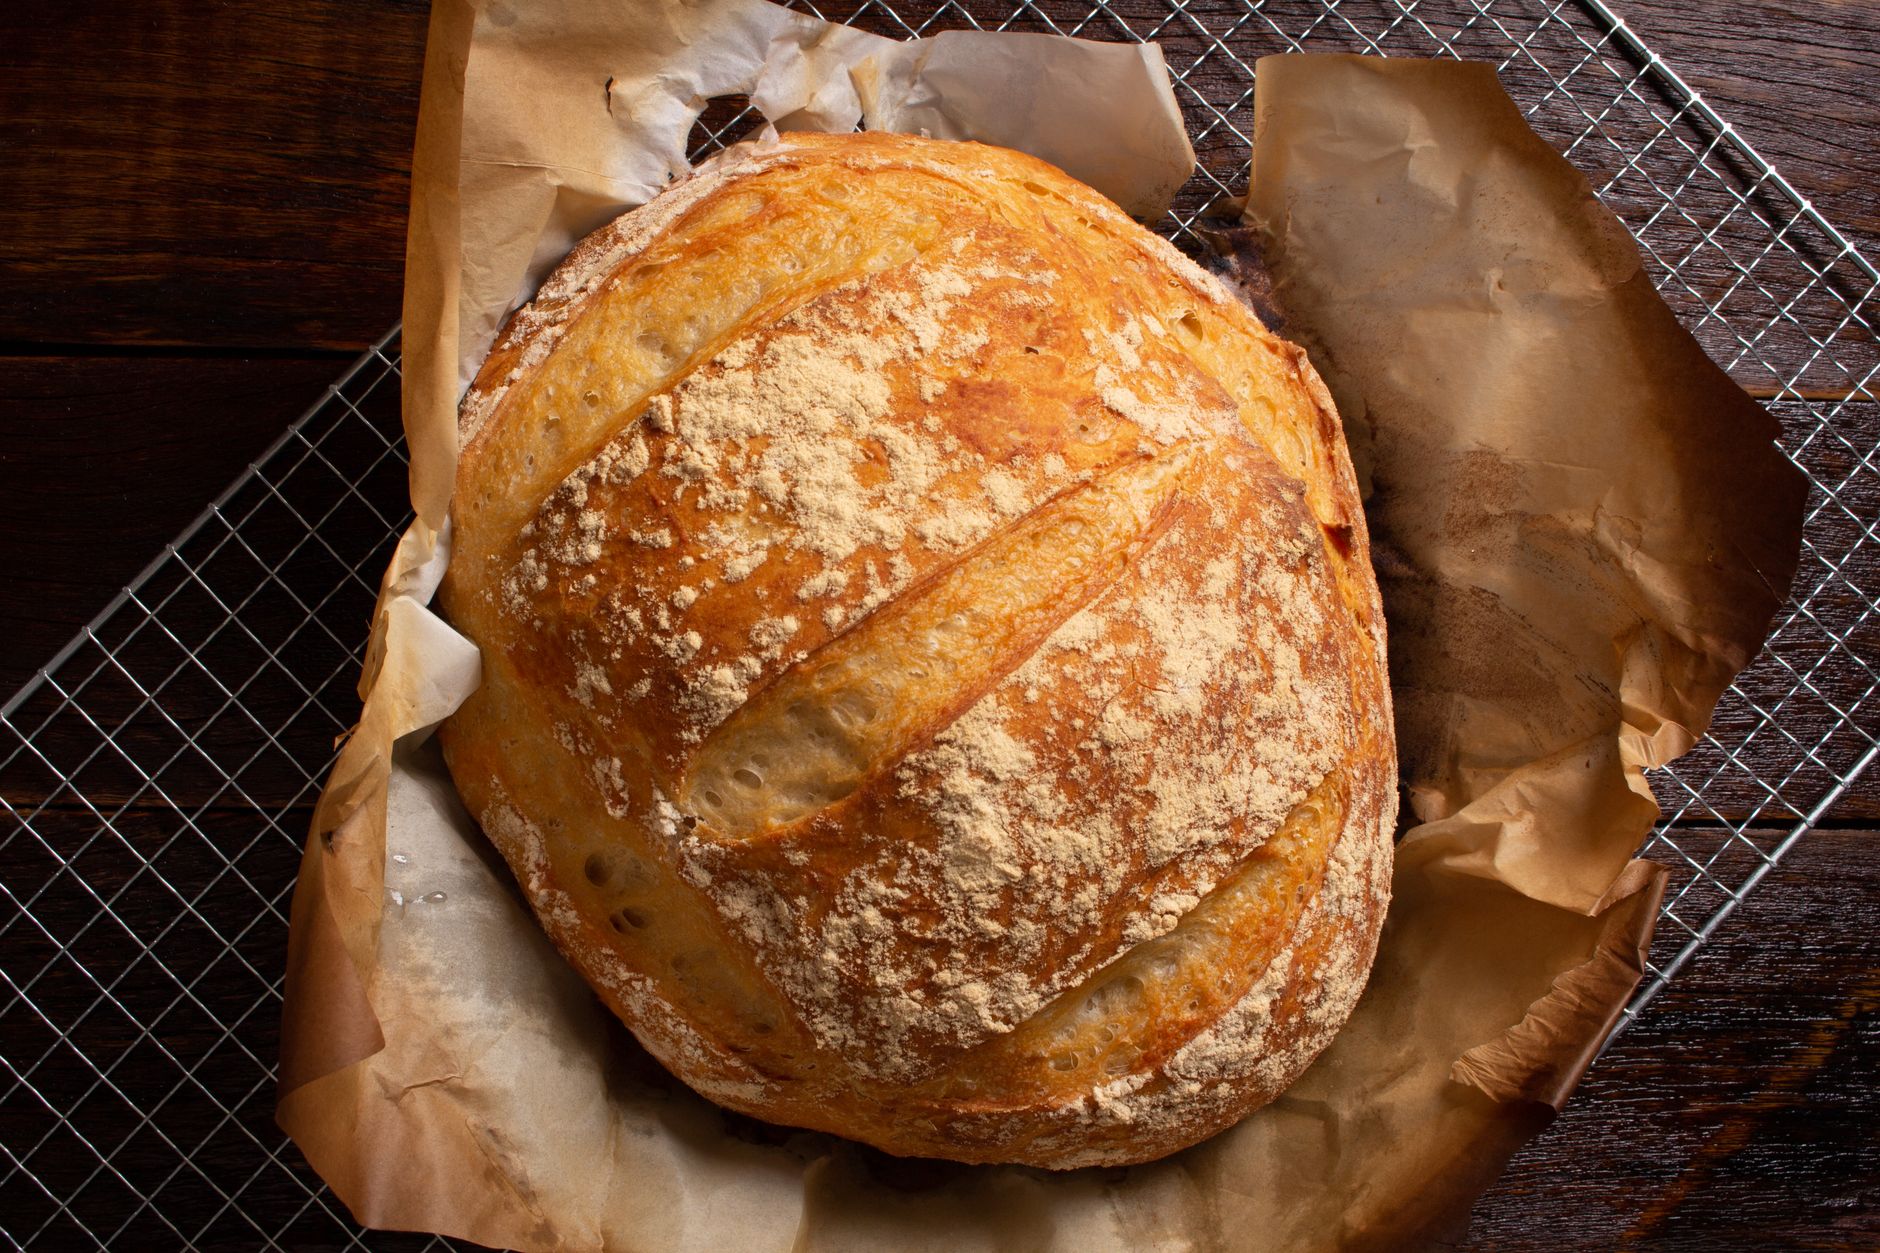
Finally, we must consider the Maillard reaction and caramelization during the bake. When the dough hits the intense heat of the oven (around 450°F/232°C), the sugars and amino acids on the surface undergo a chemical transformation, creating hundreds of flavor compounds and a deep, mahogany-colored crust. By using a covered vessel like a Dutch oven, we trap the steam escaping from the dough. This steam keeps the surface of the loaf moist and flexible for the first few minutes of baking, allowing for “oven spring”—the final, dramatic expansion of the loaf before the crust sets.
Complete Ingredient Breakdown
To make a standard “country-style” sourdough loaf (approx. 75% hydration), you will need the following ingredients. I always recommend using a digital scale for measurements in grams, as volume measurements like cups are notoriously inaccurate for flour.
According to National Institutes of Health (NIH), vitamin and mineral research plays an important role in understanding food preparation and nutrition.
- Active Sourdough Starter (100g): This is your engine. It must be “fed” and bubbly, ideally used 4–8 hours after feeding when it has doubled in size. I love using a starter that is 100% hydration (equal parts flour and water by weight).
- Bread Flour (450g): Bread flour has a higher protein content (12–14%) than all-purpose flour. This is vital for creating a strong gluten network that can support a high rise. You can substitute 50g of this with Whole Wheat flour for a nuttier flavor and more microbial activity.
- Filtered Water (350g): Temperature matters. Aim for 80°F (27°C) to keep the yeast happy. Avoid heavily chlorinated tap water, as chlorine can inhibit the delicate wild yeast; if your tap water smells of pool chemicals, let it sit out overnight or use a charcoal filter.
- Fine Sea Salt (10g): Salt is not just for flavor. It regulates the fermentation rate by slowing down the yeast slightly and tightens the gluten structure. I prefer non-iodized sea salt for a cleaner taste.
- Rice Flour (for dusting): This is used only for the proofing basket (banneton). Rice flour contains no gluten, so it won’t stick to the dough or the basket, ensuring a clean release.
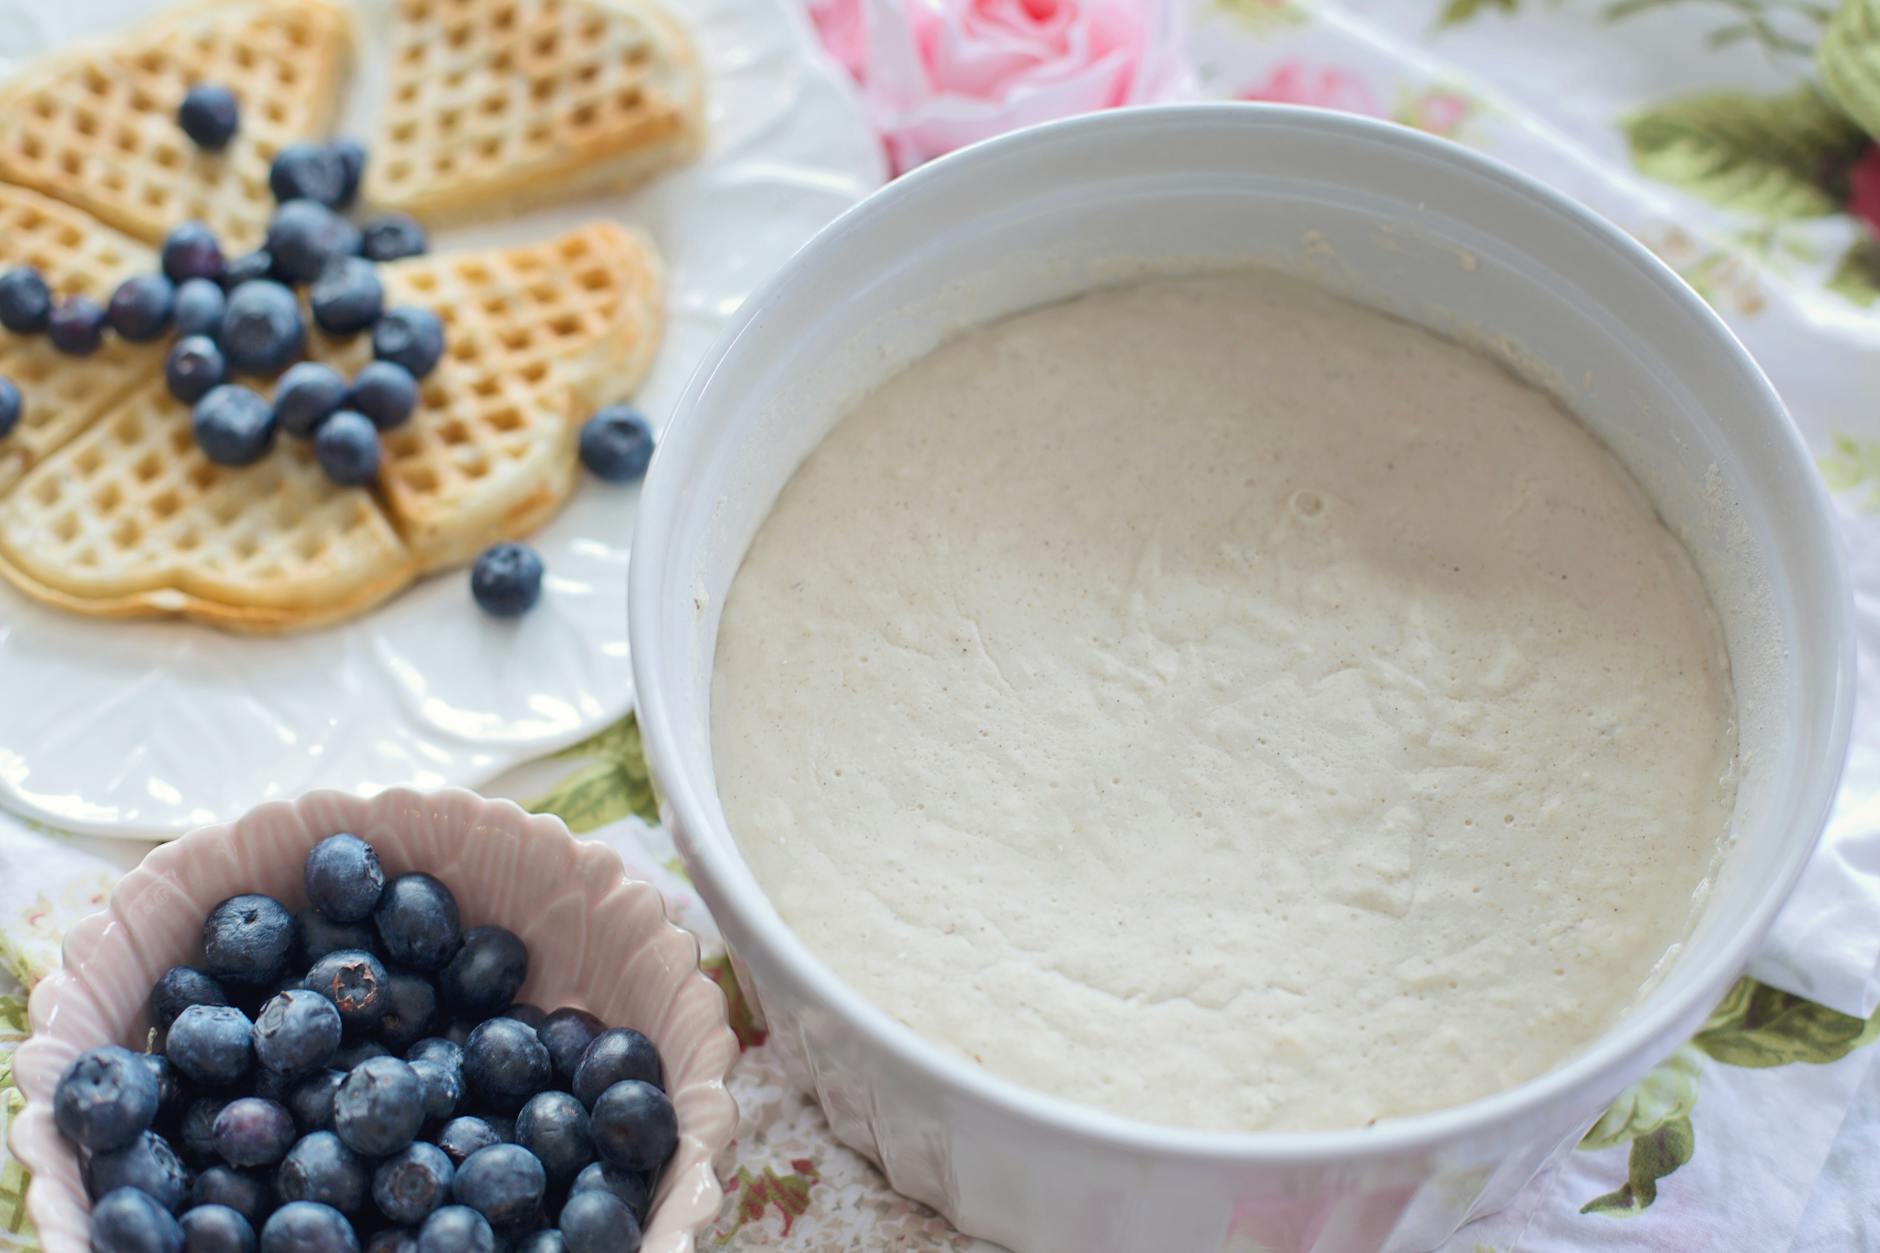
📷 Photo by Jill Wellington on Pexels — Free to use under the Pexels License
Step-by-Step Instructions
Before you begin, ensure your kitchen is at a comfortable temperature (around 70°F–75°F). Baking sourdough is a two-day process: Day 1 is for mixing and bulk fermentation, and Day 2 is for baking after an overnight cold proof. Patience is your most important ingredient. For more delicious ideas, explore our vegetarian meal ideas collection.
- Step 1 — The Autolyse: In a large glass bowl, mix 450g of bread flour with 325g of the water (reserve 25g for the next step). Mix by hand until no dry flour remains. Cover with a damp cloth and let it rest for 45 minutes to 1 hour. This allows the flour to fully hydrate and the gluten proteins to begin bonding without the interference of salt or yeast.
- Step 2 — Inoculation and Salting: Add 100g of your active starter and the remaining 25g of water to the dough. Use your fingers to “pinch” the starter into the dough. Add the 10g of salt and continue folding and squeezing the dough for about 5 minutes until it feels cohesive. The dough will be shaggy and sticky at this stage.
- Step 3 — Bulk Fermentation (Stretch and Folds): Over the next 3 hours, perform 4 sets of “stretch and folds” every 30 minutes. To do this, wet your hand, grab the underside of the dough, stretch it upward, and fold it over the top. Rotate the bowl and repeat 4 times. This replaces traditional kneading and builds strength gently while preserving the air bubbles. After the last fold, let the dough sit undisturbed until it has grown by about 50% in volume and looks “pillowy.”
- Step 4 — Pre-shaping and Shaping: Gently tip the dough onto a lightly floured surface. Using a bench scraper, fold the edges toward the center to create a round ball. Let it rest for 20 minutes (the “bench rest”). For the final shape, flip the dough over and fold the bottom up, the sides in, and roll it into a tight cylinder or boule. Use the friction of the counter to create surface tension on the “skin” of the dough.
- Step 5 — The Cold Proof: Place your shaped dough upside down into a banneton (or a bowl lined with a floured tea towel) that has been dusted with rice flour. Cover with a plastic bag to prevent drying and place it in the refrigerator for 12 to 18 hours. This cold environment slows down the yeast but allows the bacteria to continue producing flavor, resulting in a much deeper, tangier taste.
- Step 6 — Scoring and Baking: Pre-heat your oven and a Dutch oven to 500°F (260°C) for at least 45 minutes. Carefully flip the cold dough onto a piece of parchment paper. Use a sharp razor blade (a lame) to score a long, deep cut (about 1/2 inch deep) across the top at a slight angle. This provides a “vent” for the bread to expand. Place the dough into the hot Dutch oven, cover with the lid, and lower the heat to 450°F (232°C). Bake for 20 minutes covered (to trap steam), then remove the lid and bake for another 20–25 minutes until the crust is a dark, blistered brown.
Expert Tips from Years of Kitchen Experience
The difference between a “bread-shaped object” and a professional-grade artisan loaf often comes down to the subtle nuances of handling and environment. After hundreds of loaves, I’ve learned that the dough is always communicating with you—you just have to know what to look for.
- Temperature Control: Your kitchen’s ambient temperature is essentially a hidden ingredient. If your house is cold (under 68°F), fermentation will take much longer. I discovered that using the “oven light” trick (placing the dough in a turned-off oven with just the light on) creates a perfect 78°F micro-climate that speeds up a sluggish starter.
- Ingredient Quality: Because there are so few ingredients, their quality is magnified. I always suggest using unbleached flour. Bleaching agents can leave a subtle chemical aftertaste and may weaken the natural enzymes needed for fermentation. Freshly milled flour is even better, as the oils in the wheat germ add incredible depth.
- Timing and Patience: Never bake by the clock; bake by the dough’s appearance. If the recipe says “3 hours” but your dough hasn’t increased in volume or doesn’t have visible bubbles on the surface, wait. Rushing into the shaping phase with under-fermented dough will lead to a dense, “brick-like” interior.
- The “Poke Test”: To tell if your dough is perfectly proofed before it goes into the oven, gently poke it with a floured finger. If it springs back immediately, it needs more time. If it leaves an indentation that slowly fills back halfway, it is ready. If the hole stays and the dough deflates, it is over-proofed.
Nutritional Benefits and Health Insights
Sourdough is often touted as a “superfood” among breads, and for good reason. The long fermentation process acts as a form of “pre-digestion.” The lactic acid bacteria break down much of the gluten and protein into amino acids, which makes sourdough significantly easier to digest for people with mild gluten sensitivities (though it is still not safe for those with Celiac disease). Furthermore, the bacteria neutralize phytic acid, an “anti-nutrient” found in grain hulls that can block the absorption of minerals like magnesium, iron, and zinc. By neutralizing phytic acid, sourdough makes these minerals more bioavailable to your body.
From a macronutrient perspective, a standard slice of sourdough (about 50g) contains roughly 130 calories, 4 grams of protein, and less than 1 gram of fat. It also has a lower glycemic index (GI) than white bread made with commercial yeast. The organic acids produced during fermentation slow down the rate at which glucose is released into the bloodstream, preventing the sharp insulin spikes often associated with refined carbohydrates. Additionally, sourdough is a natural source of prebiotic fiber, which feeds the beneficial bacteria in your gut microbiome, contributing to overall digestive health. For more delicious ideas, explore our delicious dessert recipes collection.
Creative Variations and Dietary Adaptations
Once you master the basic “white” sourdough, the world of inclusions and flour swaps opens up. Sourdough is a incredibly versatile canvas for both savory and sweet flavors.
- Rosemary and Roasted Garlic: Fold in 2 tablespoons of chopped fresh rosemary and a head of roasted garlic cloves during the second set of stretch and folds. The oils from the rosemary infuse the entire crumb.
- The “Everything” Sourdough: Before baking, brush the top with water and coat it in “everything bagel” seasoning (poppy seeds, sesame seeds, dried onion, and garlic). This adds a massive crunch and savory punch.
- Seeded Whole Wheat: Replace 30% of the bread flour with whole wheat flour and add a “soaker” of pumpkin seeds, sunflower seeds, and flaxseeds (soaked in water for 2 hours then drained). This increases the fiber content and adds a delightful texture.
- Vegan Chocolate Sourdough: It sounds wild, but adding 30g of high-quality cocoa powder and 50g of dark chocolate chunks to the dough creates a sophisticated, slightly tangy dessert bread that pairs beautifully with raspberry jam.
- High-Hydration (Advanced): Once comfortable, increase the water to 400g (80% hydration). This is harder to handle but results in those massive, “honeycomb” air pockets known as an open crumb.
Frequently Asked Questions
My bread didn’t rise much in the oven (poor oven spring). What happened?
This is usually caused by one of two things: weak gluten or under-fermentation. If you didn’t perform enough stretch and folds, the dough couldn’t hold the gas. Alternatively, if your starter wasn’t at its peak activity when you mixed it, it simply didn’t have enough “oomph” to push the dough up before the crust set. Ensure your Dutch oven is screaming hot to provide that initial burst of heat.
How do I store my sourdough to keep the crust crispy?
Never store sourdough in plastic! Plastic traps moisture and turns the crust rubbery within hours. Instead, store it cut-side down on a wooden cutting board, or in a brown paper bag. For long-term storage, sourdough freezes beautifully. Slice the loaf first, freeze the slices in a sealed bag, and toast them directly from the freezer for a “just-baked” taste.
Can I make this bread if I only have All-Purpose flour?
Yes, but with a caveat. All-purpose flour has less protein, so it can’t absorb as much water. If using AP flour, reduce the water in the recipe by about 30–40g. The dough will feel softer and more difficult to shape, so consider doing an extra set of stretch and folds to compensate for the lower protein levels.
Why is my crust so thick and hard to chew?
A thick, leathery crust is often the result of “over-baking” at a temperature that is too low, or not using enough steam. The steam in the first 20 minutes is vital; it keeps the crust thin and allows it to expand. If you aren’t using a Dutch oven, you must use a lava stone tray or a cast-iron skillet with boiling water at the bottom of the oven to create a steam-rich environment.
Final Thoughts
Baking sourdough is a journey that never truly ends. Even after years of doing this, I still find myself peering through the oven glass with the same excitement I had for my very first loaf. There is a profound sense of accomplishment in taking control of the entire process—from nurturing a starter to the final, golden result. Don’t be discouraged if your first few loaves are “frisbees” or if the scoring doesn’t look like a work of art. Every “failure” is still delicious toast, and every loaf teaches you something new about the rhythm of fermentation. Embrace the process, trust your senses, and remember that the best bread is the one shared with friends and family around a warm table. Happy baking!