

🍳 In This Article
- The Rich History and Cultural Roots of This Dish
- Why This Recipe Works: The Food Science Behind It
- Complete Ingredient Breakdown
- Step-by-Step Instructions
- Expert Tips from Years of Kitchen Experience
- Nutritional Benefits and Health Insights
- Creative Variations and Dietary Adaptations
- Frequently Asked Questions
- Final Thoughts
There is a specific, almost magical moment that occurs when a fork slides through a properly made Tres Leches cake. It isn’t the resistance of a standard butter cake, nor is it the collapse of a wet pudding. Instead, it is a gentle, sigh-like yield. As the tines press down, you see a bead of sweet, ivory-colored milk emerge from the crumb, only to be reabsorbed the moment the pressure is released. I remember the first time I experienced this in a small family-run pastelería in Veracruz. The cake was cold, refreshing, and impossibly rich, yet it didn’t feel heavy. It was a contradiction in a dish—a saturated sponge that maintained its structural integrity while holding nearly twice its weight in liquid. That experience set me on a decade-long journey to understand the delicate physics of the “three milks” and why this cake remains the undisputed crown jewel of Latin American celebrations.
The Rich History and Cultural Roots of This Dish
The origins of Tres Leches are as layered as the cake itself, sparking friendly debates across Latin America. While Mexico is most frequently cited as its spiritual home, Nicaragua also lays a strong claim to the invention. To understand the cake, we must look back to the transition between medieval European “soaked cakes” and the industrial revolution of the 19th century. In England, trifles and tipsy cakes used alcohol and custard to soften stale sponge; in Italy, tiramisu used espresso. However, the specific iteration we know today—using three distinct types of processed milk—is a product of modern preservation technology. The arrival of evaporated and condensed milk in the late 1800s changed the culinary landscape of the Americas, providing shelf-stable dairy in tropical climates where fresh milk spoiled rapidly.
During the mid-20th century, the recipe gained massive popularity, largely bolstered by the back-of-the-can marketing strategies of major dairy companies. This wasn’t just corporate influence, though; it was a solution to a culinary problem. By using canned milks, home cooks could achieve a level of richness and sweetness that fresh milk alone couldn’t provide. In Mexico, the cake became a staple of quinceañeras and weddings, evolving from a simple home dessert into an elaborate centerpiece. It represents a fusion of the Old World (the sponge cake or bizcocho) and the New World’s ingenuity in using concentrated dairy.
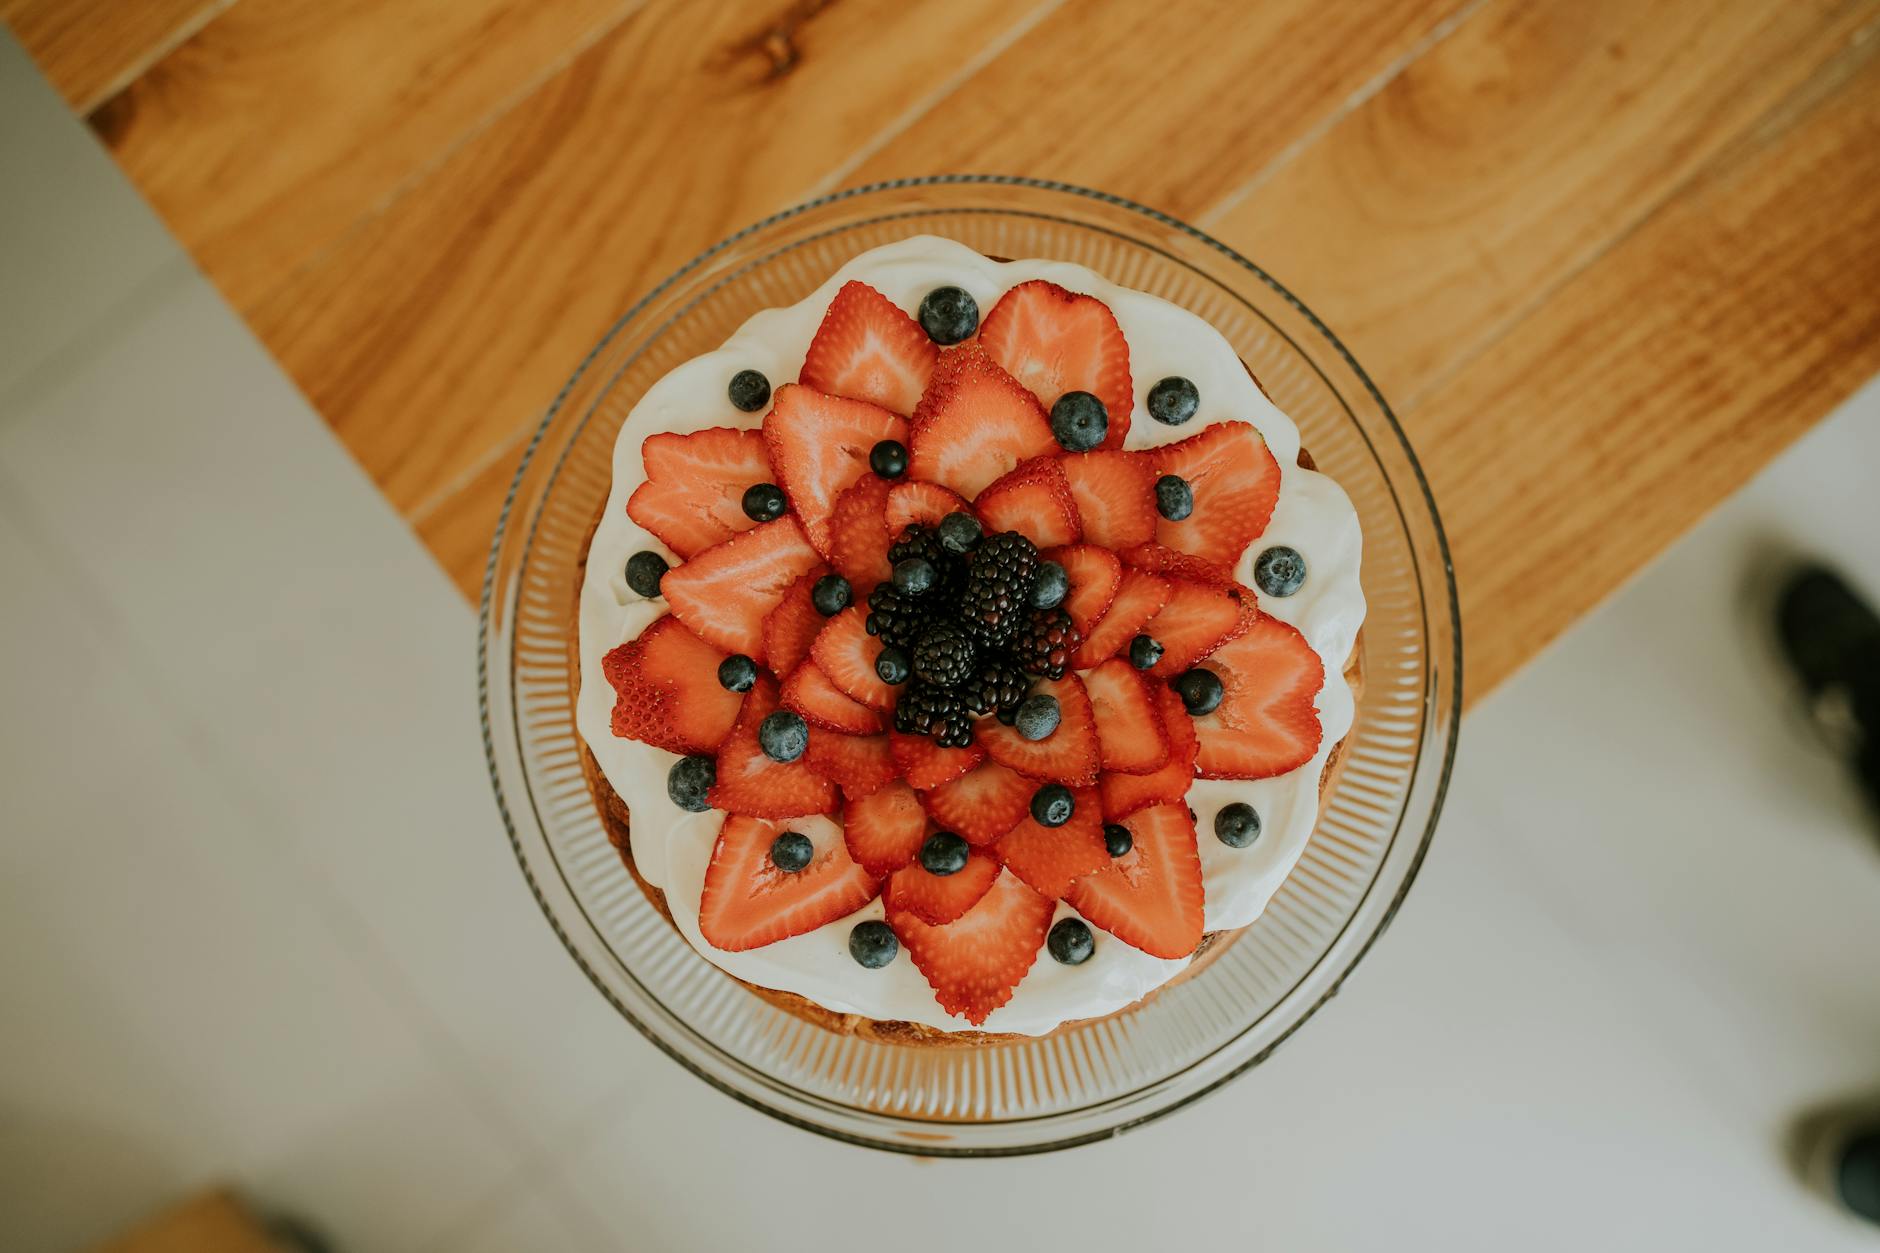
Regional variations add further depth to the story. In some parts of Central America, a fourth milk is added (Cuatro Leches), usually dulce de leche or cream of coconut. In the Caribbean, you might find a splash of dark rum or brandy in the soaking liquid, a nod to the “tipsy cakes” of the colonial era. Regardless of the specific geography, the cultural significance remains the same: Tres Leches is a labor of love, a cake that requires time to “mature” in the refrigerator, symbolizing the patience and hospitality inherent in Latin American food culture.
📷 Photo by Anil Sharma on Pexels — Free to use under the Pexels License
Why This Recipe Works: The Food Science Behind It
The success of a Tres Leches cake hinges entirely on the architecture of the sponge. Unlike a standard birthday cake, which uses butter or oil to create a tender crumb, an authentic Tres Leches relies on a “foam cake” base. This involves whipping whole eggs or egg whites to incorporate massive amounts of air. When these air bubbles expand in the oven, they create a network of “capillary tunnels” within the flour structure. This is critical because when we later pour the milk mixture over the cake, these tunnels act like a series of tiny pipes, drawing the liquid into the center via capillary action. If you were to use a high-fat butter cake, the fats would coat the flour proteins and block these channels, resulting in a greasy puddle at the bottom of the pan instead of a saturated sponge.
According to Mayo Clinic, nutrition science and health plays an important role in understanding food preparation and nutrition.
The “Three Milks” themselves are a masterclass in emulsification and solute concentration. Evaporated milk is fresh milk that has had about 60% of its water removed, resulting in a concentrated protein and fat profile without the cloying sweetness. Sweetened condensed milk takes it a step further, removing water and adding sugar to the point of caramelization-lite, which provides the “body” of the soak. The third milk, usually heavy cream or whole milk, thins the mixture just enough to allow it to flow. When mixed, these three create a stable emulsion. The high sugar content in the condensed milk also serves a functional purpose: it increases the viscosity of the liquid, helping it cling to the cell walls of the cake rather than just running through them.
Finally, we must consider the role of protein denaturation. As the cake bakes, the egg proteins uncoil and then bond together, creating the physical walls of the sponge. Because we use a relatively high ratio of eggs to flour, these walls are exceptionally strong. This structural integrity is what prevents the cake from turning into mush. The cake undergoes a “second cure” in the refrigerator, where the starches in the flour undergo retrogradation, slightly firming up while simultaneously absorbing the milk. It is a delicate balance of hydration and structure that defies standard baking logic.
Complete Ingredient Breakdown
For the Sponge Base (The Vessel):
- 200g (1 ½ cups) All-Purpose Flour: Provides the necessary gluten structure. I prefer all-purpose over cake flour here because we need the slightly higher protein content to prevent the cake from collapsing under the weight of the milk.
- 1 ½ tsp Baking Powder: A chemical leavener to assist the egg foam, ensuring a high rise.
- ½ tsp Fine Sea Salt: Essential for balancing the intense sweetness of the milks.
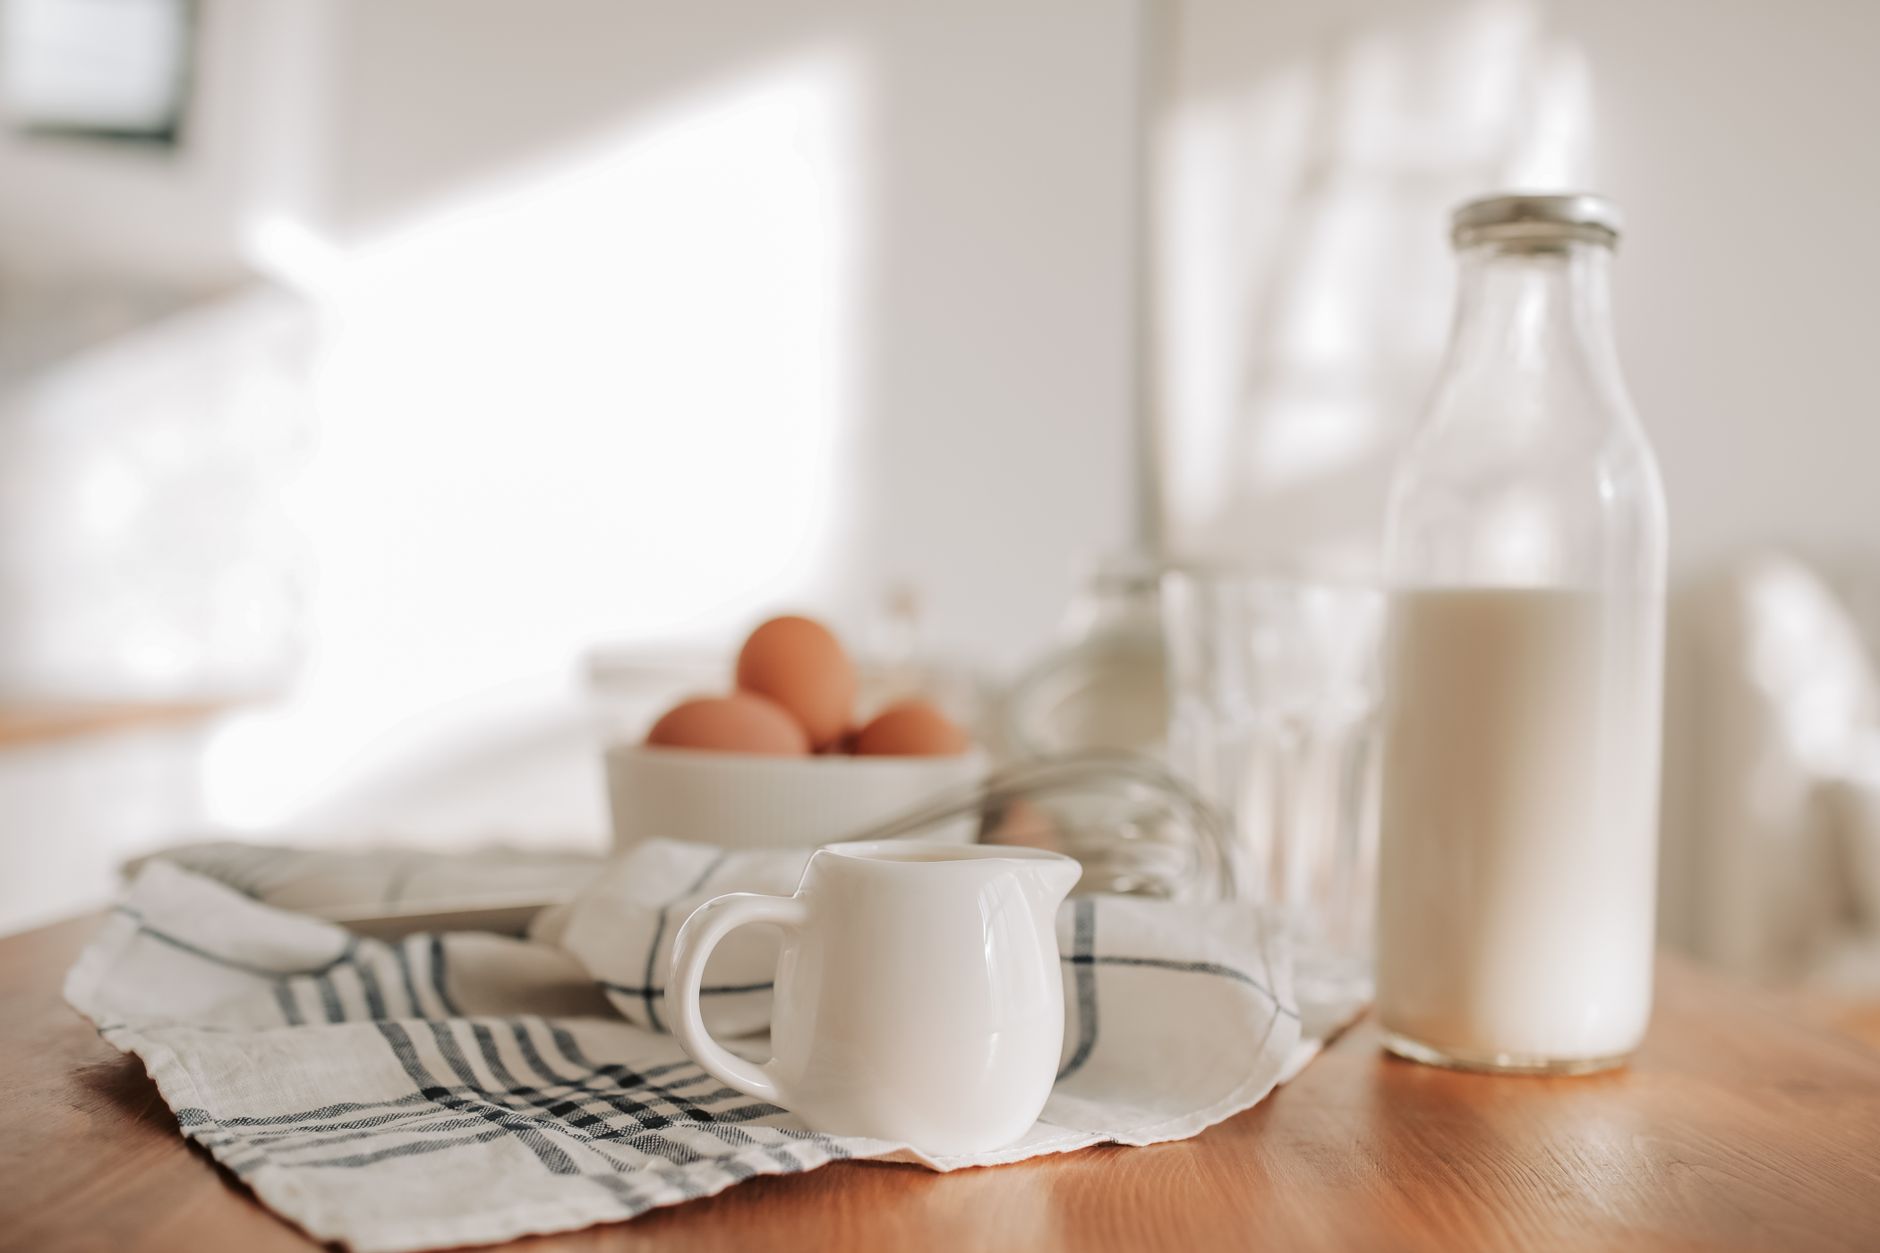
- 5 Large Eggs (Room Temperature): The heart of the cake. Room temperature eggs emulsify better and reach a higher volume when whipped.
- 200g (1 cup) Granulated Sugar: Divided. Part goes into the yolks for creaminess, part into the whites for a stable meringue.
- 80ml (1/3 cup) Whole Milk: Just a touch to hydrate the flour during the final mixing phase.
- 2 tsp Pure Vanilla Extract: Use the good stuff—Mexican vanilla is ideal for its woody, spicy notes.
According to USDA FoodData Central, nutritional data and food composition plays an important role in understanding food preparation and nutrition.
The Three-Milk Soak (The Soul):
- 1 can (354ml/12oz) Evaporated Milk: Provides the “cooked milk” flavor and creamy texture without excess sugar.
- 1 can (397g/14oz) Sweetened Condensed Milk: The primary sweetener and thickener for the soak.
- 60ml (1/4 cup) Heavy Cream: Adds fat for a luxurious mouthfeel. If you want a lighter cake, you can substitute whole milk here.
The Topping (The Cloud):
- 480ml (2 cups) Cold Heavy Whipping Cream: Must be very cold to stabilize the air bubbles.
- 30g (1/4 cup) Powdered Sugar: To lightly sweeten the topping.
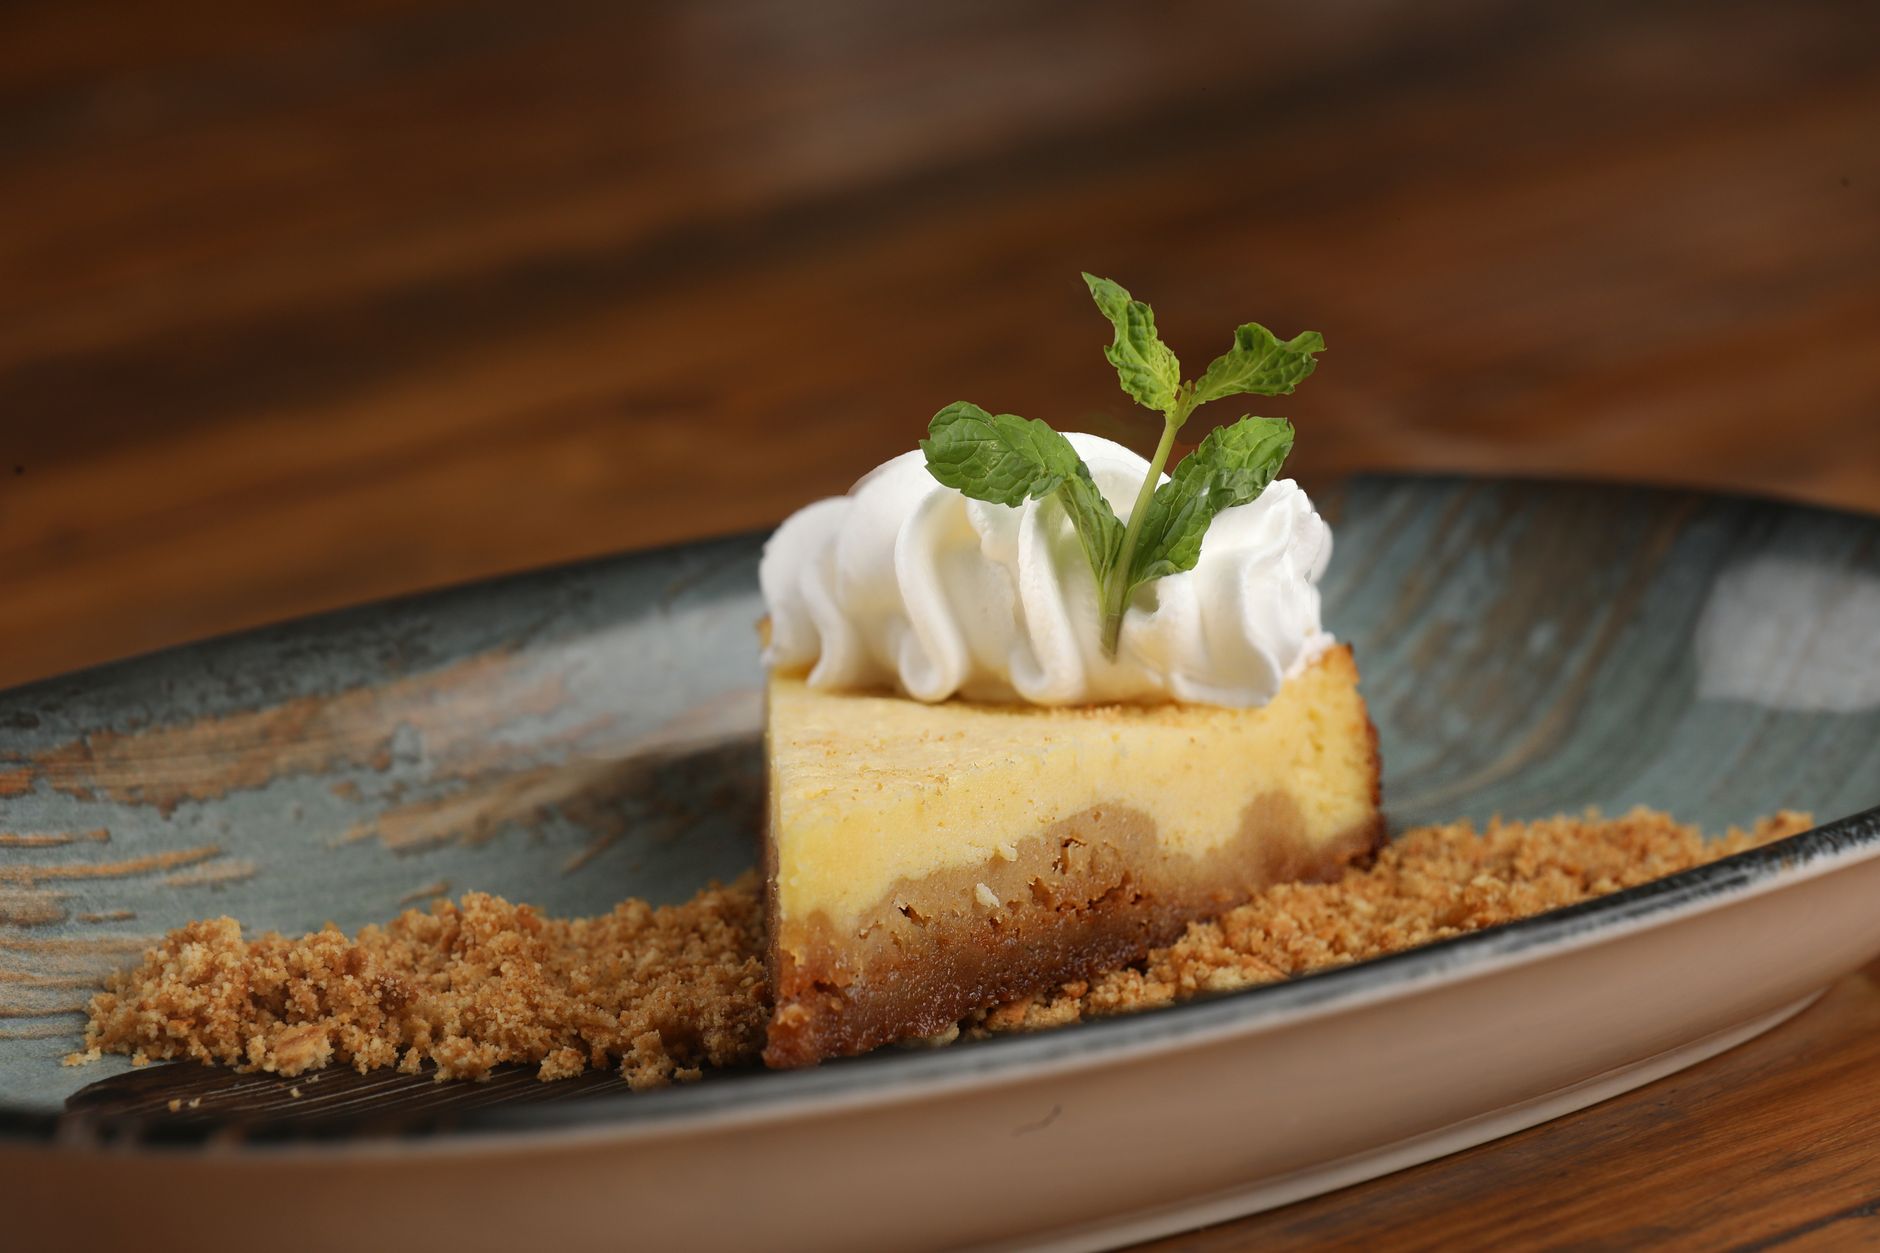
- Ground Cinnamon: For the traditional finish. The phenols in cinnamon provide a sharp contrast to the creamy dairy.
📷 Photo by Vlada Karpovich on Pexels — Free to use under the Pexels License
Step-by-Step Instructions
Before you begin, ensure all your ingredients are measured and your eggs are at room temperature. This is a “mise en place” heavy recipe; once you start whipping the eggs, you need to move quickly to preserve the aeration. Preheat your oven to 350°F (175°C) and grease a 9×13 inch glass or ceramic baking dish. Avoid dark metal pans, as they can cause the edges to over-caramelize before the center is set. For more delicious ideas, explore our cooking tips and guides collection.
- Step 1 — The Egg Separation and Foam: Separate your egg yolks from the whites. In a large bowl, beat the yolks with 150g of the sugar until they are pale lemon-colored and fall in “ribbons” (about 5 minutes). This is the ribbon stage, where the sugar has partially dissolved into the egg fats. Stir in the vanilla and the 80ml of milk.
- Step 2 — The Meringue: In a separate, surgically clean bowl, whip the egg whites until soft peaks form. Gradually add the remaining 50g of sugar and continue whipping until stiff, glossy peaks form. This meringue is the “scaffolding” of your cake; the air trapped here will later be replaced by the milk mixture.
- Step 3 — Folding and Sifting: Sift the flour, baking powder, and salt together. Gently fold the dry ingredients into the yolk mixture. Then, take a third of the egg whites and fold them in to lighten the batter. Carefully fold in the remaining whites using a spatula, being careful not to deflate the air bubbles. You are looking for a uniform, light-as-air batter.
- Step 4 — The Bake: Pour the batter into the prepared dish and smooth the top. Bake for 25–30 minutes. Use the “toothpick test”—it should come out clean. The cake will be golden brown due to the Maillard reaction, where the proteins and sugars react under heat to create complex flavor compounds.
- Step 5 — The Piercing: Allow the cake to cool for about 15 minutes. While still warm, use a fork or a wooden skewer to poke holes all over the surface, about 1 inch apart. Ensure you poke all the way to the bottom. This creates the pathways for the milk to penetrate the crumb.
- Step 6 — The Soak: Whisk the three milks together until smooth. Slowly pour the mixture over the warm cake, starting at the edges and moving toward the center. It will look like a lot of liquid, but don’t panic—the thirsty sponge will absorb it. Cover and refrigerate for at least 6 hours, though 24 hours is the “gold standard” for flavor development.
Expert Tips from Years of Kitchen Experience
One of the most common mistakes I see is people rushing the cooling process. While you want the cake to be slightly warm when you pour the milk (to encourage absorption), pouring it onto a piping hot cake can cause the starch structure to collapse, leading to a gummy texture. I’ve found that 15-20 minutes of cooling is the “sweet spot.” The cake is still expanded enough to drink the liquid, but the structure has set firmly enough to hold it.
- Temperature Control: Always use cold heavy cream for the topping. If the cream or the bowl is warm, the fat globules won’t be able to trap air effectively, and your whipped cream will turn into a runny mess. I often put my metal whisk and bowl in the freezer for 10 minutes before whipping.
- Ingredient Quality: Since milk is the star, the quality matters. If you can find “A2” milk or high-fat grass-fed cream, use it. The complexity of the grass-fed dairy cuts through the sugar of the condensed milk beautifully.
- Timing and Patience: This is not a “make and serve” cake. The osmosis required to move the milk from the top of the cake to the very bottom takes hours. If you cut it too early, you’ll have a dry center and a soggy bottom. Give it the overnight rest it deserves.
- Seasoning Balance: I love adding a pinch of ground cardamom to the flour mix. While not traditional, it adds a floral note that elevates the dairy. Also, never skip the salt in the sponge; it is the only thing preventing “sugar fatigue” after three bites.
Nutritional Benefits and Health Insights
While Tres Leches is undeniably a treat, it does offer some nutritional benefits derived from its heavy dairy base. A single slice (approximately 150g) provides roughly 8-10 grams of protein, largely from the five eggs and the concentrated milk proteins. It is an excellent source of calcium, often providing 15-20% of the recommended daily intake, which is essential for bone health and nerve function. Additionally, the eggs contribute choline, a nutrient vital for brain health, and Vitamin B12.
From a macronutrient perspective, a standard slice contains about 400-450 calories. It is high in carbohydrates and fats, so it’s best enjoyed as an occasional indulgence. For those with dietary restrictions, the cake can be adapted. Using a gluten-free 1-to-1 flour blend works surprisingly well here because the “structure” is provided more by the eggs than the gluten. For a lower-glycemic version, you can find sugar-free condensed milk alternatives, though the texture may vary slightly due to the different behavior of sugar alcohols during the soak. For more delicious ideas, explore our drinks and beverages collection.
Creative Variations and Dietary Adaptations
The beauty of the Tres Leches template is its versatility. Once you master the basic sponge and soak, you can experiment with flavors that complement the dairy base. Here are a few of my favorite twists discovered over years of experimentation:
- The “Cuatro Leches” Coconut Twist: Replace the heavy cream in the soak with full-fat coconut milk and fold toasted shredded coconut into the whipped cream topping. This adds a tropical fat profile that is incredibly satisfying.
- The Carajillo (Coffee) Version: Add 2 tablespoons of instant espresso powder to the milk mixture and a splash of Licor 43 (a Spanish vanilla liqueur). This transforms the cake into a sophisticated, caffeinated dessert reminiscent of the popular Mexican cocktail.
- Chocolate Tres Leches: Sift 30g of high-quality cocoa powder into your flour. In the soak, use chocolate milk as the “third milk.” The result is a deep, malty flavor that tastes like a premium chocolate milkshake in cake form.
- Vegan Adaptation: This is tricky because of the eggs, but it can be done. Use an aquafaba (chickpea water) meringue for the sponge and a soak made from coconut condensed milk, evaporated oat milk, and soy cream. The science remains the same—create air, then fill it with fat-rich liquid.
- Berry-Infused: Layer fresh sliced strawberries or a thin spread of raspberry jam between the cake and the whipped cream. The acidity of the berries cuts through the richness of the three milks perfectly.
Frequently Asked Questions
Why is my Tres Leches cake soggy at the bottom but dry in the middle?
This usually happens if the holes weren’t poked deep enough or if the cake was too cold when the milk was added. If the cake is cold, the starches are “locked,” and the liquid can’t penetrate the center as easily, so it just pools at the bottom. Always poke the cake while it’s warm and ensure your skewer reaches the base of the pan.
Can I use a regular box cake mix for the base?
Technically, yes, but I don’t recommend it. Box mixes are designed to be “moist” and “tender” using oils and emulsifiers. This makes them too weak to hold the milk soak. A box cake will often disintegrate into a mushy paste, whereas the traditional egg-foam sponge maintains its “bite” even when fully saturated.
How long does Tres Leches stay fresh in the fridge?
Because of the high sugar and dairy content, it stays surprisingly well for 3 to 5 days. In fact, many people (including myself) think it tastes better on day two. However, the whipped cream topping may start to weep or deflate after 48 hours, so you might want to wait to top it until the day you plan to serve it.
My whipped cream always turns runny; what am I doing wrong?
The most likely culprit is temperature. Your cream, bowl, and whisk must be ice-cold. Another trick is to avoid over-beating; once you see stiff peaks, stop immediately. If you need the topping to last for a party, you can “stabilize” it by adding a teaspoon of instant vanilla pudding mix or a bit of mascarpone cheese while whipping.
Final Thoughts
Cooking is often a balance between precision and intuition, and Tres Leches is the perfect example of that harmony. It requires the precision of a scientist to build the sponge and the intuition of a grandmother to know exactly when the cake has “drunk” enough milk. Every time I make this cake, I am reminded of the kitchens in Mexico where the air smells of cinnamon and scalded milk. It is a dish that demands you slow down—you cannot rush the soak, and you cannot rush the enjoyment. I encourage you to embrace the process: whip those eggs until your arm aches, poke those holes with purpose, and wait the full 24 hours. When you finally take that first, creamy, cool bite, you’ll realize that some things are truly worth the wait. Make it your own, share it with people you love, and let this cake be the centerpiece of your next great memory.