

🍳 In This Article
I remember a time when achieving truly crispy chicken skin at home felt like a culinary unicorn. It was always either too greasy, too chewy, or just plain nonexistent. Then, the air fryer entered my life, and everything changed. Suddenly, that elusive, golden-brown crunch was not only possible but incredibly easy to achieve, especially with humble bone-in chicken thighs. This recipe isn’t just about cooking chicken; it’s about transforming a simple cut into a weeknight showstopper that will have everyone asking for seconds. It’s the kind of dish that makes you feel like a gourmet chef without any of the fuss.
What Makes This Dish So Special
There’s an undeniable magic that happens when bone-in, skin-on chicken thighs meet the intense, circulating heat of an air fryer. Unlike a traditional oven, which often struggles to render fat and crisp skin effectively without drying out the meat, the air fryer acts like a powerful convection oven in miniature. It blasts the chicken with hot air from all directions, efficiently drawing out moisture from the skin and creating an unbelievably crunchy exterior, all while the bone-in structure helps to insulate the meat, keeping it incredibly juicy and tender on the inside.
According to Bon Appétit, mastering fundamental cooking techniques makes every recipe easier and more delicious.
The beauty of this particular dish lies in its exquisite balance of textures and flavors. We’re not just aiming for crispy; we’re aiming for *perfectly* crispy – shatteringly so, almost like a delicious crackling. This crispness provides a delightful contrast to the succulent, moist meat underneath, which is infused with a robust garlic and herb seasoning. This isn’t a subtle flavor profile; it’s bold and aromatic, making every bite a fragrant explosion. It’s a truly satisfying meal that feels both comforting and surprisingly elegant, making it suitable for both casual family dinners and more special occasions.
Beyond the incredible taste and texture, the sheer convenience of this recipe is what elevates it to superstar status in my kitchen. Prepping takes mere minutes, and the air fryer does most of the heavy lifting. There’s no constant monitoring, no basting, and significantly less mess compared to pan-frying or deep-frying. For busy individuals or families, this means a wholesome, delicious, and impressive meal can be on the table in under 30 minutes of active cooking time. It truly is a testament to how modern kitchen appliances can simplify our lives without compromising on flavor or quality.

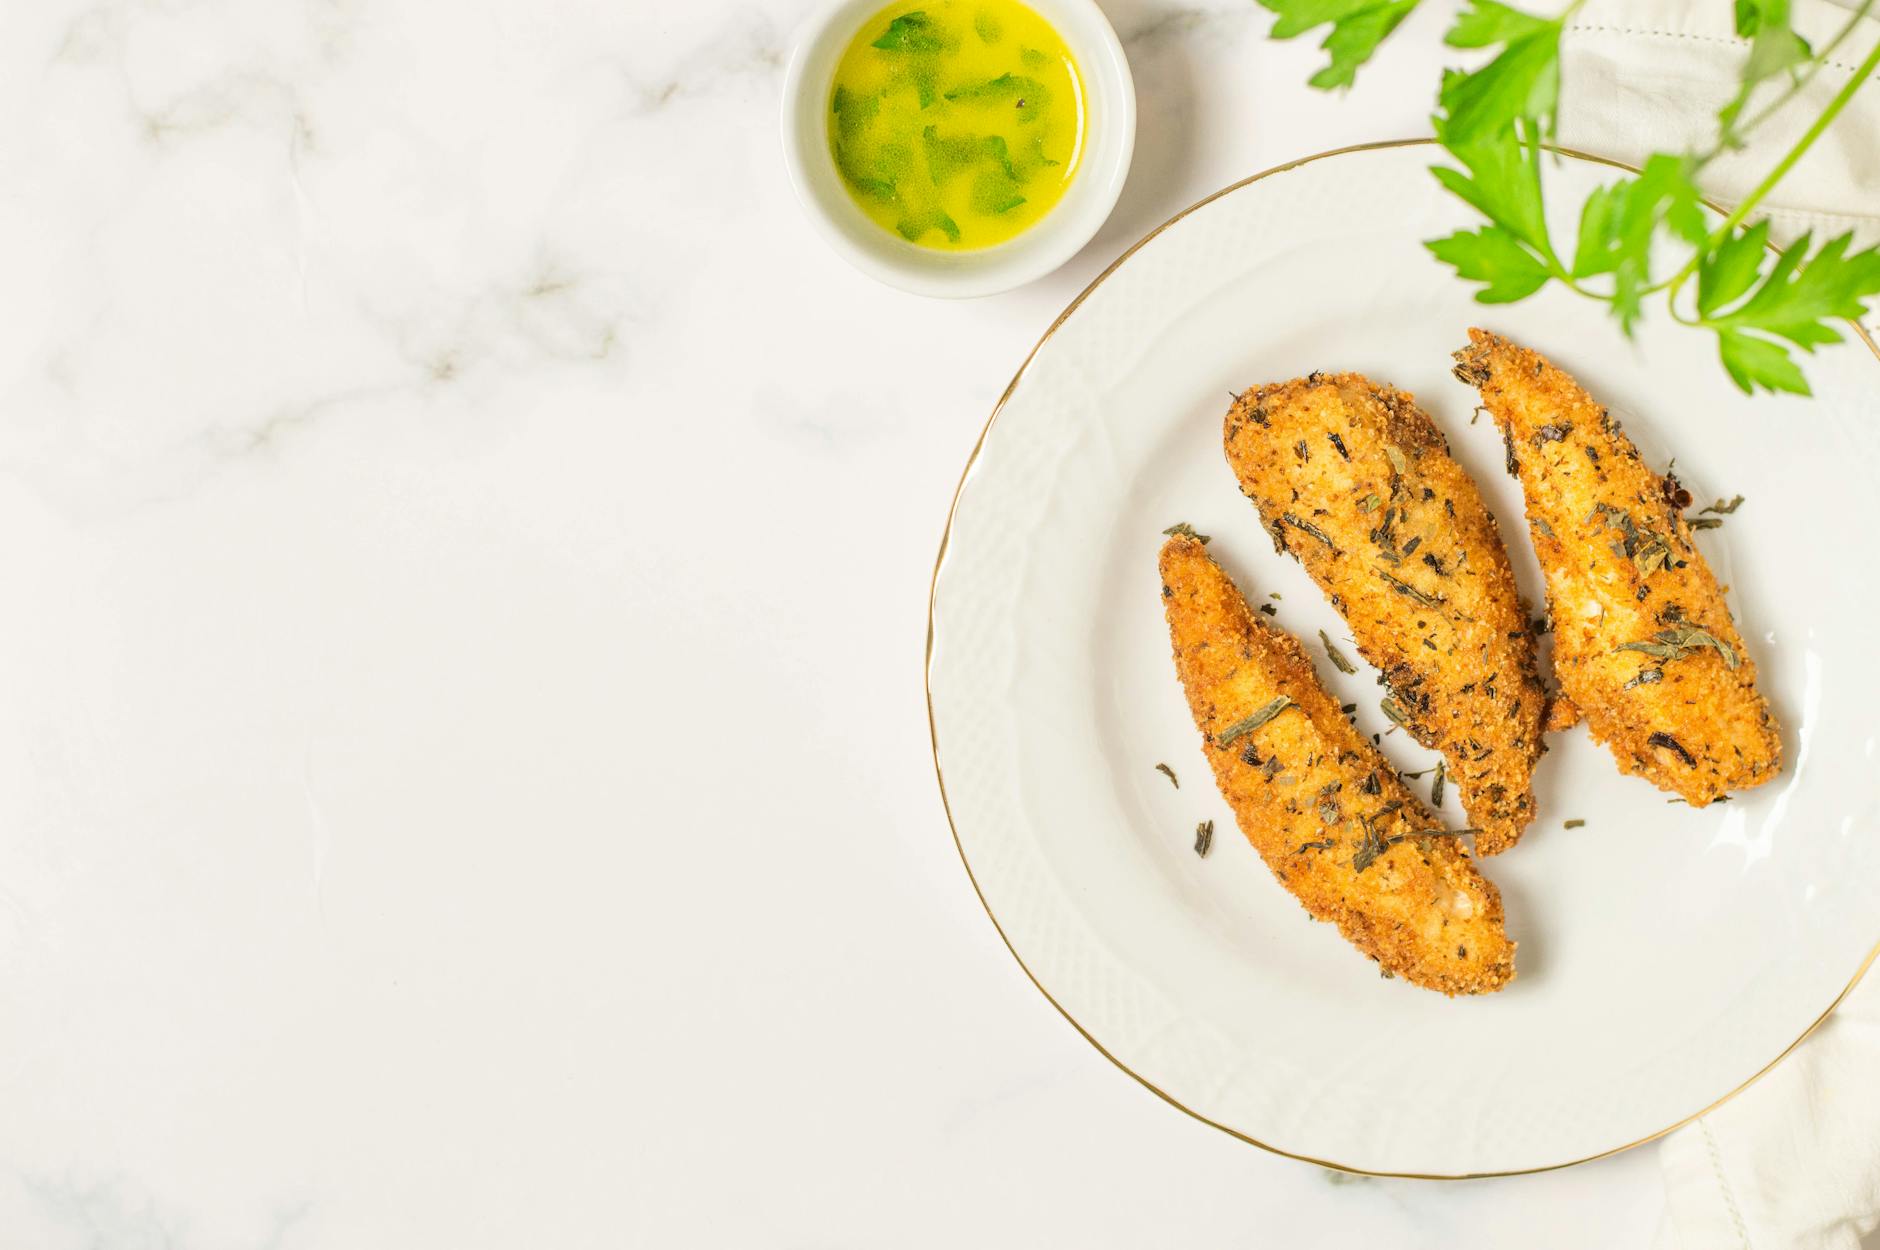
📷 Photo by Mahmoud Salem on Pexels
Ingredients You Will Need
Crafting these perfectly crispy and juicy chicken thighs requires a careful selection of ingredients, each playing a crucial role in the final flavor and texture. Here’s a detailed look at what you’ll need:
According to Taste of Home, mastering fundamental cooking techniques makes every recipe easier and more delicious.
- Bone-In, Skin-On Chicken Thighs (2.5 lbs / approx. 4-6 thighs): This is the star of our show. The bone helps to conduct heat slowly and evenly, preventing the meat from drying out and contributing to a richer, more profound flavor. The skin is absolutely essential for that coveted crispiness; it renders beautifully in the air fryer, becoming golden and crackly.
- Olive Oil (1 tablespoon): A good quality extra virgin olive oil not only helps the seasoning adhere to the chicken but also aids in the browning process. Its healthy fats contribute to the overall juiciness and flavor of the finished dish.
- Garlic Powder (1.5 teaspoons): Rather than fresh minced garlic, garlic powder is preferred here because it distributes more evenly over the chicken and is less prone to burning at high air fryer temperatures. It provides a foundational, aromatic garlic flavor that permeates the meat.
- Onion Powder (1 teaspoon): Much like garlic powder, onion powder offers a concentrated, savory depth without the moisture of fresh onion. It complements the garlic beautifully, adding a subtle sweetness and umami.
- Dried Oregano (1 teaspoon): A classic Mediterranean herb, oregano brings a robust, slightly peppery, and earthy note that pairs wonderfully with chicken. Dried herbs are excellent for rubs as their flavors are concentrated.
- Dried Thyme (1 teaspoon): Thyme contributes a delicate, earthy, and slightly floral aroma. It’s a staple in poultry seasoning blends and adds complexity to our herb mixture.
- Smoked Paprika (1 teaspoon): This is one of my favorite additions! Smoked paprika not only provides a beautiful reddish hue to the chicken but also imparts a deep, smoky undertone that elevates the entire dish. Regular paprika can be used, but the smoked variety truly makes a difference.
- Kosher Salt (1 teaspoon, or to taste): Essential for seasoning the chicken from the inside out. Kosher salt has larger flakes, which are easier to control and distribute evenly than fine table salt. Adjust based on your preference.
- Freshly Ground Black Pepper (0.5 teaspoon, or to taste): Adds a bright, pungent kick that balances the richness of the chicken and the earthiness of the herbs. Always use freshly ground for the best flavor.
- Optional: Lemon Zest (from 1/2 lemon): If you want to add a bright, fresh counterpoint to the savory herbs, a bit of finely grated lemon zest rubbed into the chicken with the spices is absolutely divine. It adds a subtle acidity that lifts the flavors.

📷 Photo by Towfiqu barbhuiya on Pexels For more delicious ideas, check out our vegetarian meal ideas section.
Step-by-Step Instructions
Getting these crispy air fryer chicken thighs on your dinner table is surprisingly straightforward. The key is in the preparation and understanding how your air fryer works. Follow these steps for perfect results every time:
According to AllRecipes, mastering fundamental cooking techniques makes every recipe easier and more delicious.
- Step 1: Prepare and Season the Chicken (10 minutes prep): Begin by thoroughly patting the chicken thighs dry with paper towels. This is a critical step for achieving crispy skin, as excess moisture will steam rather than crisp. In a small bowl, combine the garlic powder, onion powder, dried oregano, dried thyme, smoked paprika, kosher salt, and black pepper. If using, add the lemon zest here too. Drizzle the chicken thighs with olive oil, then generously sprinkle the herb and spice mixture over all sides of the chicken. Use your hands to rub the seasoning evenly into the skin and meat.
- Step 2: Preheat Your Air Fryer (5 minutes): For optimal crispiness and even cooking, always preheat your air fryer. Set your air fryer to 400°F (200°C) and let it run for 5 minutes. Preheating ensures that the chicken starts cooking immediately upon contact with the hot air, helping to lock in juices and initiate the browning process more effectively.
- Step 3: Arrange Chicken in the Air Fryer Basket: Carefully place the seasoned chicken thighs in a single layer in the preheated air fryer basket, skin-side up. It’s crucial not to overcrowd the basket; air circulation is key for crisping. Depending on the size of your air fryer, you may need to cook the chicken in two batches. Ensure there’s at least half an inch of space between each thigh.
- Step 4: Initial Cooking Phase (15 minutes): Close the air fryer and cook the chicken thighs at 400°F (200°C) for 15 minutes. During this initial phase, the skin will begin to render its fat and start to brown, laying the groundwork for that irresistible crispiness.
- Step 5: Flip and Continue Cooking (8-12 minutes): After 15 minutes, carefully open the air fryer basket and, using tongs, flip each chicken thigh over so the skin side is now down. This allows the underside of the chicken to cook evenly and the fat to continue rendering. Close the air fryer and continue cooking at 400°F (200°C) for another 8-12 minutes, or until the internal temperature of the thickest part of the thigh (avoiding the bone) reaches 175°F (80°C) using an instant-read meat thermometer. The skin should be deeply golden brown and incredibly crispy.
- Step 6: Rest and Serve (5 minutes): Once the chicken thighs have reached the desired internal temperature, carefully remove them from the air fryer and transfer them to a cutting board or serving platter. Loosely tent them with foil and let them rest for at least 5 minutes. This resting period is vital, allowing the juices to redistribute throughout the meat, ensuring every bite is succulent and flavorful. After resting, serve immediately and enjoy!
Pro Tips for Perfect Results
While the step-by-step instructions will get you delicious results, these pro tips delve into the “why” behind certain techniques, ensuring your air fryer chicken thighs are nothing short of spectacular every single time.
According to Food Network, mastering fundamental cooking techniques makes every recipe easier and more delicious. For more delicious ideas, check out our delicious dessert recipes section.
- Tip 1: The Power of Patting Dry: This cannot be stressed enough – thoroughly patting your chicken thighs dry with paper towels is the single most important step for achieving truly crispy skin. Moisture on the surface of the chicken creates steam when heated, which inhibits browning and crisping. By removing this surface moisture, you allow the skin to directly contact the hot air, initiating the Maillard reaction (the chemical reaction responsible for browning and flavor development) much faster. Think of it like trying to fry a wet potato; it steams before it crisps. Dry chicken equals crispy chicken!
- Tip 2: Don’t Overcrowd the Basket: Air fryers work by circulating hot air around the food. If you pack the basket too tightly, you restrict this airflow. When air can’t circulate freely around each piece of chicken, you end up with uneven cooking, steamed spots instead of crispy ones, and a less efficient cooking process overall. Always arrange chicken thighs in a single layer with ample space between them. If your air fryer is smaller, cook in batches. Patience here pays off in perfectly crisp results.
- Tip 3: Always Use a Meat Thermometer and Rest the Meat: While timing is a good guide, the only way to truly guarantee perfectly cooked and safe chicken is to use an instant-read meat thermometer. Insert it into the thickest part of the thigh, avoiding the bone, and aim for 175°F (80°C). Chicken thighs are more forgiving than breasts and benefit from cooking to a slightly higher temperature, which helps render the fat and ensures tenderness. Once cooked, resting the chicken for 5-10 minutes under loose foil is crucial. This allows the muscle fibers to relax and reabsorb the juices that have migrated to the center during cooking, resulting in incredibly moist and tender meat. Skipping this step leads to dry chicken, regardless of how perfectly it was cooked.
Variations and Substitutions
One of the joys of cooking is adapting a base recipe to suit different tastes and moods. These air fryer chicken thighs are incredibly versatile, allowing for a range of exciting flavor variations:
- Spicy Southwest Thighs: For those who love a kick, transform this dish with a Southwest twist. Replace the dried oregano and thyme with 1 teaspoon chili powder, 1/2 teaspoon ground cumin, and an extra 1/4 teaspoon of cayenne pepper. Keep the garlic and onion powder, and consider adding a pinch of dried cilantro. Serve with a side of black bean and corn salsa for a vibrant meal.
- Lemon-Herb Mediterranean Twist: Brighten things up with a zesty Mediterranean profile. In addition to the existing herbs, add the zest of one whole lemon to your seasoning mix. After cooking, a squeeze of fresh lemon juice over the hot chicken will really make the flavors pop. You could also introduce 1/2 teaspoon of dried dill or marjoram for an authentic touch. This pairs beautifully with a Greek salad or couscous.
- Asian-Inspired Glazed Thighs: For a departure from the dry rub, consider a simple Asian-inspired glaze. After the chicken has cooked for about 15 minutes (before flipping), brush the skin with a mixture of 2 tablespoons soy sauce, 1 tablespoon honey or maple syrup, 1 teaspoon grated fresh ginger, and 1/2 teaspoon sesame oil. Flip and continue cooking, brushing with more glaze for the last 5-7 minutes until caramelized and sticky. Garnish with sesame seeds and chopped green onions.
- Rosemary-Dijon Delight: Elevate the classic herb profile by adding 1 teaspoon of dried rosemary (crushed between your fingers to release oils) to your seasoning blend. For an extra layer of flavor, after patting the chicken dry, spread a thin layer (about 1 teaspoon per thigh) of Dijon mustard directly onto the skin before applying the herb rub. The mustard acts as a tenderizer and adds a tangy depth that complements the rosemary beautifully.
Frequently Asked Questions
Why are my air fryer chicken thighs not getting crispy?
There are a few common culprits when chicken thighs fail to crisp up in the air fryer. The most frequent reason is insufficient drying of the chicken skin before seasoning – any residual moisture will steam rather than crisp. Always pat them thoroughly dry with paper towels. Another major factor is overcrowding the air fryer basket; hot air needs to circulate freely around each piece of chicken to effectively render fat and crisp the skin. If your basket is too full, the chicken will essentially steam. Lastly, ensure your air fryer is preheated to the correct temperature (400°F / 200°C) and that you’re cooking for enough time. Flipping the chicken halfway through also helps ensure even crisping on all sides.
How long can I store cooked air fryer chicken thighs, and how should I reheat them?
Cooked air fryer chicken thighs can be stored in an airtight container in the refrigerator for 3-4 days. To reheat them and retain that coveted crispiness, avoid the microwave, which will make the skin soggy. Instead, preheat your air fryer to 350°F (175°C). Place the chicken thighs back in the basket in a single layer and air fry for 5-8 minutes, or until heated through and the skin has re-crisped. The exact time will depend on the size of the thighs and your air fryer model. You can also reheat them in a conventional oven at 375°F (190°C) for 10-15 minutes.
Can I use boneless, skinless chicken thighs for this recipe?
While you certainly can use boneless, skinless chicken thighs, the results will be quite different, especially regarding crispiness and juiciness. Boneless, skinless thighs will cook much faster, typically requiring only 12-18 minutes in the air fryer at 380°F (195°C) until they reach an internal temperature of 165°F (74°C). However, without the bone to help regulate heat and the skin to crisp up, they won’t have the same succulent texture or the signature crispy exterior that makes this recipe so special. If you do use them, be vigilant with your meat thermometer to prevent overcooking, and expect a tender but not crispy result. For more delicious ideas, check out our easy lunch ideas section.
Final Thoughts
There’s something truly satisfying about a meal that delivers on every promise: convenience, incredible flavor, and that irresistible texture. These crispy air fryer garlic herb chicken thighs do exactly that. They’ve become a staple in my home, effortlessly transforming a simple weeknight into a culinary delight. The moment you pull those golden-brown beauties from the air fryer, the aroma alone will have your mouth watering, and that first bite of shatteringly crispy skin followed by tender, juicy meat is pure bliss. I love adding a simple side of roasted asparagus or a fresh garden salad to complete the meal, making it both wholesome and utterly delicious. Don’t just take my word for it – give this recipe a try, and prepare to fall in love with your air fryer all over again!