

🍳 In This Article
There was a time when achieving truly crispy chicken skin at home felt like a culinary Everest. I’d try pan-frying, oven-roasting, even broiling, often ending up with either soggy skin, dry meat, or a kitchen filled with smoke. Then, the air fryer entered my life, and everything changed. For chicken thighs, specifically bone-in, skin-on thighs, it was nothing short of a revelation. The first time I pulled a batch of these golden-brown, crackling beauties from the basket, the aroma alone promised perfection, and the taste delivered beyond my wildest expectations. It’s a game-changer for weeknight dinners, turning an ordinary cut of chicken into an extraordinary meal with minimal fuss and maximum flavor.
What Makes This Dish So Special
This isn’t just another chicken recipe; it’s an ode to the humble chicken thigh elevated to gourmet status, thanks to the magic of the air fryer. What makes bone-in, skin-on chicken thighs so special is their inherent richness and resilience. Unlike chicken breasts, thighs are packed with dark meat, meaning they have more intramuscular fat and connective tissue, which translates to incredible juiciness and flavor. The bone contributes to this by conducting heat more slowly and evenly, helping the meat stay moist and preventing it from drying out. And that skin? It’s a flavor powerhouse, ready to transform into a golden, shatteringly crisp layer when cooked correctly.
The air fryer is the secret weapon here. It circulates hot air rapidly around the food, mimicking the results of deep-frying with significantly less oil. For chicken skin, this means the fat renders beautifully, creating an incredibly crispy exterior while simultaneously locking in the moisture of the meat below. The high, dry heat of the air fryer is perfect for achieving that coveted crackle without any of the greasiness associated with traditional frying methods. It’s truly a marvel how a simple kitchen appliance can deliver such restaurant-quality results in under 30 minutes.
Beyond the perfect texture, the simple yet potent garlic herb seasoning is what ties this dish together. A blend of aromatic dried herbs like thyme, rosemary, and oregano, coupled with savory garlic powder, creates a classic flavor profile that complements the rich chicken perfectly. These herbs infuse the chicken as it cooks, releasing their essential oils and creating a fragrant, inviting aroma that fills your kitchen. It’s a comforting, familiar taste that appeals to nearly everyone, making it an ideal choice for family dinners or entertaining guests. The simplicity of the seasoning allows the natural deliciousness of the chicken to shine through, creating a truly memorable meal.

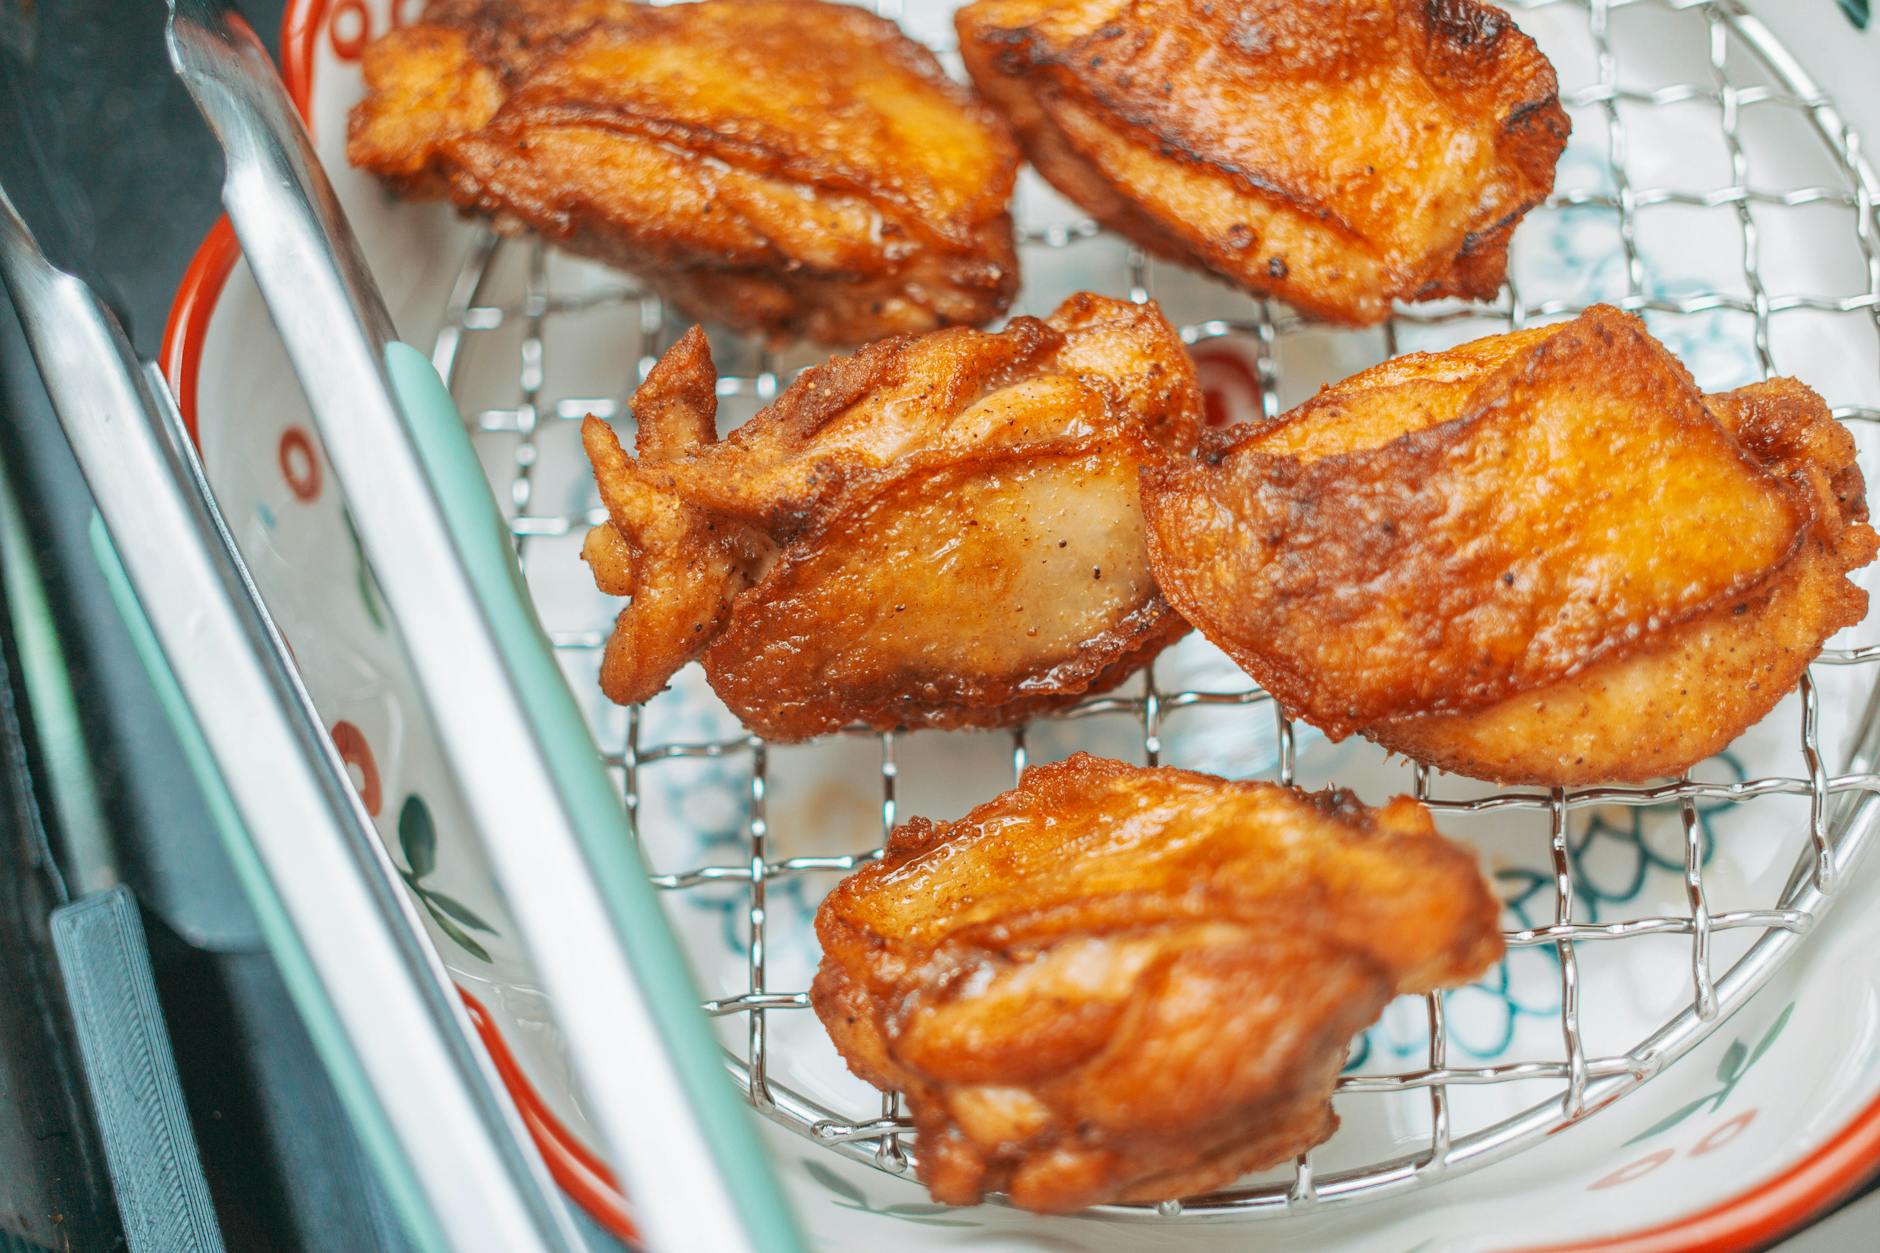
📷 Photo by FOX ^.ᆽ.^= ∫ on Pexels
According to Epicurious, mastering fundamental cooking techniques makes every recipe easier and more delicious.
Ingredients You Will Need
Crafting these perfect air fryer chicken thighs requires just a handful of quality ingredients. Each one plays a crucial role in achieving the balance of crispy skin, juicy meat, and aromatic flavor. Here’s what you’ll need:
• Bone-in, Skin-on Chicken Thighs (4-6 pieces, about 2.5 pounds total): These are the stars of the show. The bone helps retain moisture and adds depth of flavor, while the skin is essential for that irresistible crispiness. Look for thighs that are roughly uniform in size to ensure even cooking.
According to Serious Eats, mastering fundamental cooking techniques makes every recipe easier and more delicious.
• Olive Oil (1 tablespoon): Acts as a binder for the seasonings, helping them adhere to the chicken, and contributes to the browning and crisping of the skin. A good quality extra virgin olive oil works wonderfully here.
• Garlic Powder (1 teaspoon): Provides a concentrated, savory garlic flavor that distributes evenly across the chicken. While fresh garlic is delicious, powder prevents burning at high temperatures and gives a more consistent flavor profile.
• Dried Thyme (1 teaspoon): A classic poultry herb with earthy, slightly floral notes. Thyme pairs beautifully with chicken and contributes to the overall aromatic quality of the dish.
• Dried Rosemary (½ teaspoon): Offers a pungent, piney aroma and flavor that’s robust and comforting. A little goes a long way with rosemary, so stick to the specified amount for balance.
• Dried Oregano (½ teaspoon): Adds a warm, slightly bitter, and peppery note that rounds out the herb blend, giving it a Mediterranean touch.
• Smoked Paprika (½ teaspoon): While optional, I love adding smoked paprika. It imparts a beautiful reddish hue to the skin and a subtle, smoky depth of flavor that really elevates the dish without being overpowering.
• Kosher Salt (1 teaspoon): Essential for seasoning the chicken deeply and drawing out its natural flavors. Kosher salt has larger crystals that are easier to control and distribute than fine table salt.
• Black Pepper (½ teaspoon): Adds a touch of mild spice and an aromatic kick that complements the herbs and garlic. Freshly ground black pepper is always best for maximum flavor.

📷 Photo by alleksana on Pexels For more delicious ideas, check out our vegetarian meal ideas section.
Step-by-Step Instructions
Getting these incredibly crispy and juicy chicken thighs onto your dinner plate is surprisingly simple. Just follow these straightforward steps, and you’ll be enjoying a delicious meal in no time. The key is in the preparation and understanding how your air fryer works its magic.
- Step 1: Prepare the Chicken Thighs
Begin by taking your bone-in, skin-on chicken thighs out of the refrigerator about 15-20 minutes before cooking to allow them to come closer to room temperature. This promotes more even cooking. Critically, pat each thigh thoroughly dry with paper towels, especially the skin. Moisture on the surface will steam the chicken rather than crisp it. You can also trim any excessive, floppy skin or large pockets of fat, but leave the majority of the skin intact for maximum crispness and flavor. - Step 2: Create the Herb Seasoning Blend
In a small bowl, combine the olive oil, garlic powder, dried thyme, dried rosemary, dried oregano, smoked paprika (if using), kosher salt, and black pepper. Whisk these ingredients together until they form a thick, aromatic paste. This ensures that all the flavors are well-distributed and ready to coat your chicken evenly. - Step 3: Season the Chicken Generously
Place the patted-dry chicken thighs in a large bowl or on a clean baking sheet. Using your hands, generously rub the herb and oil mixture all over each chicken thigh. Make sure to get some seasoning under the skin as well, gently lifting it and spreading the mixture directly onto the meat. This infuses flavor into every bite and helps season the meat itself, not just the skin. - Step 4: Preheat Your Air Fryer
Preheating is a non-negotiable step for achieving truly crispy results. Set your air fryer to 375°F (190°C) and let it preheat for at least 5 minutes. A hot air fryer basket prevents the chicken from sticking and immediately begins to crisp the skin upon contact, locking in juices. - Step 5: Air Fry the Chicken Thighs to Perfection
Carefully place the seasoned chicken thighs into the preheated air fryer basket, ensuring they are in a single layer with the skin-side facing up. Do not overcrowd the basket; cook in batches if necessary to allow proper air circulation. Air fry for 10 minutes, then flip the chicken thighs over and continue to cook for another 8-12 minutes, or until the internal temperature reaches 175°F (80°C) when measured with an instant-read meat thermometer in the thickest part of the thigh, avoiding the bone. The skin should be deeply golden brown and audibly crispy. - Step 6: Rest and Serve
Once cooked, carefully remove the chicken thighs from the air fryer basket and transfer them to a plate or cutting board. Loosely tent them with foil and let them rest for 5-10 minutes before serving. This resting period is crucial as it allows the juices within the meat to redistribute, resulting in incredibly moist and tender chicken. Slice or serve whole with your favorite sides.
Pro Tips for Perfect Results
Achieving that restaurant-quality crispiness and juiciness with your air fryer chicken thighs isn’t difficult, but a few expert tips can elevate your results from good to absolutely phenomenal. These aren’t just tricks; they’re based on the science of cooking.
• Tip 1: Patting Dry is Non-Negotiable for Crispiness. This is perhaps the single most important step for crispy skin. Moisture on the surface of the chicken acts as a barrier, causing the chicken to steam rather than crisp. When water evaporates, it cools the surface, preventing the Maillard reaction (the chemical reaction responsible for browning and flavor development) from occurring effectively. By thoroughly patting the chicken skin dry with paper towels, you remove this surface moisture, allowing the fat in the skin to render more efficiently and the Maillard reaction to kick in immediately upon hitting the hot air fryer, leading to that coveted shatteringly crisp texture. I’ve learned that even if I think it’s dry enough, another pass with a fresh paper towel never hurts!
According to BBC Good Food, mastering fundamental cooking techniques makes every recipe easier and more delicious.
• Tip 2: Don’t Overcrowd the Basket – Air Circulation is Key. The air fryer works by circulating hot air rapidly around the food. If you pack too many chicken thighs into the basket, you impede this crucial airflow. When the basket is overcrowded, the hot air can’t reach all surfaces of the chicken, leading to uneven cooking and, more importantly, steaming rather than crisping. The moisture released from the chicken gets trapped, turning what should be crispy skin into soggy skin. Always cook in a single layer, ensuring there’s ample space between each thigh. If you have a larger batch, it’s always better to cook in two separate batches; the slight extra time is well worth the superior results.
• Tip 3: The Power of Resting – Don’t Skip It! It might be tempting to dive right into those delicious, hot chicken thighs, but resisting for just 5-10 minutes makes all the difference in terms of juiciness. When meat cooks, the muscle fibers contract, pushing the internal juices towards the center. If you cut into the chicken immediately, these juices will simply spill out onto your plate, leaving you with drier meat. Resting allows the muscle fibers to relax and reabsorb those precious juices, redistributing them evenly throughout the thigh. This results in every bite being incredibly moist and tender. One trick I have discovered is to tent the chicken loosely with foil while it rests; this keeps it warm without trapping too much steam and compromising the crispiness. For more delicious ideas, check out our delicious dessert recipes section.
Variations and Substitutions
While the classic garlic herb blend is undeniably delicious, these air fryer chicken thighs are wonderfully versatile. Feel free to experiment with different flavor profiles to suit your mood or what you have on hand.
• Spicy Kick: For those who love a bit of heat, you can easily add a spicy kick to your chicken thighs. Simply incorporate ¼ to ½ teaspoon of cayenne pepper into the seasoning blend. If you prefer a smoky heat, chipotle powder is an excellent substitution for regular paprika, offering a deeper, more complex spice. You could also finish with a drizzle of hot honey after resting for a sweet and spicy glaze.
According to Bon Appétit, mastering fundamental cooking techniques makes every recipe easier and more delicious.
• Lemon-Herb Zest: Brighten up the flavors by adding fresh lemon zest to your herb mixture. Grate the zest of one small lemon (about 1 teaspoon) into the olive oil and herb blend. The citrus notes will cut through the richness of the chicken, offering a lighter, more vibrant taste. Freshly chopped parsley or dill can also be added after cooking for an extra burst of fresh flavor and color.
• Mediterranean Twist: Transport your taste buds to the Mediterranean by swapping out some of the traditional herbs. Use a blend that includes dried mint, sumac (for a tangy, lemony flavor), and a touch of dried dill. A squeeze of fresh lemon juice over the cooked thighs just before serving will further enhance this vibrant profile. You could even serve them with a dollop of homemade tzatziki or a side of couscous salad.
• Smoky BBQ Infusion: If you’re craving barbecue flavors without firing up the grill, this variation is for you. Increase the smoked paprika to 1 teaspoon and add ½ teaspoon of onion powder to the seasoning blend. For a touch of sweetness and caramelization, sprinkle a pinch of brown sugar (about ½ teaspoon) into the mixture. In the last 2-3 minutes of air frying, you can lightly brush the chicken skin with your favorite barbecue sauce for a sticky, savory glaze, being careful not to let the sauce burn.
Frequently Asked Questions
How do I know when the chicken thighs are fully cooked?
The most reliable way to ensure your chicken thighs are perfectly cooked and safe to eat is by using an instant-read meat thermometer. Insert the thermometer into the thickest part of the thigh, making sure not to touch the bone. The chicken is fully cooked when it reaches an internal temperature of 175°F (80°C). Unlike chicken breasts, chicken thighs are more forgiving and can actually taste better and more tender when cooked to a slightly higher temperature than the standard 165°F (74°C) for poultry. This allows the collagen and connective tissues to break down, resulting in that incredibly tender, fall-off-the-bone texture. You’ll also notice that the juices run clear when the chicken is pierced.
Can I meal prep these chicken thighs? How should I store them?
Absolutely! These air fryer chicken thighs are fantastic for meal prepping. Once cooked, allow them to cool completely at room temperature for no more than two hours. Then, transfer them to an airtight container and store them in the refrigerator for up to 3-4 days. For longer storage, you can freeze the cooked chicken thighs for up to 2-3 months. To reheat, I highly recommend using your air fryer again at 350°F (175°C) for about 8-12 minutes, or until heated through and the skin crisps up again. This method helps maintain that desirable crispy skin, whereas a microwave might make it soggy.
Can I use boneless, skinless chicken thighs instead?
Yes, you certainly can use boneless, skinless chicken thighs, but you’ll need to make a couple of adjustments and manage expectations. Boneless, skinless thighs will cook faster, so reduce the initial air frying time to about 12-15 minutes total, flipping halfway through, and still aim for an internal temperature of 175°F (80°C). Without the skin, you won’t achieve the same level of crispiness, but the meat will still be incredibly juicy thanks to the thigh’s natural fat content. You might also want to lightly brush them with a little extra olive oil before seasoning to help with browning and moisture. The flavor from the herbs and garlic will still be fantastic, offering a leaner but equally delicious option.
Final Thoughts
There you have it – the ultimate guide to achieving truly crispy, juicy, and flavorful bone-in chicken thighs using your air fryer. This recipe has become a staple in my own kitchen, not just because it’s incredibly delicious, but because it simplifies weeknight cooking without compromising on quality or taste. The transformation of simple ingredients into a meal that feels both comforting and gourmet is truly satisfying. I love how the air fryer handles the skin, turning it into a golden, crackling delight, while the meat beneath remains unbelievably tender.
I encourage you to give this recipe a try. Play around with the herb blends, experiment with the variations, and discover just how easy it is to create a show-stopping meal with minimal effort. Whether you’re a seasoned air fryer enthusiast or just starting out, these chicken thighs are sure to impress. Don’t forget to share your creations with us at justcookdaily.com – I always love seeing what you’re cooking up! Happy air frying!